Two-Layer Chocolate Cake Recipe with Chocolate Frosting
Bake a moist two-layer chocolate cake from scratch in two 9-inch round pans, then fill and cover it with smooth, rich chocolate buttercream. Hot coffee intensifies the chocolate flavor without making the cake taste like coffee.
What Makes a Successful Two-Layer Chocolate Cake
This two-layer chocolate cake is designed to be deeply chocolatey, moist, and tender without becoming fragile. Two separately baked rounds provide a dependable structure for stacking, while the oil-based crumb stays soft even after chilling.
- Expect a soft crumb that is sturdy enough to level, stack, and slice.
- The finished cake should have two even layers, a stable buttercream filling, and complete frosting coverage.
- The cake is rich and moist rather than pudding-like or underbaked.
Why These Ingredients Work
The formula balances cocoa and hot liquid for pronounced chocolate flavor with buttermilk, eggs, sugar, and oil for tenderness and structure. Natural cocoa contributes acidity as well as flavor, so it is paired deliberately with both baking soda and baking powder.
- Oil keeps the crumb supple because it remains fluid when the cake is chilled.
- Buttermilk adds moisture, mild tang, and acidity that supports the baking soda.
- Eggs help the layers hold together and emulsify the oil and liquid.
- Hot coffee hydrates the cocoa and deepens chocolate perception; hot water provides a neutral alternative.
- Salt and vanilla keep the buttercream from tasting flat or one-dimensionally sweet.
Ingredients
- 2 cups all-purpose flour, spooned and leveled
- ¾ cup natural unsweetened cocoa powder
- 1½ cups granulated sugar
- 1½ teaspoons baking powder
- 1 teaspoon baking soda
- 1 teaspoon fine salt
- 2 large eggs, at room temperature
- 1 cup buttermilk, at room temperature
- ½ cup neutral vegetable oil
- 2 teaspoons pure vanilla extract
- 1 cup hot brewed coffee, freshly brewed and hot
- 1½ cups unsalted butter, softened
- ⅔ cup natural unsweetened cocoa powder, sifted
- 3½ cups confectioners’ sugar, sifted
- 6 tablespoons heavy cream, plus more if needed
- 1 teaspoon pure vanilla extract
- ¼ teaspoon fine salt
Key Techniques for Even, Moist Layers
Good pan preparation and restrained mixing do more for this cake than extra flour or prolonged beating. The batter is intentionally thin, so focus on eliminating dry pockets, dividing it evenly, and baking the pans on the center rack.
- Parchment on the bottoms and grease on the sides make release far more reliable for tender chocolate layers.
- Weigh the batter into the pans when possible; equal depth helps the layers finish together.
- Whisk only until the batter is uniform after the flour is added. Excess mixing can toughen the crumb.
- Cool the layers fully before frosting, and chill them briefly if they feel delicate during handling.
- A thin crumb coat is a structural step: it locks loose crumbs in place and makes the final frosting smoother.
Instructions
- Prepare the pans: Heat the oven to 350°F (175°C), with a rack in the center. Grease two 9-inch round cake pans, line the bottoms with parchment rounds, then grease the parchment and lightly dust the sides with flour. Tap out excess flour.
- Combine the dry ingredients: Whisk the flour, cocoa powder, sugar, baking powder, baking soda, and salt in a large bowl until evenly blended and no cocoa pockets remain.
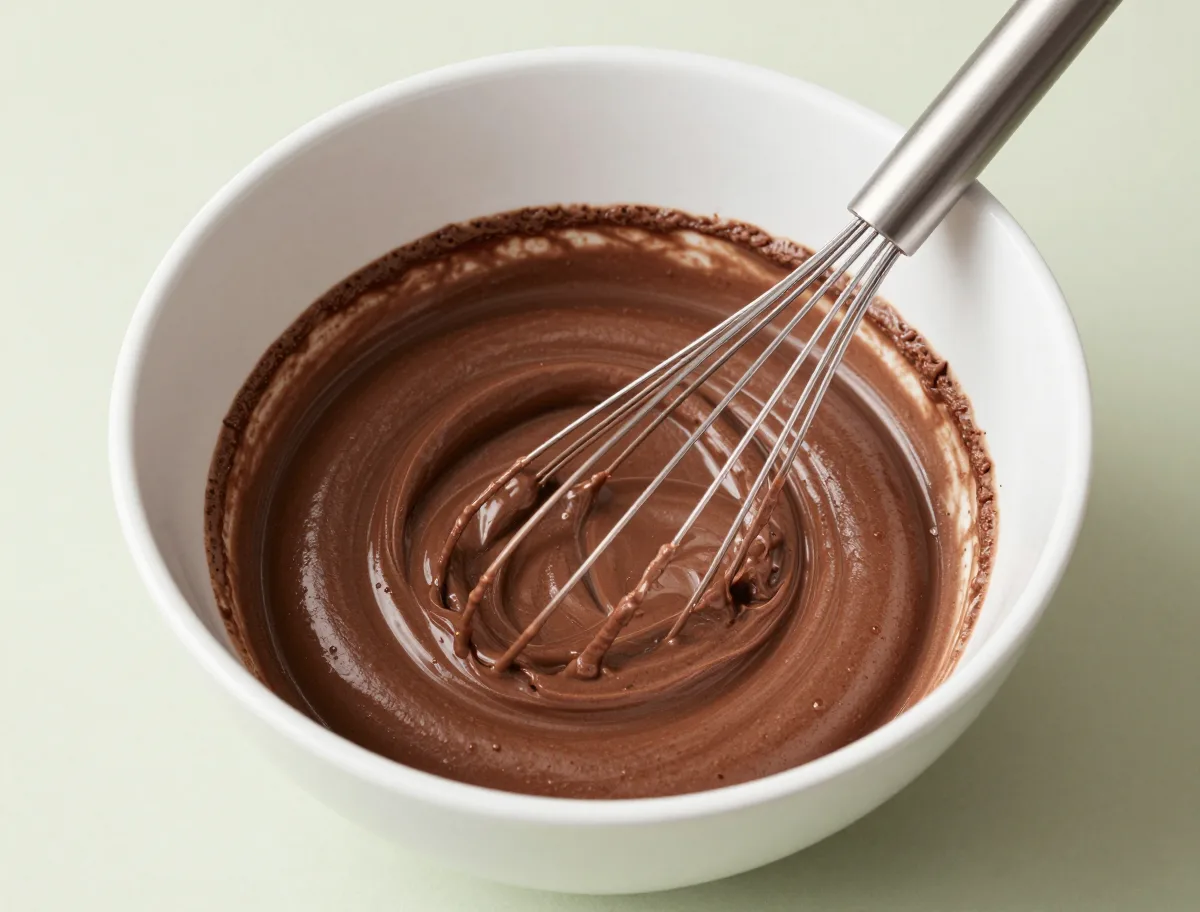
- Build the batter: In a second bowl, whisk the eggs, buttermilk, oil, and vanilla until smooth. Pour the wet mixture into the dry ingredients and whisk just until no dry streaks remain. Slowly whisk in the hot coffee. The finished batter will be fluid and thin; do not add extra flour.
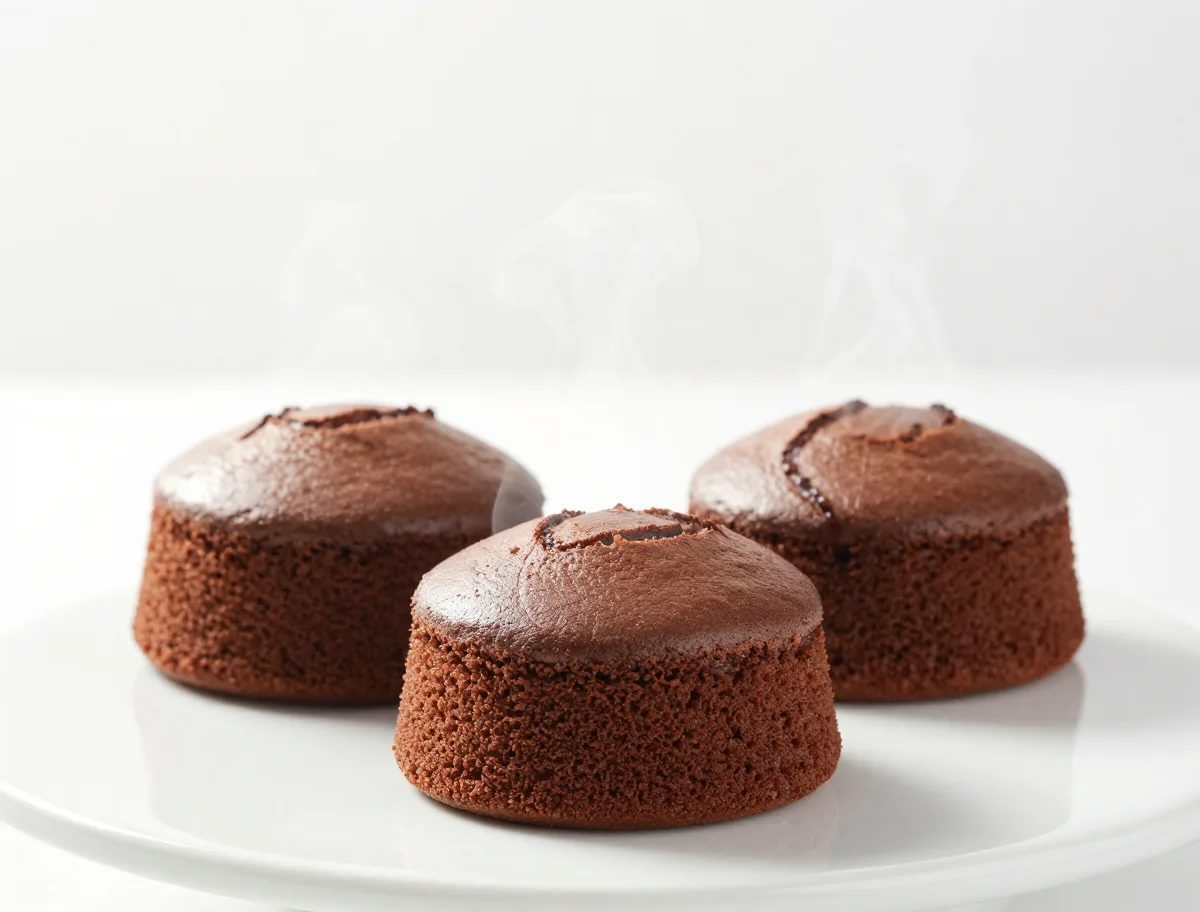
- Divide and bake: Divide the batter evenly between the prepared pans, using a scale if available. Gently smooth the surfaces and bake for 28 to 32 minutes, rotating the pans once if your oven heats unevenly. The layers are ready when the centers spring back lightly and a tester inserted in the middle comes out with a few moist crumbs rather than wet batter.
- Cool the layers: Let the cakes cool in their pans for 10 minutes. Run a thin knife around the edges, invert each layer onto a rack, remove the parchment, and turn the layers upright. Cool completely, about 45 minutes. For easier handling, chill the cooled layers for 20 to 30 minutes before frosting.
- Make the buttercream: Beat the softened butter on medium speed until smooth and creamy, about 2 minutes. Add the cocoa powder and salt and beat until combined. Gradually add the confectioners’ sugar in three additions, alternating with the heavy cream, then beat in the vanilla. Increase the speed to medium-high and beat for 2 to 3 minutes, until smooth and spreadable. If it is stiff, beat in additional cream 1 teaspoon at a time; if loose, add confectioners’ sugar 1 tablespoon at a time.
- Level and fill: If either cake is domed, use a serrated knife to trim the top while the layer is chilled. Place the flatter layer cut-side up on a cake board or serving plate. Spread about 1¼ cups of buttercream evenly over it, stopping just short of the edge.
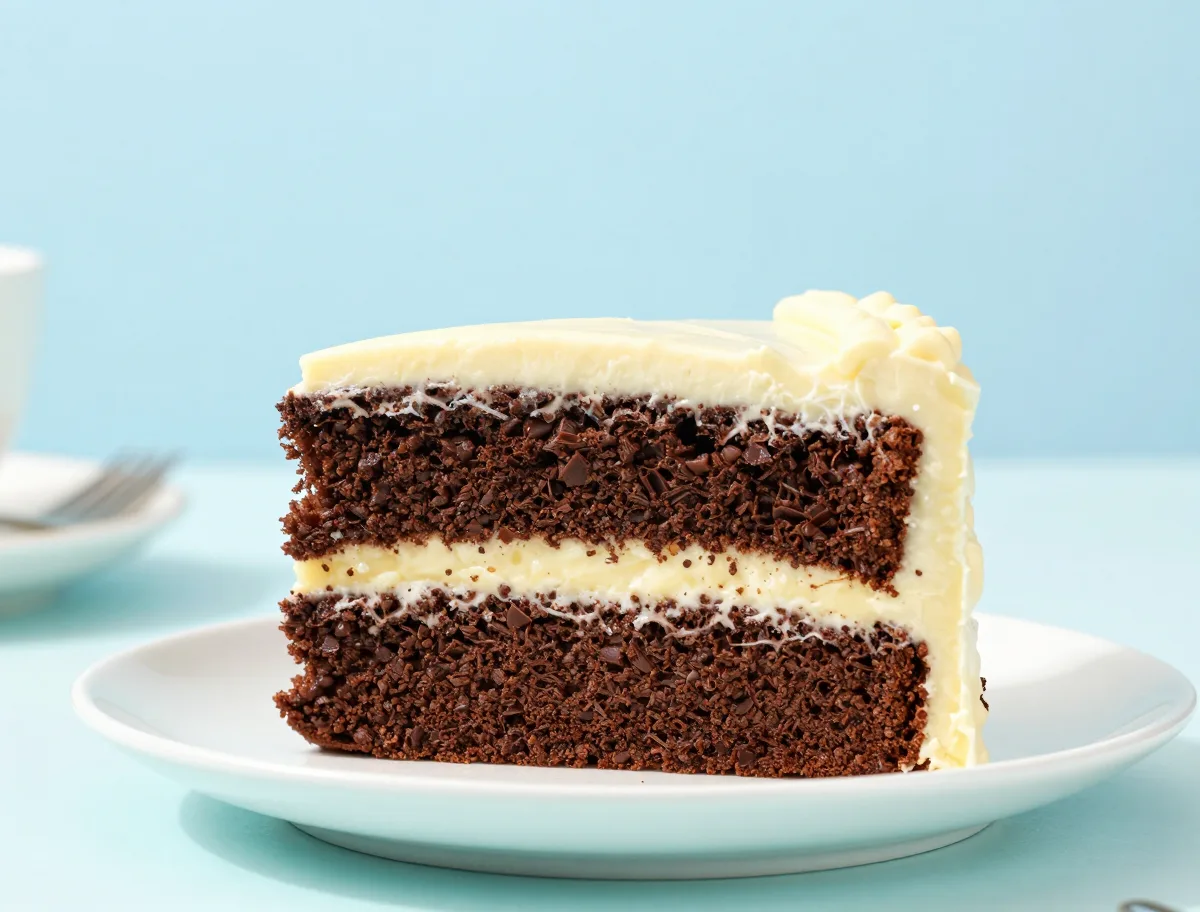
- Stack and finish: Set the second layer on top, cut-side down, and check that the cake is centered. Apply a thin coat of buttercream over the top and sides to trap crumbs. Chill for 20 minutes, then spread on the remaining buttercream. Smooth the sides and top or decorate with swirls as desired.
For additional guidance on leveling, filling, crumb-coating, chilling, and finishing a layer cake, see King Arthur Baking’s guide to assembling and frosting a layer cake.
How to Tell When the Cake Is Done
Chocolate cake is easiest to overbake when the cook waits for a completely dry tester. Begin checking near the early end of the baking range and use several cues together.
- A lightly pressed center should spring back instead of staying dented or visibly jiggling.
- A skewer should show a few moist crumbs; wet batter means the cake needs more time.
- The edges should look set and may pull away from the pan slightly.
- A cooled layer should feel soft and moist but not gummy, especially along the bottom.
- Buttercream should hold a soft peak or spatula trail and should not slide from the cake.
Additional Doneness Cues
- The batter is smooth, fluid, and free of dry pockets; its thin consistency is intentional.
- The baked centers spring back lightly when pressed and do not wobble.
- A skewer comes out with a few moist crumbs, not wet batter.
- The edges are set and may just begin to pull away from the pans.
- The layers are completely cool, with no warmth in the centers, before buttercream is applied.
- The buttercream holds a soft ridge from the spatula but spreads without tearing the cake.
Pan Size, Cocoa, and Heat: Variables That Matter
Small changes in pan diameter and ingredient balance can noticeably alter this cake. Two 8-inch pans hold the same batter more deeply than two 9-inch pans, so they generally require a longer bake.
- Use 350°F (175°C) and a fully preheated center-rack oven for consistent setting and rise.
- Natural cocoa is acidic; changing to Dutch-process cocoa without recalculating the leavening can affect lift and flavor.
- Hot liquid disperses cocoa more effectively than cold liquid and helps produce a fuller chocolate character.
- Oil gives a softer chilled texture than butter, while the eggs and flour provide enough structure for stacking.
- Opening the oven early or using an excessively hot oven can encourage doming followed by sinking.
For two 8-inch pans, use the same batter and begin checking at 32 minutes; the deeper layers may need about 35 to 40 minutes. Use the doneness cues rather than the clock alone. Hot coffee strengthens the perception of chocolate but should not make the cake taste like coffee. Replace it with an equal amount of hot water for a coffee-free cake.
Common Chocolate Cake Mistakes and How to Fix Them
Most problems with a two-layer cake come from measurement, timing, or temperature rather than from the basic formula. Use a scale for flour when possible, and let the center-set test override the timer.
- Dry layers: Usually caused by too much flour or overbaking. Measure flour by weight and begin checking early; frosting can improve the eating quality but cannot restore lost moisture.
- Sunken or gummy centers: Often indicate underbaking, expired leaveners, an oven opened too early, or overmixing. Bake until the center springs back and the tester no longer shows wet batter.
- Stuck layers: Usually result from missing parchment or inadequate greasing. Cool for 10 minutes, loosen the edges, and invert carefully rather than forcing a hot cake from the pan.
- Large domes or cracks: Check oven temperature and batter distribution. Trim only after the layers are completely cool.
- Sliding layers: Use less filling, chill the layers, and firm soft buttercream before stacking. A thin crumb coat followed by chilling helps stabilize the cake.
- Lumpy buttercream: Beat the butter smooth first and add sifted dry ingredients gradually. Adjust consistency with very small additions of cream or sugar.
Reliable Substitutions for This Chocolate Layer Cake
The safest substitutions preserve the recipe’s total liquid and acidity. Ingredient swaps that change both sweetness and fat, such as replacing cocoa with sweetened chocolate, require a new formula rather than a simple one-for-one exchange.
- Coffee-free: Replace the hot coffee with 1 cup of hot water. The cake will retain its structure but may taste slightly less intense.
- Buttermilk substitute: Stir 1 tablespoon lemon juice or vinegar into enough milk to make 1 cup, rest for 5 minutes, then use the full amount. The crumb may be a little less tangy and fluid.
- Dairy-free: Use unsweetened plant milk acidified in the same way and a dairy-free neutral oil. Use a dairy-free butter alternative and plant cream in the frosting, checking that both are suitable for whipping.
- Gluten-free: A tested cup-for-cup gluten-free flour blend containing a binder may work, but the layers can be more fragile. Chill them thoroughly before assembly.
- Egg-free: Do not assume a direct egg replacement will produce stable layers; egg replacer, aquafaba, or applesauce can change rise and texture substantially.
Ways to Adapt the Two-Layer Chocolate Cake
Keep the defining structure—two chocolate rounds with a filling and full frosting coat—while changing the flavor emphasis or decoration. The following adaptations stay within the recipe’s intended format.
- Use hot water instead of coffee for a neutral chocolate profile.
- For a more bittersweet finish, replace part of the cocoa buttercream with a thin layer of cooled chocolate ganache, keeping the filling restrained for stability.
- Decorate with piped buttercream, chocolate curls, sprinkles, or a simple top border without changing the cake formula.
- Bake in 8-inch pans for taller, smaller-diameter layers and allow additional time for the deeper batter.
- A sheet cake, cupcakes, or a flourless cake requires different proportions and should not be treated as a direct variation of this layer-cake method.
If piping a heavy border or extensive decoration, make an additional half batch of buttercream.
How to Store, Freeze, and Make the Cake Ahead
The unfrosted layers are the easiest component to prepare ahead. Protect every stage from air, and thaw frozen layers while wrapped so condensation forms on the wrapping rather than on the cake.
- Unfrosted layers: Cool completely, wrap each layer tightly, and refrigerate for up to 2 days or freeze for up to 2 months. Thaw overnight in the refrigerator or at room temperature while still wrapped.
- Finished cake: Keep covered. A buttercream-covered cake can stand in a cool room for a short serving period, but refrigerate it if the room is warm or storage will exceed about 2 hours.
- If the frosting or filling contains cream cheese, whipped cream, custard, or fresh fruit, refrigerate the cake promptly. Perishable components should not remain out longer than 2 hours, or 1 hour when the temperature is above 90°F (32°C).
- Bring a refrigerated cake toward cool room temperature before serving for a softer crumb and more spreadable buttercream.
- Do not reheat the assembled cake. Thaw it gradually instead, and keep it covered to prevent drying.
For authoritative information about refrigeration temperatures and time limits for perishable ingredients, consult the FDA’s food-storage guidance.
For clean slices, chill the finished cake until the buttercream is firm, then let it stand at cool room temperature briefly before serving.
Two-Layer Chocolate Cake FAQ
These quick answers address the practical decisions that most often determine whether the cake bakes evenly and stacks cleanly.
Can I bake this recipe in 8-inch pans?
Yes. The layers will be deeper than those baked in 9-inch pans, so start checking at about 32 minutes and expect roughly 35 to 40 minutes in many ovens. The center-set and moist-crumb tests are more reliable than a fixed time.
Why is the batter so thin?
The hot coffee adds substantial liquid and the formula is designed for a fluid batter. It becomes a moist, tender cake after baking; do not add flour to thicken it.
Does the coffee make the cake taste like coffee?
Usually not. It mainly makes the chocolate taste deeper. Use hot water in the same quantity if you prefer to avoid coffee.
Do I have to level the cake layers?
Only if they are noticeably domed or uneven. A flat surface makes stacking easier, but trim conservatively so you do not remove more cake than necessary.
How much buttercream should go between the layers?
About 1¼ cups gives a generous but stable filling for this cake. Spread it level and avoid pushing it all the way to the edge if the frosting is soft.
Why is my finished cake sliding?
The layers may still be warm, the filling may be too thick or soft, or the cake may need chilling. Chill the layers, use a restrained filling, and refrigerate the crumb-coated cake before applying the final coat.
Can I make the cake layers ahead?
Yes. Cool them completely, wrap them airtight, and refrigerate for up to 2 days or freeze for up to 2 months. Thaw while wrapped before leveling and frosting.