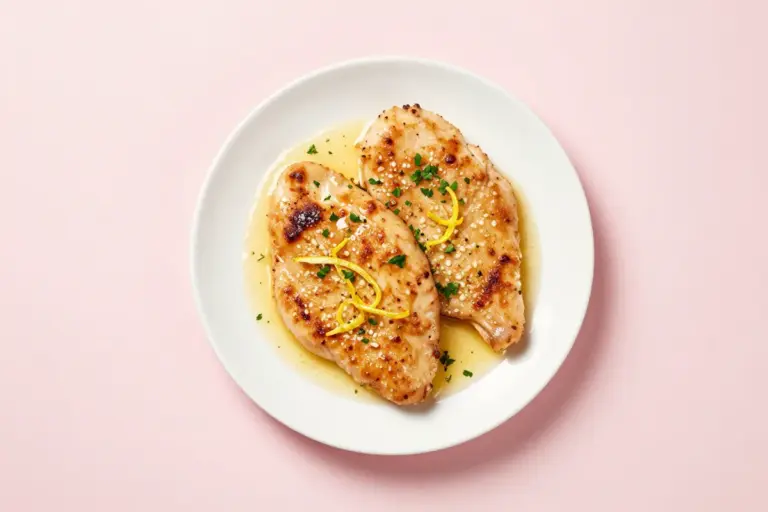
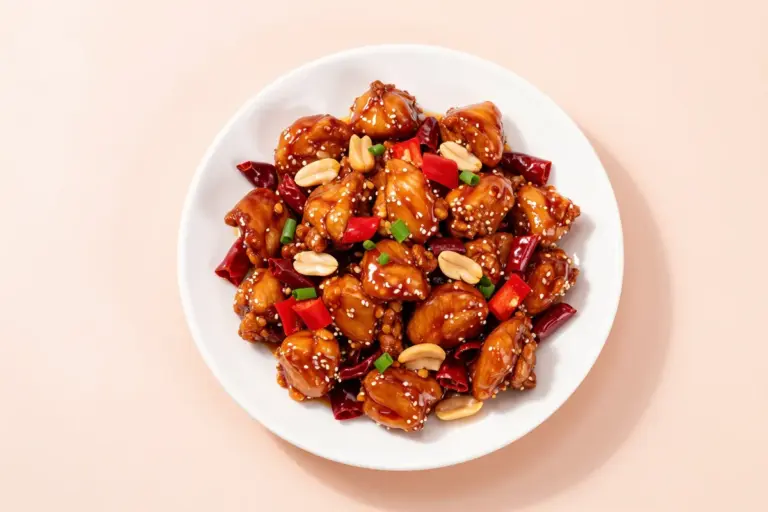
Panda Express Honey Sesame Chicken Breast Recipe
This Panda Express honey sesame chicken breast recipe pairs thin, crispy breaded chicken with green beans, yellow bell pepper, and a glossy sweet-tangy honey sesame sauce.
What Makes This a Panda Express-Style Honey Sesame Chicken
This copycat is built around the dish’s defining combination: thin strips of white-meat chicken with a light crunchy coating, crisp-tender green beans, yellow bell pepper, and a glossy honey-sesame glaze. The flavor should be honey-forward but not cloying, with soy for savoriness, vinegar for lift, and mild chili warmth. The defining chicken, vegetable, honey sauce, and sesame components are also documented in the Panda Express menu announcement.
- Thin chicken strips provide the closest restaurant-style shape and cook evenly.
- Green beans and yellow bell pepper are essential to the recognizable entrée.
- Toasted sesame seeds and a small amount of sesame oil supply aroma without overpowering the honey.
Why the Key Ingredients Matter
The coating uses both flour and cornstarch: flour helps it adhere and brown, while cornstarch keeps the crust light and crisp. Honey provides sweetness and body, sweet chili sauce contributes gentle heat and garlic-chili character, and soy sauce and rice vinegar keep the glaze balanced. Fresh vegetables add contrast to the fried chicken, while the cornstarch slurry gives the sauce its cling.
- Use boneless, skinless chicken breast for the lean white-meat profile associated with the entrée.
- Keep sesame oil restrained; toasted sesame seeds deliver the clearest finishing aroma.
- A slurry disperses starch evenly and avoids the lumps created by adding dry cornstarch directly to hot sauce.
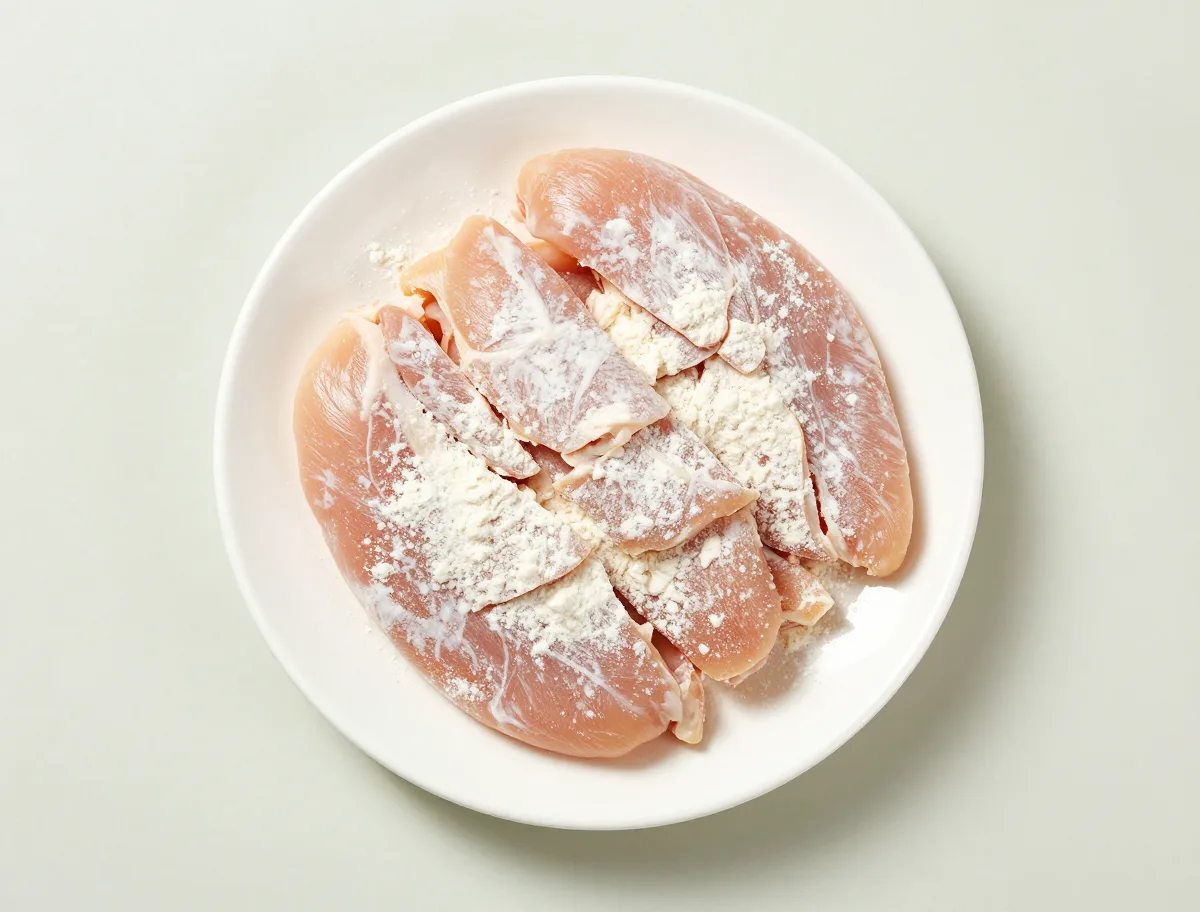
- 1 1/2 pounds boneless, skinless chicken breasts, trimmed and cut into 1/4-inch-thick strips, about 2 inches long
- 1 teaspoon fine sea salt
- 1/2 teaspoon ground white pepper
- 1 large egg, beaten
- 1/4 cup cold water
- 3/4 cup all-purpose flour
- 1/2 cup cornstarch, divided
- 3/4 cup honey
- 1/2 cup sweet chili sauce
- 1/4 cup reduced-sodium soy sauce
- 2 tablespoons rice vinegar
- 1 teaspoon toasted sesame oil
- 1/2 cup water
- 1 tablespoon vegetable oil
- 8 ounces green beans, trimmed and cut into 2-inch pieces
- 1 medium yellow bell pepper, cut into 1/4-inch strips
- 2 tablespoons toasted sesame seeds
- 4 cups steamed white rice, for serving
How to Make Crispy Honey Sesame Chicken
The most important technique decision is sequencing. Cook the vegetables and bring the sauce to the point where it can be thickened before frying the chicken. Once the chicken is crisp, it should move quickly from the rack to the glaze and then to the plate.
- Dry the chicken thoroughly and dredge it immediately before it enters the oil.
- Fry in a single layer and allow the oil to recover between batches.
- Drain on a rack rather than paper towels or a stacked plate, which can trap steam.
- Toss with sauce off the heat for only 20 to 30 seconds.
- Season and set up the chicken. Pat the chicken dry. Toss it with the salt and white pepper. Whisk the egg with the cold water in a shallow bowl. In a second bowl, combine the flour with 1/3 cup of the cornstarch. Keep the remaining 2 tablespoons cornstarch for the sauce.
- Prepare the sauce. Whisk the honey, sweet chili sauce, soy sauce, rice vinegar, sesame oil, and 1/2 cup water in a small saucepan. In a separate cup, stir the reserved 2 tablespoons cornstarch with 2 tablespoons cold water until smooth. Set both aside.
- Cook the vegetables. Heat the vegetable oil in a large skillet or wok over medium-high heat. Add the green beans and cook for 3 minutes, stirring often. Add the yellow pepper and cook for 2 to 3 minutes more, until the beans are bright green and crisp-tender and the pepper has softened slightly. Transfer the vegetables to a plate.
- Coat the chicken. Dip each chicken strip in the egg mixture, letting excess drip off, then dredge in the flour mixture. Shake off loose coating and place the pieces on a plate. Coat the chicken just before frying so the starch does not become damp.
- Shallow-fry until crisp. Pour vegetable oil into a clean, wide skillet to a depth of about 1/3 inch and heat to 350 to 375°F. Fry the chicken in 2 or 3 uncrowded batches, turning once, for about 3 to 4 minutes per side. The coating should be golden and crisp, and the thickest piece must register 165°F. Transfer each batch to a wire rack set over a sheet pan; allow the oil to return to temperature between batches.
- Thicken the honey sesame sauce. Bring the sauce mixture to a gentle simmer over medium heat. Whisk the cornstarch slurry again, then stir it into the saucepan. Simmer for 30 to 60 seconds, stirring, until the sauce is smooth, shiny, and thick enough to fall from a spoon in a slow ribbon. Remove from the heat; do not boil it aggressively.
- Finish and serve immediately. Return the vegetables to the skillet and add the fried chicken. Pour in just enough hot sauce to coat everything, then toss off the heat for 20 to 30 seconds. Transfer at once to plates with the steamed white rice and scatter the toasted sesame seeds over the top.
How the Finished Dish Should Look and Feel
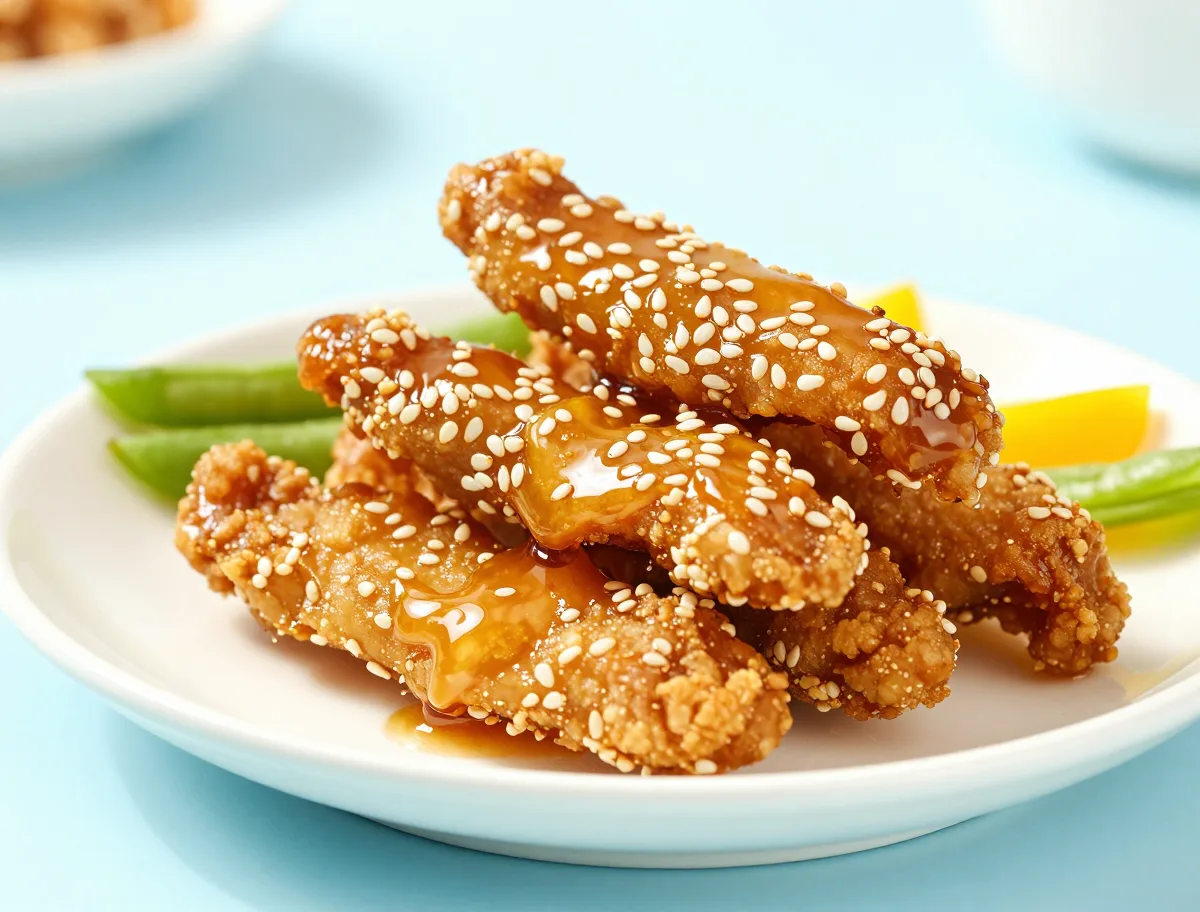
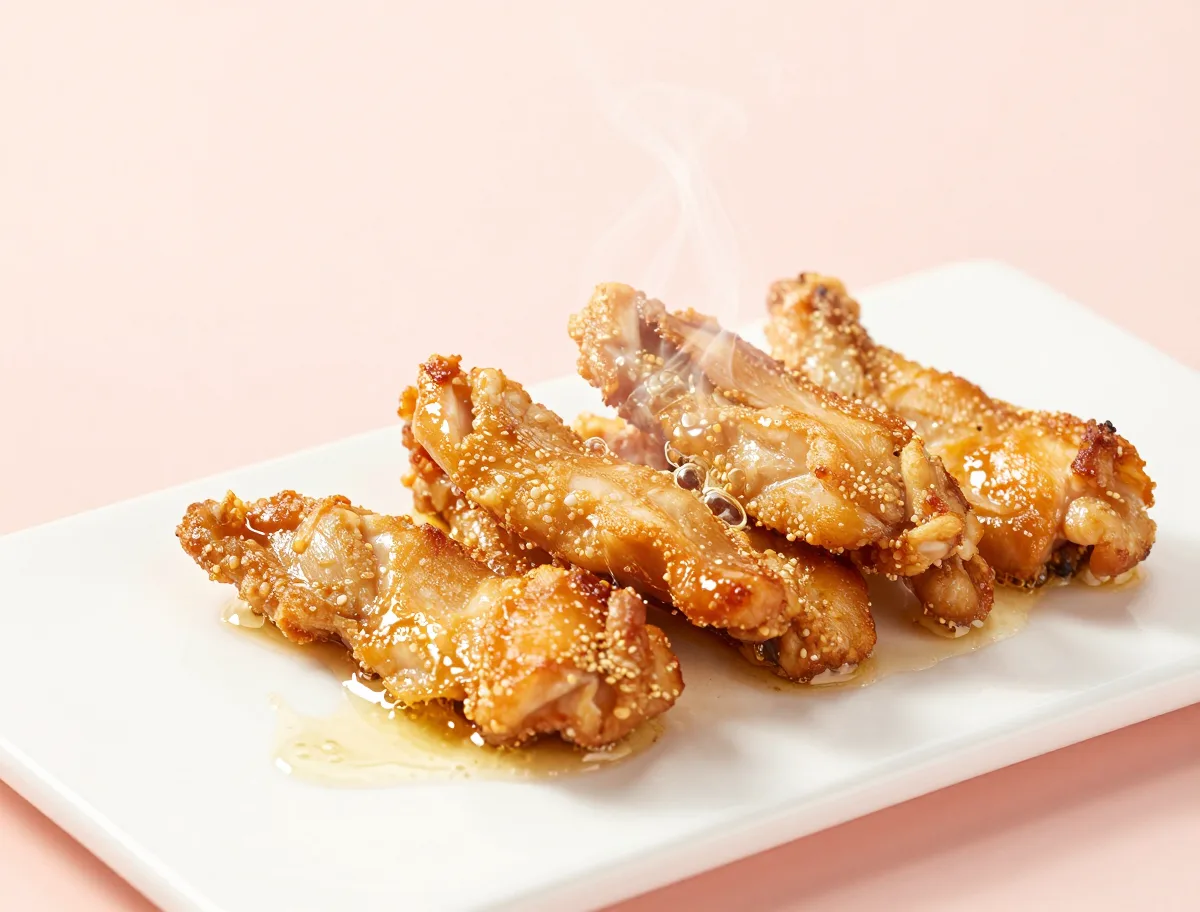
Before saucing, the chicken should be audibly crisp when tapped and free of pale, wet flour patches. After the brief toss, the coating should still offer some resistance beneath the shiny glaze. The sauce should cling rather than run, while the vegetables should retain color and a slight snap.
- Browned coating is a quality cue, not proof that the chicken is safe; check the thickest piece with a thermometer.
- Chicken must reach 165°F internally.
- If the sauce pools heavily in the pan, it needs a little more reduction or a small additional slurry before the chicken is added.
- Chicken coating is golden, dry-looking, and crisp before saucing.
- The thickest chicken strip reaches 165°F internally.
- Green beans remain bright and retain a slight snap; yellow pepper is tender at the edges but not limp.
- Sauce is glossy and clings to the chicken without pooling like a thin liquid.
- Serve immediately after tossing because the glaze will gradually soften the coating.
The Cooking Variables That Protect Crispness
Crispness depends on removing surface moisture and maintaining enough heat to dehydrate the coating. Cold chicken lowers oil temperature, and a crowded pan turns frying into steaming. In the sauce, honey can scorch if boiled hard, while starch thickens quickly once heated; gentle simmering gives better control.
- Use small batches so the oil remains near 350 to 375°F.
- Let fried pieces stand uncovered on a rack so steam can escape.
- Add slurry gradually and stop heating as soon as the glaze coats a spoon.
- Sauce migration into the crust is unavoidable, so timing matters as much as the coating.
Common Honey Sesame Chicken Mistakes and Fixes
Most problems can be prevented before the final toss. Keep the components separate until the sauce has the right consistency and the chicken is fully cooked; once a fried coating has become saturated, it cannot be completely restored.
- Soggy chicken: Dry the meat, fry in smaller batches, drain on a rack, and sauce immediately before serving.
- Pale or greasy coating: The oil was too cool or the pan was crowded; wait for the oil to return to temperature.
- Dark coating with an undercooked center: Use thinner, more even strips and reduce the heat slightly.
- Thin sauce: Simmer briefly or add a small amount of additional slurry. Thick sauce: Whisk in water a teaspoon at a time and rewarm gently.
- Overly sweet sauce: Add a small splash of soy sauce or rice vinegar. Overly sharp sauce: Add a little honey or water, then taste again.
Useful Ingredient Substitutions
Substitutions can work, but packaged sauces vary in salt, sweetness, and heat, so taste before making final adjustments. The closest result comes from preserving the flour-starch coating, honey-based glaze, sesame finish, and required vegetables.
- Tamari or certified gluten-free soy sauce can replace soy sauce. For a gluten-free dish, also use a gluten-free flour blend and verify the sweet chili sauce.
- White vinegar or apple cider vinegar can replace rice vinegar; use slightly less at first because both are sharper.
- Potato or tapioca starch can replace cornstarch in the coating, though the crust may be more brittle or brown differently.
- If sesame oil is unavailable, keep the toasted sesame seeds; the dish will have less sesame aroma but will retain its characteristic finish.
- Frozen green beans and pepper can be used, but thaw and drain them well to limit excess water.
Shallow-Fried and Air-Fried Variations
Shallow frying is the primary method here because it gives the coating substantial oil contact without requiring a full pot of oil. Air frying is a practical lower-oil option, but its crust will generally be lighter, drier, and less uniformly browned.
- For the closest copycat texture, use the shallow-frying method and cook in batches.
- For air frying, preheat the appliance, lightly oil the basket and coated chicken, leave space around each piece, and turn halfway.
- Chicken thighs or different vegetables can be tasty adaptations, but they move farther from the recognizable chicken-breast, green-bean, and yellow-pepper entrée.
- Removing the coating or replacing the honey-sesame glaze with a plain soy stir-fry sauce creates a different dish.
To air-fry instead, arrange coated chicken in a lightly oiled, preheated basket at 400°F for about 10 to 14 minutes, turning halfway and spraying any dry flour patches with oil. The crust will be lighter and less evenly browned than shallow-fried chicken.
How to Serve Honey Sesame Chicken
Serve this entrée over or beside steamed white rice as soon as the final toss is complete. Rice absorbs the extra glaze while keeping the chicken and vegetables visually distinct. Add the sesame seeds at the table or immediately before plating so they remain aromatic and crisp.
- Warm plates help keep the glaze fluid without requiring prolonged reheating.
- Do not pour sauce over the chicken long before serving; coat it at the last moment.
- Keep the vegetable pieces visible rather than cooking them down into the sauce.
- A mild side is best because the entrée already combines sweetness, soy, sesame, and chili.
How to Store and Reheat the Chicken
For the best texture, make the sauce and vegetables ahead if needed, but fry and glaze the chicken close to serving. Store cooked components separately whenever possible because sauce softens the coating and vegetables lose their snap more quickly when held in the glaze.
- Refrigerate cooked food within 2 hours, or within 1 hour when the surrounding temperature is above 90°F.
- Use refrigerated leftovers within 3 to 4 days.
- Re-crisp chicken uncovered in an oven, toaster oven, or air fryer, then warm the sauce separately and combine at serving.
- Reheat leftovers to 165°F throughout; microwaving is convenient but produces a softer coating.
- Freezing is possible, but frozen and thawed vegetables and sauced chicken will not retain the texture of freshly made components.
For leftovers, refrigerate chicken, sauce, vegetables, and rice separately within 2 hours and use within 3 to 4 days. Reheat the chicken uncovered in a 400°F oven or air fryer until crisp and 165°F throughout, warm the sauce and vegetables separately, and combine just before eating.
Honey Sesame Chicken Copycat FAQ
These answers address the practical choices that most affect resemblance, crispness, sauce consistency, and leftover quality.
Should the chicken be cut into strips or cubes?
Thin strips are the closest match to the restaurant description and cook quickly. Evenly sized small pieces also work, but thicker cubes need more cooking time and can brown before the center is done.
Can I deep-fry the chicken instead?
Yes. Deep frying generally gives the most even crust, but shallow frying is a useful home method with less oil. In either case, maintain the oil temperature and verify that the thickest piece reaches 165°F.
How can I keep the coating crisp?
Pat the chicken dry, avoid crowding, keep the oil hot, drain pieces on a rack, thicken the sauce before combining, and toss only immediately before serving. No sauced fried coating stays fully crisp indefinitely.
What should I do if the sauce is too thick?
Whisk in water a teaspoon at a time and warm the sauce gently until it becomes glossy and pourable. Do not add water all at once, or the glaze may become thin.
Can I make the sauce or vegetables ahead?
Yes. Prepare them several hours ahead and refrigerate separately if necessary. Rewarm the sauce and vegetables while the chicken cooks, then combine everything at the last moment.
Are leftovers as crisp as freshly made chicken?
No. Refrigeration and sauce contact soften the coating. Reheat the chicken separately in dry circulating heat, warm the sauce on its own, and combine just before eating for the best possible result.
Food-Safety Notes for Fried Chicken
Use separate utensils and surfaces for raw chicken and cooked food, and rely on a thermometer rather than coating color alone. Hot oil also requires attention: add dry chicken carefully, keep water away from the pan, and never leave heating oil unattended. For poultry and reheated leftovers, follow USDA safe cooking temperature guidance.
- Cook chicken to 165°F in the thickest piece.
- Wash hands and clean any surface or utensil that contacts raw chicken before handling cooked food.
- Use a stable pan and do not overfill it with oil or chicken.
- If oil catches fire, turn off the heat if safe and cover the pan with a metal lid; never throw water onto burning oil.
- Refrigerate leftovers promptly and reheat them to 165°F before eating.