Layered Brownie Refrigerator Cake Recipe
This brownie refrigerator cake recipe layers a fudgy homemade brownie base with tangy cream-cheese filling, chocolate-vanilla pudding, and whipped topping for a rich chilled dessert that is ideal for making ahead.
What to Expect from This Brownie Refrigerator Cake
Despite its name, this is not a completely no-bake dessert: the brownie foundation is baked first, then the remaining layers are assembled and set in the refrigerator. The finished cake should be cold, fudgy, creamy, and firm enough to cut into squares.
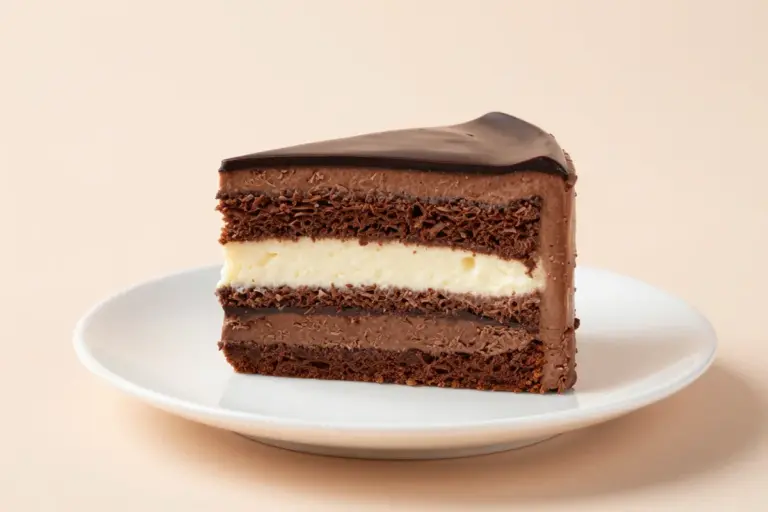
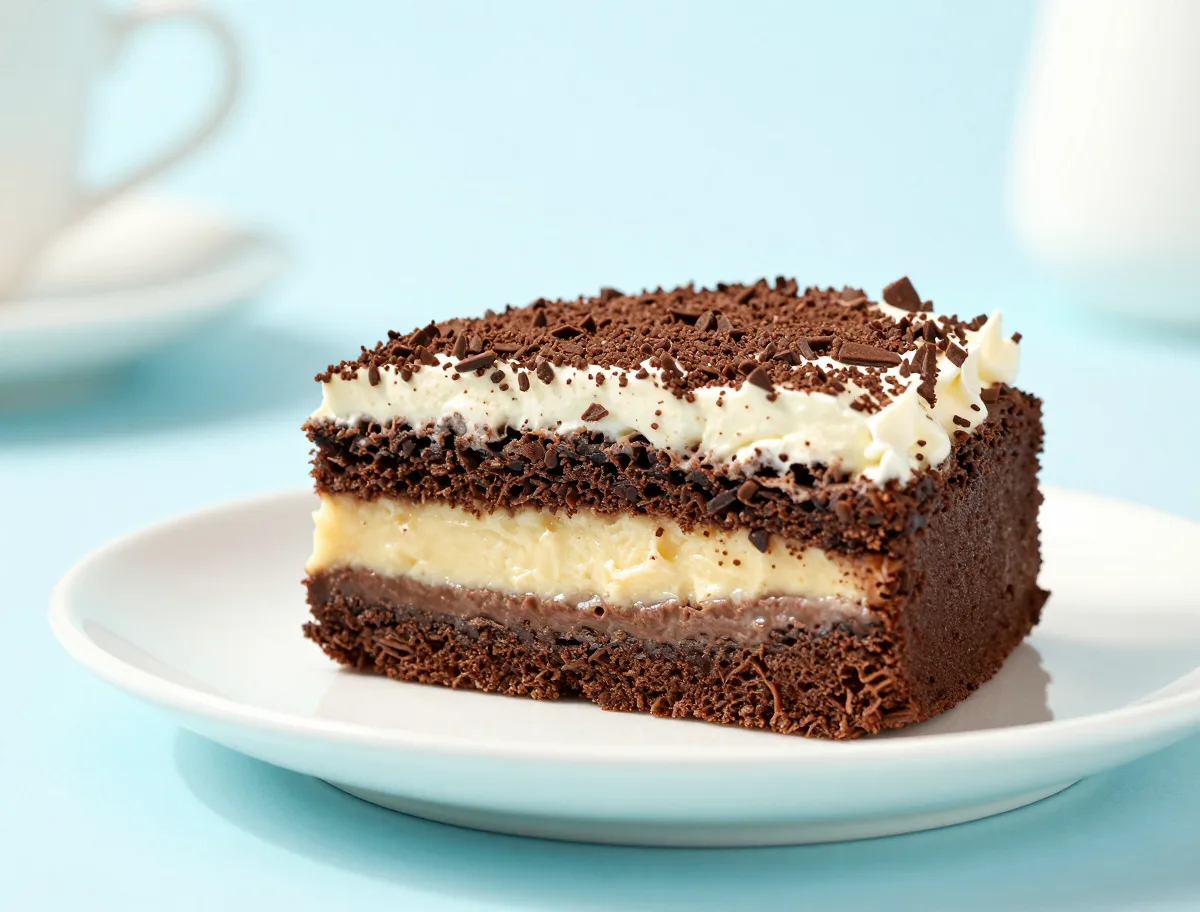
- Layer order: brownie, cream cheese and whipped topping, chocolate-vanilla pudding, whipped topping, and chocolate garnish.
- The brownie should support the wet layers without being dry or cakey.
- The final texture is softly set rather than frozen, dense, or mousse-like.
Why the Layers Work
Each component has a structural job. The brownie supplies a dense chocolate base, cream cheese gives the middle layer tang and body, pudding provides a smooth set, and whipped topping lightens both the cream layer and the finish. The dry chocolate garnish adds contrast without introducing extra moisture.
- Full-fat cream cheese creates a richer, more stable filling than reduced-fat varieties.
- Confectioners’ sugar dissolves smoothly and helps the cream-cheese layer hold its shape.
- Cold milk is essential for activating instant pudding and achieving a spreadable consistency.
- Dividing the whipped topping keeps the cream-cheese layer light while leaving enough for a substantial top layer.
Ingredients
- 12 tablespoons unsalted butter, melted and slightly cooled
- 1 1/2 cups granulated sugar
- 3 large eggs, at room temperature
- 2 teaspoons vanilla extract
- 3/4 cup unsweetened cocoa powder
- 1 cup all-purpose flour
- 1/2 teaspoon fine salt
- 1 cup semisweet chocolate chips
- 2 packages full-fat cream cheese, softened
- 1 cup confectioners’ sugar, sifted
- 16 ounces frozen whipped topping, thawed; divided
- 2 packages instant pudding mix, one 3.4-ounce chocolate package and one 3.4-ounce vanilla package
- 3 cups cold whole milk
- 1/4 cup semisweet chocolate, finely grated or shaved, for garnish
How to Assemble the Layers Cleanly
Successful assembly depends more on temperature and consistency than on speed. Cool the brownie all the way to room temperature, beat the cream cheese until lump-free, and wait until the pudding has visibly thickened before spreading it.
- Use a small offset spatula or the back of a spoon and spread with light pressure so crumbs do not rise into the pale layer.
- Spread each layer to the edges without dragging deeply into the layer below.
- If the kitchen is warm or a layer feels loose, refrigerate the pan for 15 to 20 minutes before adding the next one.
- Cover the finished pan without allowing plastic wrap or foil to touch the whipped topping.
Instructions
- Prepare the pan and oven: Heat the oven to 350°F (175°C). Line a 9-by-13-inch baking pan with parchment, leaving overhang on the long sides, and lightly grease the exposed sides.
- Make the brownie batter:
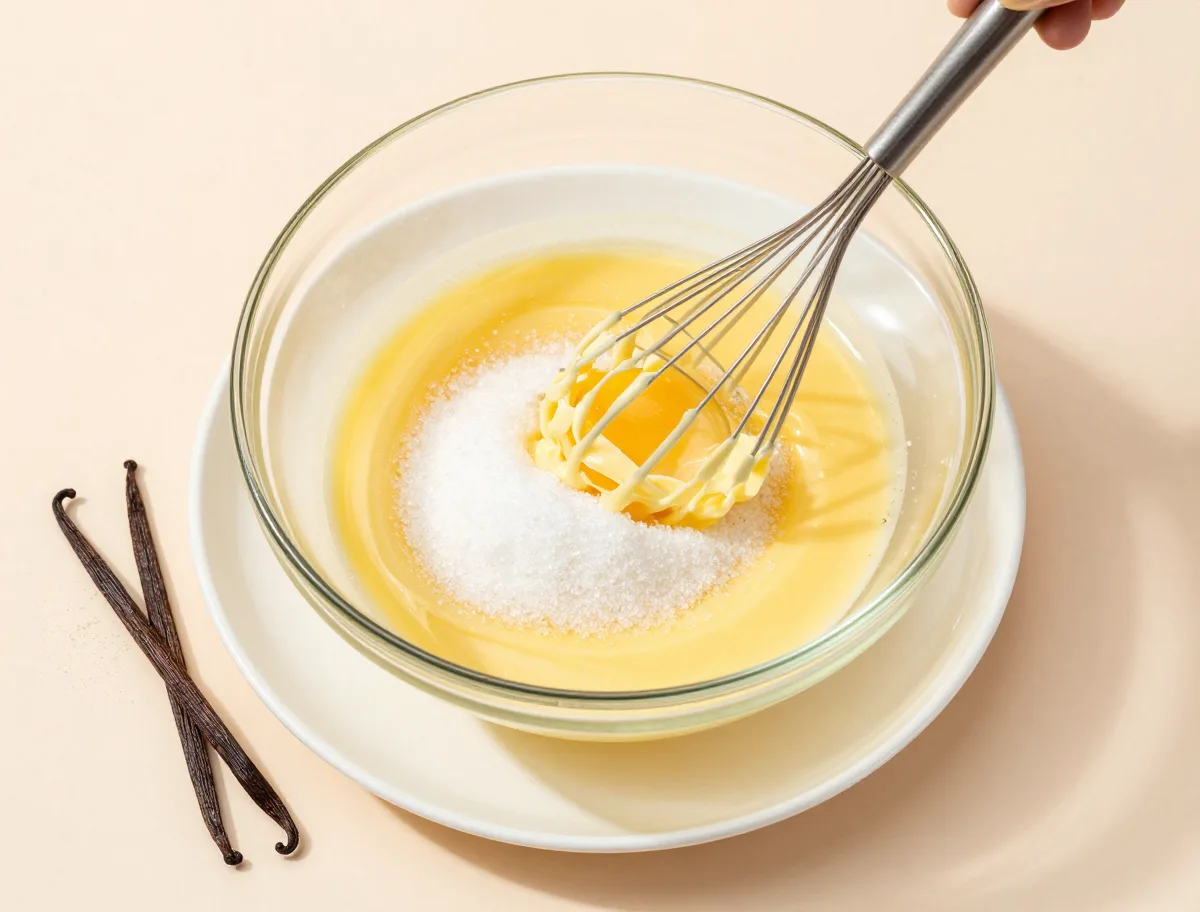
Whisk the melted butter and sugar in a large bowl. Add the eggs and vanilla and whisk until smooth and slightly thickened. Sift in the cocoa powder, flour, and salt; fold just until no dry streaks remain. Fold in the chocolate chips.
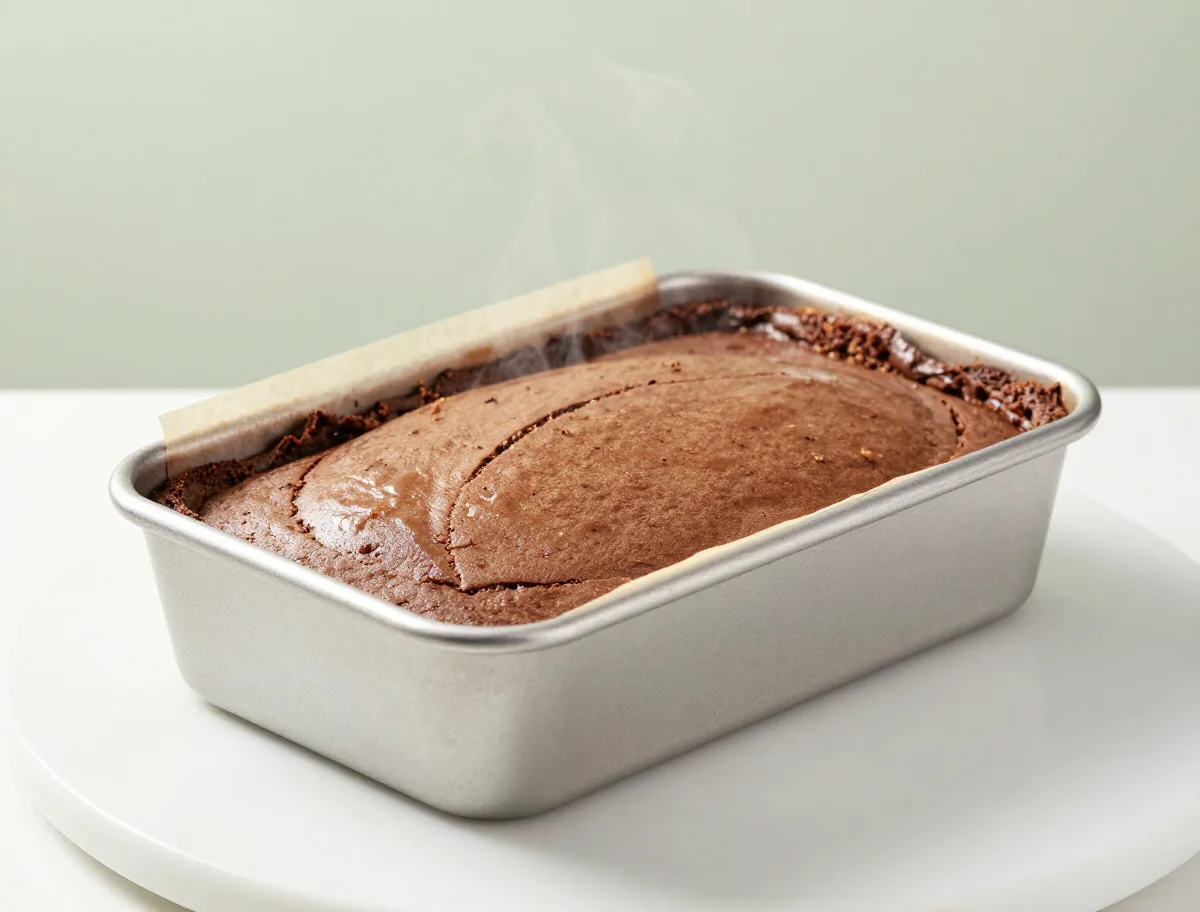
- Bake the brownie base: Spread the batter evenly in the prepared pan. Bake until the edges are set and the center looks moist but not glossy or liquid, about 26 to 28 minutes. A tester inserted in the center should come out with moist crumbs rather than wet batter. Cool completely in the pan, about 1 hour, before adding any topping.
- Make the cream-cheese layer: Beat the softened cream cheese until completely smooth. Beat in the confectioners’ sugar until thick and creamy, scraping the bowl as needed. Fold in 4 cups of the thawed whipped topping until evenly blended. Spread this mixture gently over the cooled brownie, using a small offset spatula and light pressure.
- Prepare and add the pudding: Whisk both pudding mixes with the cold milk for 2 minutes, then let the mixture stand for 3 to 5 minutes, until it is thick enough to mound softly on a spoon. Spread it carefully over the cream-cheese layer, working from the center toward the edges without pressing down.
- Finish the cake: Spread the remaining 4 cups of whipped topping over the pudding. Scatter the grated or shaved chocolate evenly over the surface.
- Chill until set: Cover the pan without letting the covering touch the topping. Refrigerate for at least 4 hours, or preferably overnight, until the center is thoroughly cold and the layers feel set.
- Slice and serve: Run a sharp knife under hot water, wipe it dry, and cut the chilled cake into squares. Wipe the blade between cuts for the cleanest layers. Keep the dessert refrigerated until serving.
How to Tell When the Brownies and Layers Are Ready
Visual cues are more useful than relying on a single time, especially when brownie pans and pudding brands vary. The brownie should be baked through but still moist, while each creamy layer should be thick enough to remain where it is spread.
- A clean toothpick is not required for a fudgy brownie; moist crumbs are the desirable result, while wet batter indicates underbaking.
- The cooled brownie should feel firm enough that a spatula can glide over it without the surface shifting.
- The cream-cheese mixture should leave soft ridges and not flow back into a smooth puddle.
- The pudding should mound slightly on a spoon and spread without running.
- The completed dessert is ready to slice when it is thoroughly cold and the knife displaces very little filling.
For additional professional guidance on brownie doneness, cooling, and clean slices, see King Arthur Baking’s brownie guidance.
The Variables That Control Sliceability
This dessert sets through several overlapping mechanisms: the baked brownie structure, chilled dairy fat, instant pudding thickeners, and the aerated whipped topping. The main risk is excess moisture, which can make the layers migrate or soften the brownie.
- An extra egg in a boxed mix increases cohesion but shifts the crumb toward cake-like rather than fudgy.
- Too much milk prevents the pudding from becoming a reliable structural layer.
- Cold ingredients and a cold refrigerator improve the viscosity of the cream and topping layers.
- A very wet brownie absorbs more moisture during storage and may become soft by the next day.
Common Brownie Refrigerator Cake Mistakes
Most problems come from temperature, liquid measurement, or insufficient chilling rather than difficult technique. Preventing the problem before assembly is far more effective than trying to repair a loose layered dessert afterward.
- Blurred layers or softened cream cheese: The brownie was still warm. Cool it completely before assembling; if already assembled, refrigerate promptly and allow extra time to set.
- Runny pudding: The wrong package size, excess milk, unsuitable milk alternative, or insufficient standing time may be responsible. Verify the package and chill longer, although very liquid pudding may not produce neat squares.
- Brownie crumbs in the cream layer: Spread more gently and begin with a fully cooled, level surface.
- Slumping slices: Refrigerate for several more hours or overnight. Do not serve the cake merely chilled on the outside.
- Hard brownie base: The brownies were overbaked or too thin. Cold storage emphasizes dryness, so remove the base when moist crumbs remain.
- Weeping whipped topping: Use commercial topping or stabilized homemade cream, and keep the dessert cold.
Useful Substitutions for This Chilled Brownie Dessert
The format is flexible as long as the brownie is fully baked and the creamy layers remain thick. Substitutions affect firmness and holding time, so choose the most stable options when preparing the dessert for a gathering.
- Boxed brownies work well when baked in a 9-by-13-inch pan and cooled completely. A homemade or bakery brownie base can also be used if it is plain, firm, and thick enough to support the layers.
- Commercial whipped topping can be replaced with stabilized whipped cream. Plain whipped cream is best for same-day serving because it may collapse during longer storage.
- Reduced-fat cream cheese is usable but produces a somewhat softer, less rich layer.
- Chocolate-only pudding makes a darker dessert; vanilla-only pudding creates greater contrast with the brownie.
- Use nondairy milk only when the pudding manufacturer confirms that it will set properly with that product.
Flavor Variations That Keep the Dessert a Brownie Refrigerator Cake
Small changes can personalize the dessert without losing its defining structure: a baked brownie base, tangy cream layer, pudding layer, whipped topping, and refrigerator set.
- Use two chocolate pudding packages for a deeper chocolate profile.
- Use two vanilla pudding packages for a lighter, more contrasting version.
- Replace the grated chocolate with chocolate curls, mini chips, or a restrained dusting of cocoa.
- Add a small amount of espresso powder, finely chopped toasted nuts, crushed cookies, or mint flavoring to an appropriate layer without making it wet.
- A cookie crust, frozen preparation, or cheesecake-only filling becomes a different dessert rather than a simple variation of this recipe.
How to Serve Brownie Refrigerator Cake
Serve the cake directly from the refrigerator for the most distinct layers and cleanest portions. Its richness is balanced well by bitter coffee, unsweetened tea, or tart fruit.
- Warm a sharp knife briefly under hot water, wipe it dry, and clean the blade between cuts.
- Add the chocolate garnish before chilling so the surface stays dry and attractive.
- For transport, keep the covered pan in a cooler or over ice and return leftovers to refrigeration promptly.
- Serve with espresso, black tea, or a small portion of fresh berries rather than another very sweet accompaniment.
How to Store and Make Brownie Refrigerator Cake Ahead
This is an excellent make-ahead dessert. Overnight refrigeration improves the firmness of the layers, although the brownie gradually absorbs moisture and the topping slowly loses volume over time.
- Cover the assembled cake and refrigerate it at 40°F or below as soon as practical.
- Make it up to one day ahead for the best combination of convenience and sliceability.
- Use refrigerated leftovers within 3 to 4 days for best quality and safety.
- Freezing is possible in tightly wrapped portions, but thawing may make the pudding watery, the topping grainy, and the brownie firmer. Thaw slowly in the refrigerator.
- Do not reheat this dessert; serve it cold after refrigerated thawing.
Brownie Refrigerator Cake FAQs
These practical answers cover the most common choices and timing questions for this layered brownie dessert.
Is brownie refrigerator cake completely no-bake?
No. The brownie base must be baked until fully set. The cream-cheese, pudding, and whipped-topping layers are assembled without further baking and set in the refrigerator.
Can I use boxed brownies instead of making the brownie base from scratch?
Yes. Bake a boxed mix in a 9-by-13-inch pan according to its directions, cool it completely, and use it as the base. An extra egg is optional; it can make the brownie more cohesive but also more cake-like.
Can I use store-bought brownies?
Yes, provided they are plain, fully baked, and firm enough to cover the pan in one even layer. Avoid very soft, frosted, or underbaked brownies.
Why must the brownies cool completely?
Warm brownies can soften the cream-cheese mixture, melt the whipped topping, and cause the boundaries between layers to blur. Room-temperature cooling is the minimum; the brownie must not feel warm in the center.
Can I use only chocolate pudding or only vanilla pudding?
Yes. Two chocolate packages give a more intense chocolate layer, while two vanilla packages emphasize contrast. Keep the total liquid matched to the pudding formulation and make sure the mixture is thick before spreading.
Can homemade whipped cream replace frozen whipped topping?
Yes, but stabilize it with gelatin, mascarpone, or another suitable stabilizer if the cake will sit for several hours. Plain whipped cream is less dependable for overnight storage.
How long does the dessert need to chill before slicing?
Allow at least 4 hours. Overnight chilling is preferable when you need firm, clean squares for a potluck or holiday meal.
Why are my slices loose?
The usual causes are insufficient chilling, warm ingredients, or pudding that was too thin. Refrigerate the pan longer; however, refrigeration cannot fix an underbaked brownie or pudding made with too much milk.
What pan size should I use?
A 9-by-13-inch pan gives the intended layer thickness and 24-square yield. A smaller pan will make deeper layers and require more chilling, while a larger pan will produce thinner, less stable layers.
How do I cut neat squares?
Chill the dessert thoroughly, use a sharp knife warmed briefly under hot water, dry the blade, and wipe it between cuts. Cut shortly before serving and keep the remaining cake cold.
Food-Safety Notes for This Chilled Dessert
Because this recipe contains baked eggs, cream cheese, milk, and whipped topping, temperature control matters. Bake the brownie fully, refrigerate the assembled dessert promptly, and do not rely on smell or appearance to judge whether food has been held safely.
- Keep the refrigerator at 40°F or below.
- Refrigerate the assembled dessert and other perishable ingredients within 2 hours, or within 1 hour when the ambient temperature is above 90°F.
- Use refrigerated leftovers within 3 to 4 days.
- Transport the cake in a cooler or over ice if it will not remain refrigerated.
- For general guidance on refrigerator temperatures and the two-hour rule, consult the FDA’s refrigerator food-safety information.