Mickey Mouse Cake Recipe: Easy Birthday Cake
This easy Mickey Mouse cake recipe uses ordinary round pans to create a recognizable head-and-ears silhouette, then finishes it with black, red, yellow, and white buttercream for a party-ready Disney birthday cake.
What Makes a Mickey Mouse Cake Recognizable
The most important part of this Mickey Mouse birthday cake is the silhouette: one large round head with two smaller, balanced round ears. Once that outline reads clearly, black frosting, red shorts, and yellow buttons do the rest of the visual work.
- The main recipe uses an 8-inch two-layer head and two 4-inch single-layer ears.
- A sturdy, moist vanilla crumb is easier to level and stack than a very delicate sponge.
- Facial details are optional; the head-and-ears shape is the essential design cue.
Why These Cake and Buttercream Ingredients Work
The cake formula balances tenderness with enough structure for trimming and assembly. Butter and sugar keep the crumb flavorful and moist, while eggs and flour provide the framework that lets the layers support the ears. The buttercream is deliberately generous: it fills, adheres, crumb-coats, colors, and pipes the decorations.
- Room-temperature eggs and milk help the batter mix into a smooth emulsion.
- Gel colors add concentrated color without watering down the frosting.
- Cocoa powder gives the black frosting a head start, reducing the amount of black coloring needed.
- Heavy cream lets the same buttercream be adjusted from spreadable to pipeable.
Ingredients
- 3 cups all-purpose flour, spooned and leveled
- 2 1/2 teaspoons baking powder
- 1 teaspoon fine salt
- 1 1/2 cups unsalted butter, softened
- 2 1/4 cups granulated sugar
- 5 large eggs, at room temperature
- 2 teaspoons pure vanilla extract
- 1 1/4 cups whole milk, at room temperature
- 3 cups unsalted butter, softened, for buttercream
- 10 cups confectioners’ sugar, sifted
- 1 tablespoon pure vanilla extract, for buttercream
- 1/2 cup heavy cream, plus more if needed
- 1/2 teaspoon fine salt, for buttercream
- 2 tablespoons unsweetened cocoa powder, for deepening the black frosting
- Black gel food coloring, as needed
- Red gel food coloring, as needed
- Yellow gel food coloring, as needed
- White gel food coloring, as needed
How to Assemble the Mickey Head and Ears
Treat the cake as four separate rounds until the layers are cold and level. Stack the large rounds first, then position the ears so their lower edges touch the head. A thick dab of stiff frosting provides the adhesive, while chilling gives that adhesive time to firm before the cake is covered.
- Use a cake board wider than the finished silhouette; the ears need support beyond the head’s footprint.
- Level chilled layers with a serrated knife using a gentle sawing motion.
- Apply a thin crumb coat before attempting a smooth black finish.
- If the ears feel heavy or begin to tilt, chill immediately and add temporary supports.
For additional guidance on stacking, crumb-coating, frosting consistency, and chilling a layer cake, see King Arthur Baking’s guide to assembling and frosting a layer cake.
Instructions
- Prepare the pans:
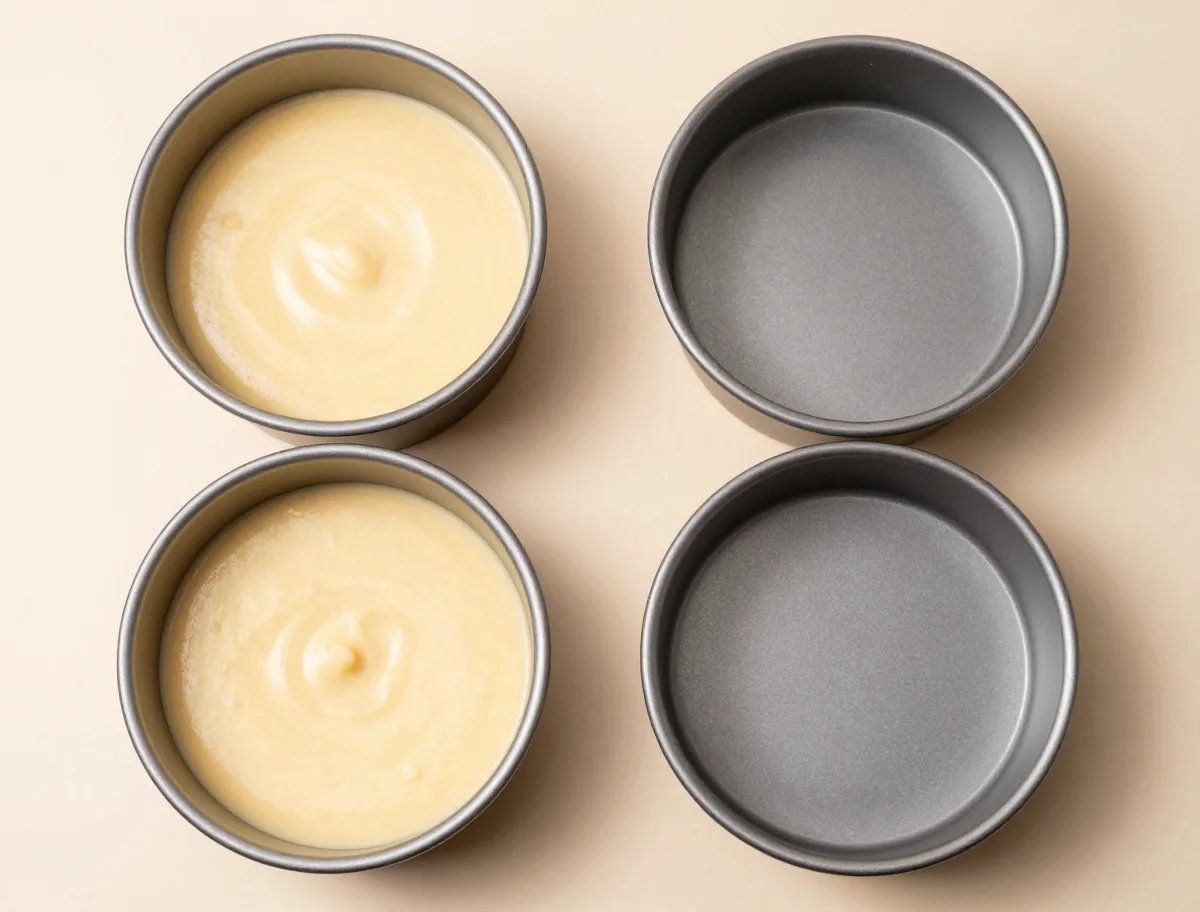
Heat the oven to 350°F (175°C). Grease two 8-inch round cake pans and two 4-inch round cake pans. Line the bottoms with parchment and grease the parchment. Set the pans on a baking sheet so the smaller ear pans are easy to move together.
- Mix the cake batter: Whisk the flour, baking powder, and salt together. In a large bowl, beat the softened butter and sugar on medium speed until pale and fluffy, about 3 minutes. Beat in the eggs one at a time, then beat in the vanilla. Add the flour mixture in three additions, alternating with the milk in two additions; mix on low only until no dry streaks remain.
- Fill and bake: Divide the batter by volume: put about 2 cups into each 8-inch pan and about 1 cup into each 4-inch pan. Smooth the surfaces without filling any pan more than two-thirds full. Bake the 4-inch ears for 18 to 23 minutes and the 8-inch head layers for 24 to 30 minutes, checking each pan separately. The cakes are ready when the centers spring back lightly and a tester comes out clean or with a few moist crumbs.
- Cool and level: Cool the cakes in their pans for 10 minutes, then turn them onto a rack, remove the parchment, and cool completely. For cleaner trimming, refrigerate the cakes for 30 to 45 minutes. Use a serrated knife to level the two 8-inch layers; leave the 4-inch ear cakes whole unless their tops are noticeably domed.
- Make the buttercream: Beat the butter and salt until smooth. Gradually add the confectioners’ sugar, then beat in the vanilla. Add the heavy cream a little at a time until the buttercream is smooth and spreadable but still holds a soft peak. Beat in the cocoa powder. Reserve 1 cup of the pale chocolate buttercream, then tint the remaining frosting black with gel coloring. Tint 1 1/4 cups red, 1/2 cup yellow, and 1/2 cup white; keep each color covered while you work. If possible, let the black and red frosting rest for 30 minutes so the colors deepen.
- Stack the head: Place one 8-inch layer on a cake board at least 14 by 10 inches. Spread about 1 cup of pale chocolate buttercream over it, stopping just short of the edge. Add the second layer, cut-side down, and press gently until level. Use a little frosting to fill any visible seam.
- Attach the ears: Position one 4-inch cake at each upper side of the head, with the lower edge of each ear touching or slightly overlapping the head. Use a generous dab of black frosting beneath each ear as edible adhesive. For extra security, insert one short bamboo skewer or toothpick through each ear into the head, marking their positions so they can be removed before serving. Chill the assembly for 30 minutes.
- Crumb-coat the silhouette: Spread a thin layer of black frosting over the head and both ears, filling the joins where the circles meet. Do not worry about making this coat perfectly smooth. Chill until firm to the touch and no frosting comes away on a fingertip, about 30 minutes.
- Apply the final black coat: Cover the cake with the remaining black frosting. Smooth the head and ears with an offset spatula or cake scraper, or leave the surface lightly textured for an easier finish. Chill for 20 minutes before adding the colored details.
- Add Mickey’s details: Pipe or spread a red oval-shaped shorts panel across the lower front of the head. Pipe two yellow round buttons on the red panel. Using the white frosting, pipe two oval eyes; add black pupils and a small black oval nose with the remaining black frosting. Add a small curved mouth if desired. Chill the completed cake for at least 30 minutes before moving it. Remove all skewers or toothpicks before serving.
How to Tell When the Cake and Frosting Are Ready
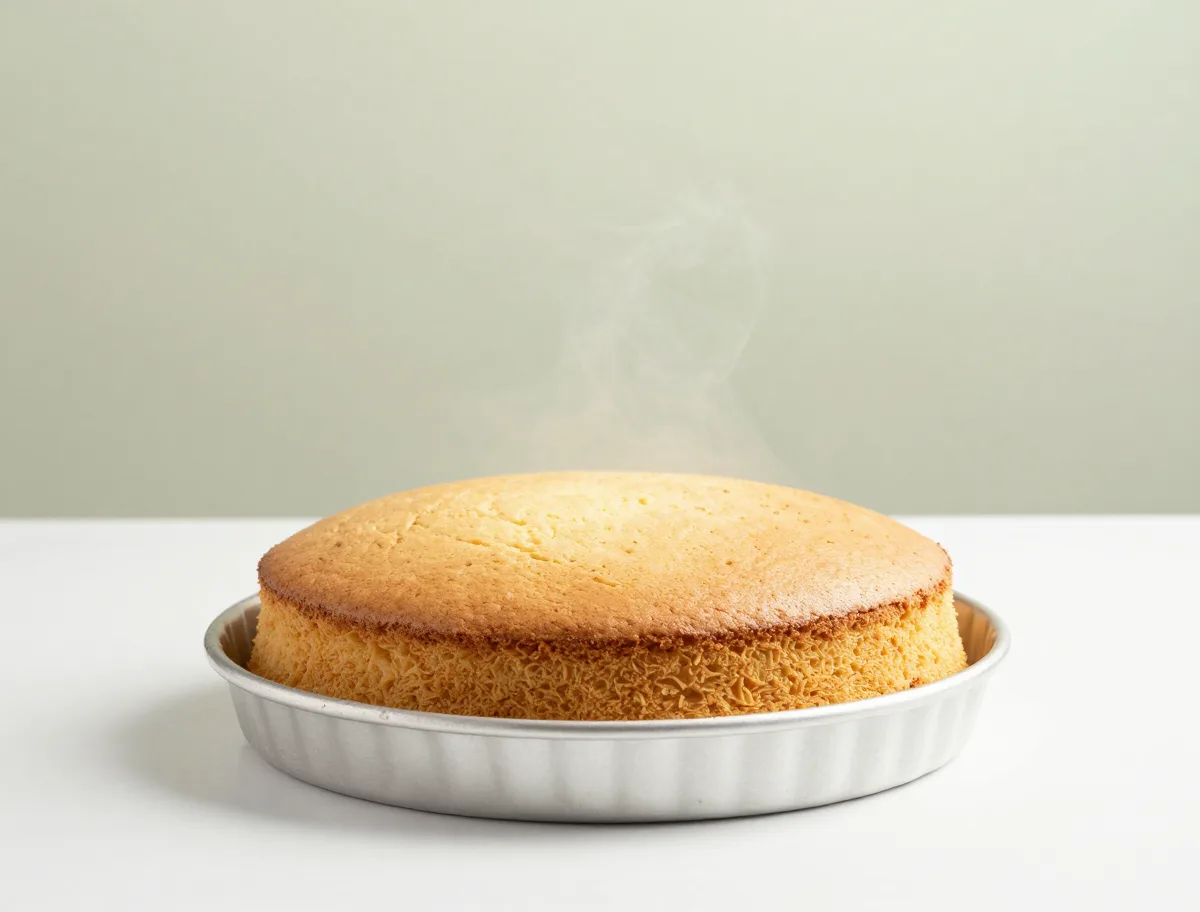
Because the ear pans are smaller, they will usually finish before the head layers. Check each pan independently rather than relying only on the clock. The ideal cake is moist but fully set, and the ideal buttercream spreads without tearing the crumb while holding its shape when piped.
- A few moist crumbs on the tester are preferable to a completely dry tester.
- Do not frost until every layer is fully cool; even slight warmth can soften the buttercream and cause sliding.
- The finished cake should have firm joins, upright ears, and no visible movement when the board is nudged.
- If the frosting drags crumbs, chill the cake rather than adding a much thicker coat immediately.
Doneness Cues
- The cake surface is set and matte rather than wet-looking.
- The edges pull back slightly from the pans.
- The center springs back gently when pressed.
- A tester inserted in the center comes out clean or with a few moist crumbs.
- The chilled crumb coat feels firm and does not leave frosting on a fingertip.
- The ears remain upright and the cake board stays level when gently moved.
The Variables That Keep the Shape Stable
Pan diameter changes baking speed and batter depth, which is why the small rounds need earlier checking. Even batter distribution produces layers that meet cleanly, while overmixing can make the crumb tough and difficult to cut. Chilling is not merely cosmetic: cold cake and buttercream resist pressure during trimming, smoothing, and transport.
- Measure batter into the pans as evenly as possible so the ears finish at a similar height.
- Stop mixing as soon as the flour disappears; extended mixing develops gluten and toughens the cake.
- Chill between ear attachment, crumb coating, final smoothing, and transport.
- Deep colors can loosen frosting slightly, so use gel coloring sparingly and add confectioners’ sugar if necessary.
Common Mickey Mouse Cake Problems and Fixes
A shaped cake can look untidy before its final decoration, and most minor flaws are repairable. Work cold, use the crumb coat as a sealing layer, and let the design details conceal small surface variations instead of repeatedly scraping the cake.
- Dry or cracked layers: Check the small pans early and remove all cakes as soon as they are set. Brush away loose crumbs and use buttercream to fill cracks.
- Domed layers: Chill them before trimming, then level the tops with a serrated knife.
- Crumbs in black frosting: Apply a thin crumb coat and chill it until firm before the final coat.
- Sliding ears: Use thicker frosting beneath the ears, increase their contact with the head, and chill before smoothing.
- Gray or bitter black frosting: Begin with chocolate buttercream and allow the color to deepen before adding more gel.
- Red staining yellow or white details: Chill the base coat first and pipe the lighter colors only onto a firm surface.
Easy Ingredient Substitutions for a Mickey Cake
The silhouette works with several cake flavors and decorating approaches. Choose substitutions according to the finish you want: butter cake gives a rich, firm crumb; oil-based or boxed cakes stay especially moist; and dry cookie decorations reduce the amount of precision frosting required.
- Use chocolate, marble, or red velvet cake instead of vanilla if the batter is firm enough to stack.
- A boxed mix is acceptable; follow its liquid and egg directions and judge the required number of boxes by the total batter volume.
- Chocolate buttercream is an easier route to black than tinting a large amount of white frosting.
- Mini chocolate sandwich cookies, chocolate wafers, or black sprinkles can replace some of the black frosting.
- A shortening-butter blend is more stable in warmth, while all-butter frosting has a richer flavor.
- Fondant or candy melts can create sharper graphic details, but they make the cake sweeter and require more careful handling.
Mickey Cake Variations for Different Celebrations
Keep the defining round head and two ears, then adjust the scale or level of decoration to suit the event. The full two-layer version is appropriate for a birthday gathering, while a single-layer cake or cookie ears make a faster project.
- For a one-layer cake, use one 8-inch round head and two 4-inch cake ears, or substitute cookies for the ears.
- For a small smash cake, use a 6-inch head with soft, lightweight decorations and no hard candy pieces.
- A Mickey-shaped pan is optional; it changes the process but does not improve the essential color-blocked design.
- Cupcakes arranged as one large circle and two smaller circles are a serving-friendly alternative, but they will not slice like one cake.
- Tall stacked ears, carved sculptures, and multi-tiered character cakes require additional structural support and decorating skill.
How to Serve a Mickey Mouse Birthday Cake
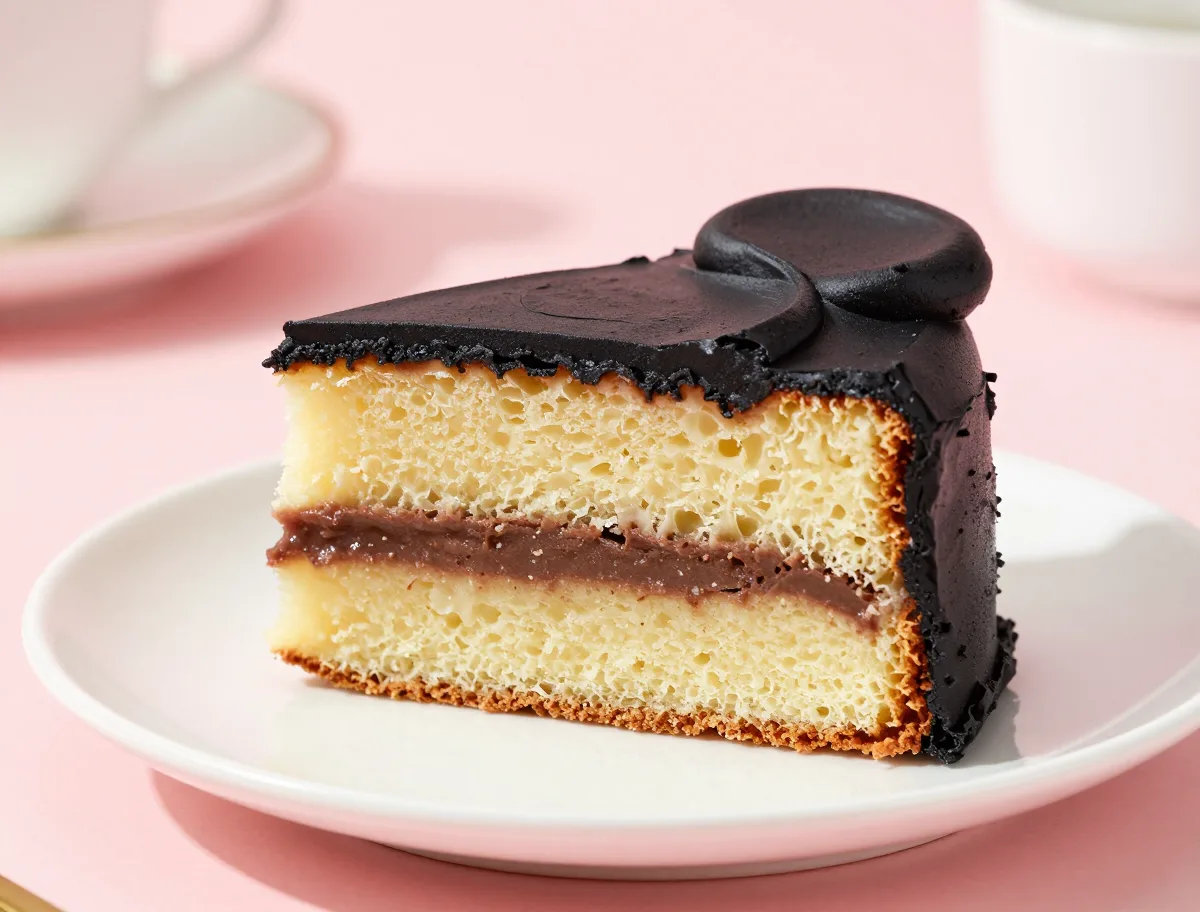
Let a refrigerated buttercream cake warm slightly before serving so the crumb becomes tender and the frosting tastes creamy rather than firm. Because the silhouette is irregular, cut the ears separately and then divide the head into narrow wedges.
- Use a large flat board or platter so the ears remain supported while portions are removed.
- Remove bamboo skewers, toothpicks, and any particularly hard decorations before cutting.
- Serve with cold milk, coffee, vanilla ice cream, or fresh berries if desired.
- The 8-inch two-layer head generally provides about 16 modest party servings, depending on how the ears are portioned.
How to Store, Freeze and Transport This Cake
The easiest schedule is to bake and wrap the layers the day before, then assemble and decorate on celebration day. Plain layers can be tightly wrapped and kept for a short period at room temperature or refrigerated; a decorated cake keeps its best texture when protected and chilled.
- Cool layers completely before wrapping them in plastic, followed by an airtight outer layer. Refrigerate for up to 3 days or freeze for up to 1 month for best quality.
- A fully assembled cake with standard American buttercream can be refrigerated for up to about 5 days in a covered carrier, although cookies and some decorations may soften.
- To freeze a decorated cake, chill it uncovered until firm, then wrap it carefully and thaw it in its carrier to limit condensation.
- Cakes are thawed rather than reheated; allow a refrigerated cake 45 to 60 minutes at cool room temperature before serving.
- Transport the cake cold, secured to its board, in a level vehicle position away from direct sun.
- If the frosting or filling contains cream cheese, whipped cream, custard, curd, or fresh fruit, keep it refrigerated and follow the FDA two-hour limit, reduced to one hour in temperatures above 90°F.
For authoritative storage and handling information, consult the FDA’s safe food-handling guidance.
Recipe Notes
- A boxed vanilla or chocolate cake mix can replace the homemade batter. Prepare it according to the package directions, then divide the batter by pan capacity rather than assuming one mix fills all four pans; a second mix may be needed for full-height ears.
- For a simpler black finish, use chocolate buttercream with black gel coloring. Crushed chocolate sandwich cookies can also be pressed onto the final coat, although the surface will be textured.
- Bake the layers one day ahead, wrap them tightly once cool, and refrigerate. Assemble and decorate the following day.
- For warm conditions, replace up to 1 cup of the butter in the buttercream with vegetable shortening for a firmer, more heat-resistant finish.
- Keep the finished cake refrigerated in a covered carrier until transport. Let it stand at cool room temperature for 45 to 60 minutes before serving so the cake and buttercream soften.
- For a small smash cake, bake one 6-inch head layer and use two lightweight chocolate sandwich cookies for ears. Avoid hard decorations and remove all supports before giving the cake to a young child.
Mickey Mouse Cake Recipe FAQs
These answers cover the practical decisions that matter most when making a Mickey Mouse themed cake without a specialty pan.
Can I make the Mickey head shape without a special pan?
Yes. Bake two large 8-inch rounds for the head and two smaller 4-inch rounds for the ears. Position the ears against the upper sides of the head and secure them with stiff frosting.
How much batter do I need for the pans?
This recipe uses about 2 cups of batter per 8-inch pan and about 1 cup per 4-inch pan. Cake mixes vary in volume, so measure or divide the batter rather than assuming one box fills this exact arrangement.
Should the ears be single-layer or double-layer?
Single-layer ears are lighter and easier to secure, which is why this recipe uses them. Double-layer ears can look taller, but they need more frosting and may require additional supports.
What is the easiest way to get black frosting?
Start with chocolate buttercream, mix in black gel coloring, and let it rest so the color develops. Crushed chocolate sandwich cookies are an even simpler textured alternative.
How do I stop the ears from sliding?
Work with cold cake, use a generous amount of stiff frosting beneath each ear, make sure the ear touches the head, and chill the assembled cake before applying the final coat. Temporary skewers or toothpicks can provide extra support, but remove them before serving.
Can I use Oreos for the ears?
Yes. For a smaller single-layer cake, whole chocolate sandwich cookies make quick, lightweight ears. They can also be crushed and pressed onto black frosting for a forgiving textured finish.
How far ahead can I decorate the cake?
Bake the layers one day ahead, wrap and chill them, then decorate the next day. A completed buttercream cake can be refrigerated for several days in a covered carrier, though cookie and candy details may change texture.
How should I scale this for a smash cake?
Use one 6-inch head layer and lightweight cookie ears. Keep the decorations soft and simple, avoid hard candy, and remove any supports before the cake is given to a child.