Chicken Pot Pie Canning Recipe with Vegetables
This savory chicken pot pie filling is designed for immediate baking or freezing, not shelf storage. It delivers tender chicken, distinct vegetables, and a thick, glossy gravy; for a chicken pot pie canning recipe, use only a current, research-tested process for the exact formula rather than adapting this one.
What This Chicken Pot Pie Filling Is—and Is Not
This recipe makes a finished, gravy-based chicken pot pie filling for baking, refrigeration, or freezing. It is not a shelf-stable canned product. A safe home-canned chicken pot pie base must follow a current, research-tested process for the exact low-acid formula; a custom mixture cannot be made safe simply by choosing a pressure-canning time.
- Expect tender chicken, recognizable vegetables, and a spoon-coating gravy.
- The filling is ready for a crust or biscuit topping after cooking.
- For make-ahead convenience, freeze the cooked filling rather than canning it.
Why the Ingredients Work
Chicken thighs stay moist during simmering, while onion, celery, and carrot establish the traditional savory vegetable base. Butter carries flavor and helps form the roux; flour gives the broth its gravy texture, and milk rounds out the sauce. Peas are added at the end so they retain color and a fresh, sweet flavor.
- Warm broth blends into the roux more smoothly than cold liquid.
- Uniform vegetable cuts help the carrots and celery finish at the same time.
- Dried thyme and sage provide poultry-friendly seasoning without adding extra liquid.
Ingredients
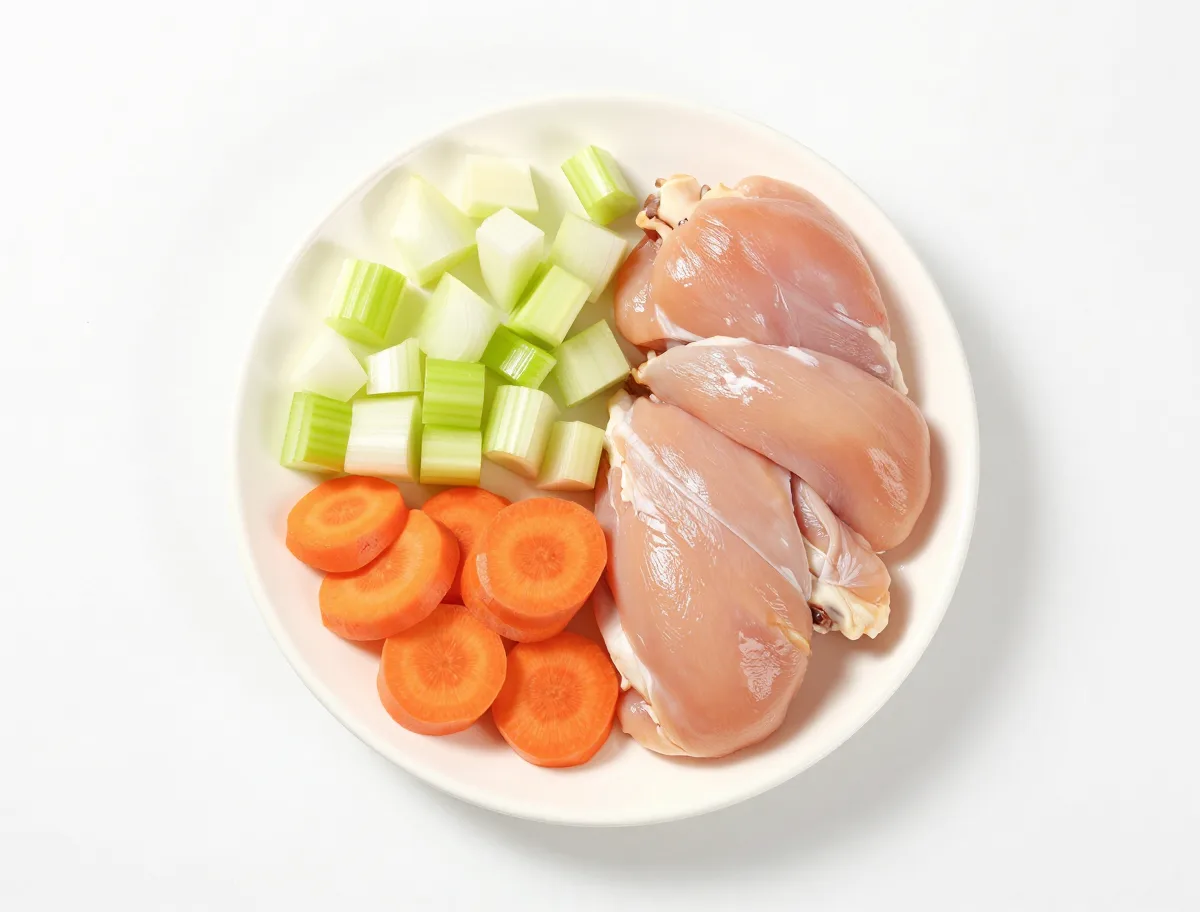
- 2 tablespoons unsalted butter
- 1 medium yellow onion, finely diced
- 2 stalks celery, diced
- 2 medium carrots, peeled and cut into 1/4-inch half-moons
- 2 cloves garlic, minced
- 1/4 cup all-purpose flour
- 4 cups low-sodium chicken broth, warmed
- 1/2 cup whole milk
- 1 teaspoon kosher salt, plus more to taste
- 1/2 teaspoon black pepper
- 1 teaspoon dried thyme
- 1/2 teaspoon rubbed sage
- 1 1/4 pounds boneless, skinless chicken thighs, cut into 3/4-inch pieces
- 1 cup frozen green peas, kept frozen
How to Make the Filling Successfully
The important technique is controlling the stages rather than rushing them. Soften the firm vegetables before adding flour, cook the flour briefly to remove its raw taste, and add broth gradually while whisking. Once the chicken goes in, keep the simmer gentle; vigorous boiling can toughen the meat and break down the vegetables.
- Do not brown the vegetables aggressively; a pale, savory base gives the cleanest gravy.
- Add the broth in several additions so the roux emulsifies instead of clumping.
- Add frozen peas near the end to prevent them from becoming dull and mushy.
Instructions
- Soften the vegetables: Melt the butter in a large, heavy saucepan or Dutch oven over medium heat. Add the onion, celery, and carrots. Cook for 7 to 9 minutes, stirring occasionally, until the onion is translucent and the carrots have begun to soften. Stir in the garlic and cook for 30 seconds.
- Build the roux: Sprinkle in the flour and stir continuously for 1 to 2 minutes, until no dry flour remains and the mixture smells lightly nutty. Do not let the flour brown deeply.
- Make the gravy: Whisk in the warm chicken broth a little at a time, then whisk in the milk. Add the salt, pepper, thyme, and sage. Bring to a gentle simmer, stirring often, until the sauce is smooth and thick enough to coat a spoon, about 5 minutes.
- Cook the chicken: Stir in the chicken pieces. Reduce the heat to medium-low, cover partially, and simmer for 10 to 12 minutes, stirring once or twice, until the chicken reaches 165°F in the center and the largest pieces are opaque throughout.
- Finish the filling: Fold in the frozen peas and simmer uncovered for 2 to 3 minutes, just until hot. Taste and adjust the seasoning. The filling should be thick but spoonable; it will firm slightly as it cools.
- Use, chill, or freeze: For immediate baking, transfer the hot filling to a pie dish and top with pastry or biscuits according to the chosen topping’s directions. For make-ahead storage, cool the filling promptly in a shallow container, refrigerate it for up to 3 days, or freeze it for up to 3 months in an airtight freezer-safe container. Thaw frozen filling in the refrigerator before reheating.
How to Tell When the Filling Is Ready
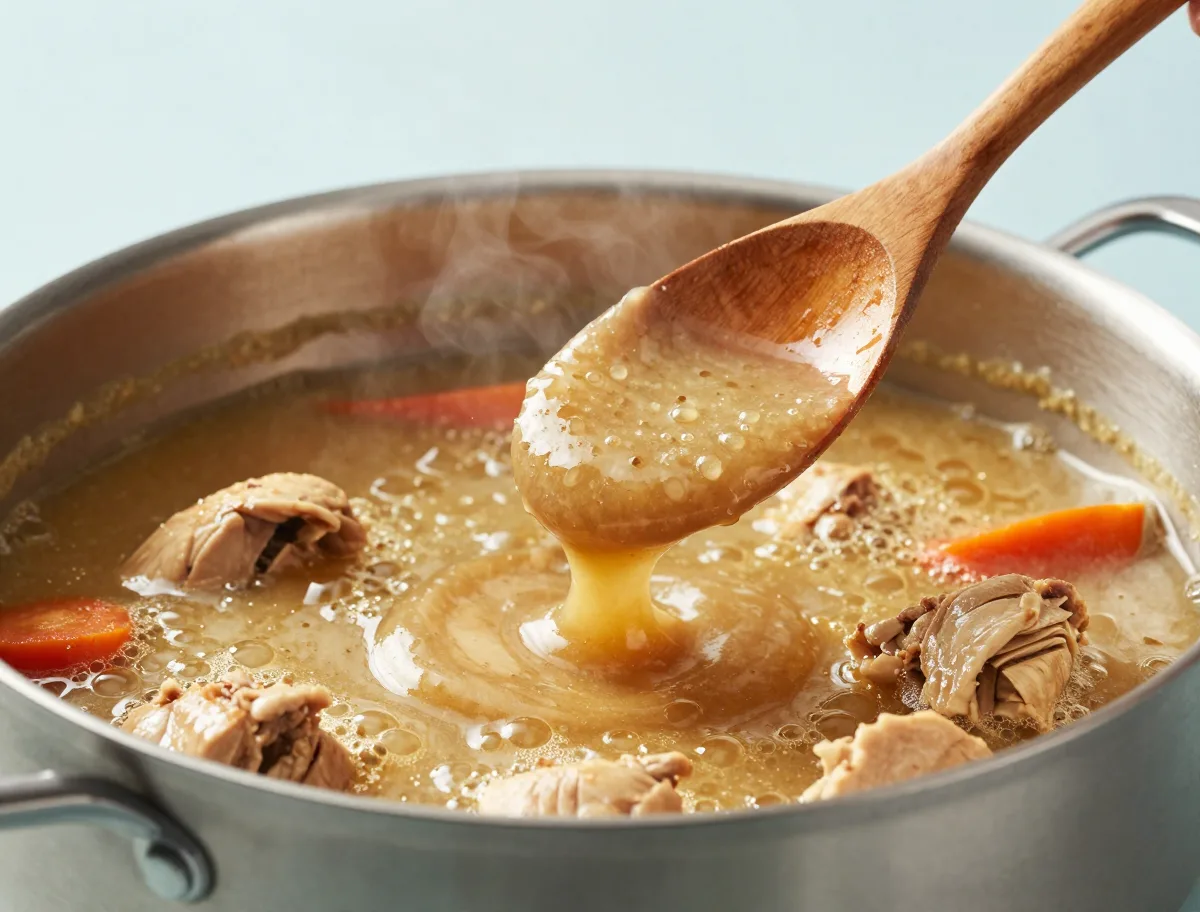
The finished filling should be thick enough to mound slightly on a spoon but fluid enough to spread beneath a crust. The chicken should be fully opaque and register 165°F internally. Because the filling continues to thicken as it cools, stop cooking when it is just a little looser than the texture desired on the plate.
- A glossy sauce that coats the back of a spoon indicates a properly cooked roux.
- Carrots should remain intact rather than collapsing into the gravy.
- The baked pie is ready when the topping is browned and the center is bubbling.
Doneness Cues
- The carrots should be tender enough to pierce but should still hold their shape.
- The gravy should coat a spoon without being stiff or pasty.
- Chicken must reach 165°F at the center of the largest pieces.
- After peas are added, the filling should be cohesive and bubbling gently, with no raw flour flavor.
Why This Filling Should Not Be Canned as Written
Flour and milk make this filling pleasantly thick, but that same viscosity matters in canning: dense foods heat more slowly and do not behave like a thin broth-based soup. Chicken and vegetables are low-acid foods, so shelf storage requires a validated pressure-canning process. Pressure canning is not interchangeable with a boiling-water bath, and a familiar ingredient list does not make an untested combination safe.
- Do not reduce the broth or increase the flour if adapting this recipe for ordinary cooking.
- Do not substitute water-bath processing for pressure canning.
- Altitude changes pressure requirements in validated processes; it does not validate an untested formula.
For official information about pressure-canned soups, headspace, processing tables, and thickening restrictions, consult the National Center for Home Food Preservation’s soup guidance.
Common Chicken Pot Pie Filling Problems
Most texture problems happen before the filling reaches the oven. A lumpy sauce usually means the broth was added too quickly; watery filling usually needs more simmering, while a stiff filling has been reduced too far or thickened excessively.
- Lumpy gravy: Whisk vigorously while adding a little warm broth, then continue simmering until smooth.
- Watery filling: Simmer uncovered for several minutes before adding the peas.
- Overly thick filling: Loosen with warm chicken broth, one tablespoon at a time.
- Mushy vegetables: Cut them larger next time and avoid prolonged boiling.
- Tough chicken: Check the temperature earlier and keep the sauce at a gentle simmer.
- Do not attempt to rescue an untested jarred version by reprocessing it or tasting it.
Reasonable Ingredient Substitutions
For ordinary refrigerated or frozen preparation, boneless chicken breast can replace the thighs, though it is less forgiving and should be removed from the heat as soon as it reaches 165°F. You can also use a frozen mixed vegetable blend in place of the peas, carrots, and celery, provided the pieces are reasonably uniform.
- Chicken breast: Cut into slightly larger pieces and avoid overcooking.
- Fresh peas: Add them with the frozen peas timing, adjusting only until tender.
- Unsalted broth: Preferred when using the listed salt; regular broth may require less salt.
- Do not treat these culinary substitutions as approved substitutions for a shelf-stable canning formula.
Safe Ways to Vary the Finished Filling
The easiest variations belong in the finishing stage, where they affect flavor without changing a preservation process. Add a pinch of poultry seasoning, use pearl onions in place of some diced onion, or fold in chopped parsley after cooking. Keep the core identity intact: chicken, vegetables, and a savory gravy under a baked topping.
- For a biscuit pie, keep the filling slightly looser because biscuits absorb sauce as they bake.
- For a pastry pie, cool the filling for about 15 minutes before topping so the crust stays flakier.
- Add cream, extra butter, herbs, or cheese only during ordinary cooking or reheating—not to a jar intended for shelf storage.
- Clear Jel, cornstarch, flour, rice, pasta, and dairy should not be added to an unvalidated canned formula.
How to Finish and Serve the Pot Pie
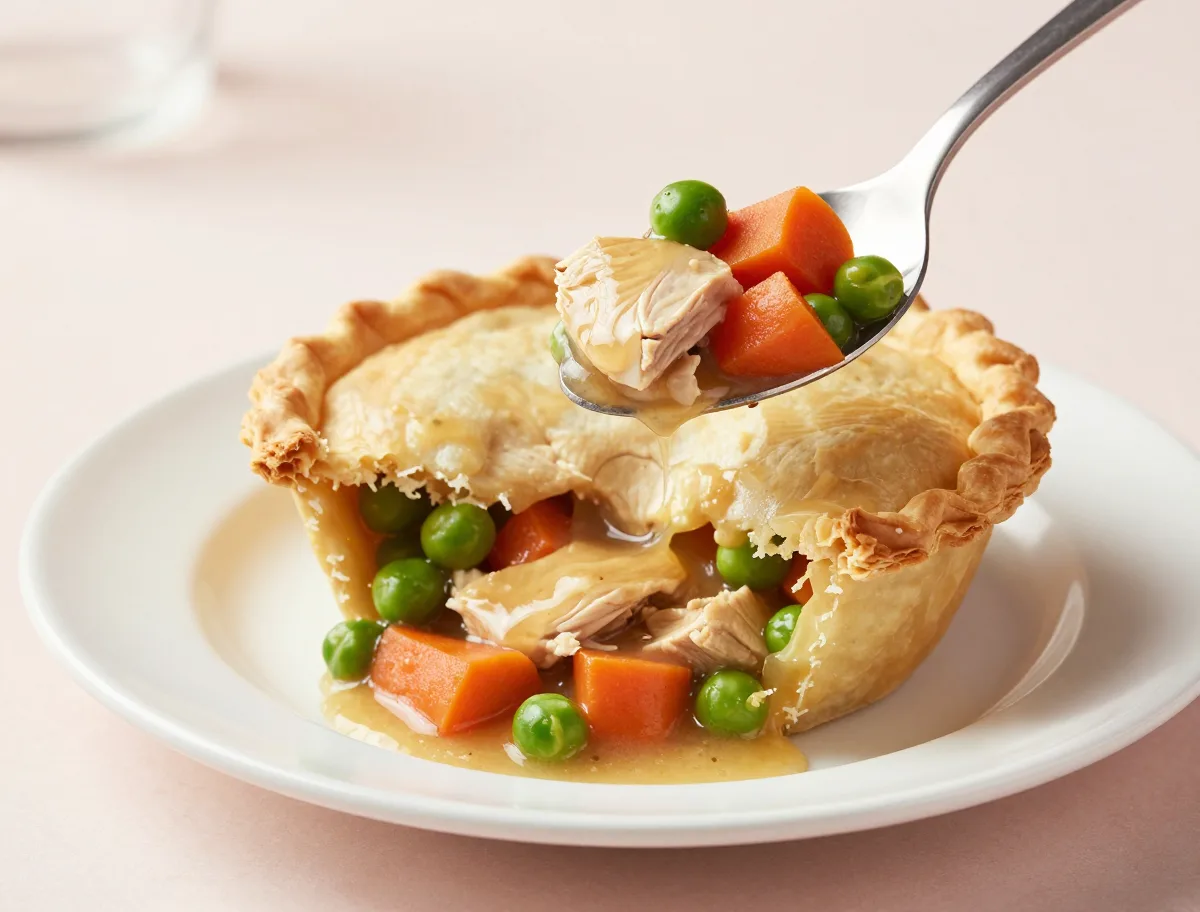
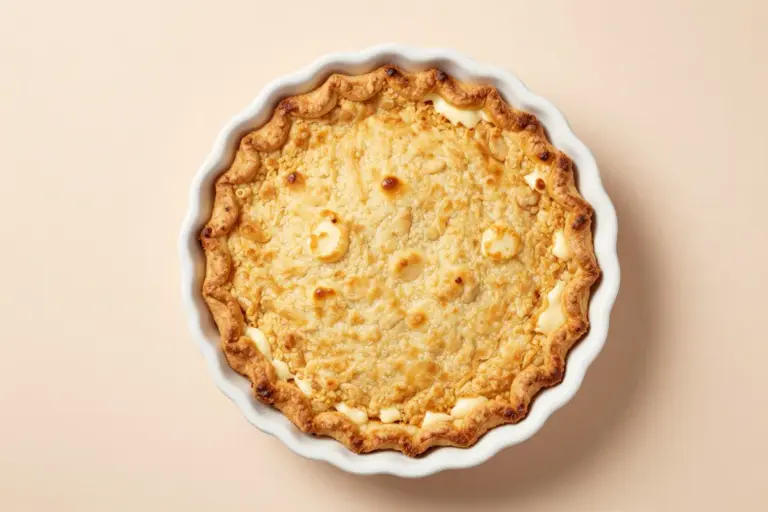
Spoon the hot filling into one deep-dish pie plate or divide it among individual dishes. Cover with pastry, puff pastry, or biscuit dough and bake according to the topping’s requirements, until the surface is browned and the filling bubbles at the edges and center. Rest the pie for 10 minutes before serving so the gravy settles.
- A crisp green salad or simply dressed bitter greens balance the rich filling.
- Individual pies are useful for portioning and usually need less baking time than one deep pie.
- Serve cautiously; the filling remains extremely hot beneath the topping.
How to Store, Freeze, and Reheat the Filling
Cool cooked filling promptly in a shallow container rather than leaving a large hot pot at room temperature. Refrigerate for up to 3 days, or freeze for up to 3 months. Thaw in the refrigerator, then reheat in a saucepan over medium-low heat until steaming throughout before adding it to a crust or biscuit-topped dish.
- A frozen filling may separate slightly; stir it gently as it reheats.
- Add a splash of broth if the thawed gravy is tighter than desired.
- Do not refreeze previously frozen filling.
- A sealed jar is not automatically safe for room-temperature storage unless the exact product and process are research tested.
For guidance on seal checking, storage conditions, labeling, failed seals, and warning signs for questionable home-canned foods, consult the National Center for Home Food Preservation’s home-canned food storage guidance.
Chicken Pot Pie Canning Recipe Questions
The most important distinction is between a delicious cooked filling and a validated shelf-stable canning formula. Current authoritative guidance supports pressure canning for low-acid poultry-and-vegetable foods, but generic soup guidance should not be presented as proof that an independently formulated chicken pot pie mixture is safe.
Can chicken pot pie filling be water-bath canned?
No. Chicken and vegetables are low-acid foods, and a boiling-water bath does not provide the required safety conditions. A validated pressure-canning process is required for any shelf-stable version.
Can I pressure-can this recipe as written?
No. This recipe contains flour and milk and is intended for refrigeration or freezing. Do not pressure-can it as written, and do not assume that a pressure-canning schedule from plain chicken or generic soup automatically applies to this formula.
What about Clear Jel, cornstarch, or flour in canned chicken pot pie filling?
Do not add them to an unvalidated low-acid jarred filling. Thickening agents alter viscosity and heat penetration. Thicken the broth during ordinary cooking after opening a genuinely validated canned base.
What jar sizes and headspace are used in official soup guidance?
The National Center for Home Food Preservation’s soup guidance uses pint or quart jars with 1 inch of headspace, but that information does not validate every chicken-and-vegetable combination. Follow the exact process for the specific tested product.
What pressure and processing time should I use?
There is no universally safe time for an independently formulated chicken pot pie filling. Official poultry and soup schedules differ, and pressure also depends on gauge type and altitude. Use the schedule published for the exact tested recipe, not a guessed compromise.
How can I turn a validated canned base into pot pie?
Inspect the jar, transfer the contents to a saucepan, bring them to a full simmer, and thicken the broth separately if the tested instructions permit it. Transfer the hot filling to a baking dish, add pastry or biscuits, and bake until the center is hot and bubbling.
What should I do if a jar fails to seal?
An unsealed low-acid jar is not shelf stable. Refrigerate it promptly and use it as soon as practical, or freeze it with suitable headspace. Do not taste a jar that was processed by an unvalidated method, has been stored at room temperature, or shows any spoilage sign.
How should I handle siphoning or liquid loss?
Liquid loss can result from overfilling, incorrect headspace, pressure fluctuations, or force-cooling. A good seal does not restore lost quality, and a broken seal creates a safety concern. Do not top off a processed jar.
Food-Safety Rules for Pressure-Canned Chicken Bases
Poultry combined with vegetables requires particular caution because dangerous contamination may not produce an obvious smell, appearance, or taste. For any shelf-stable project, use a real pressure canner, follow a current tested recipe exactly, vent the canner for the specified period, maintain steady pressure, and allow natural depressurization. This cooked recipe is deliberately excluded from that category because its thickened dairy-based formula has not been validated for canning.
- Never water-bath can poultry, meat, or vegetable mixtures.
- Never can a thickened filling containing flour, milk, cream, rice, pasta, or an unvalidated starch.
- If pressure drops below the required level during a validated process, follow the authority’s instructions; do not assume the remaining time compensates for underprocessing.
- Discard jars that are swollen, leaking, spurting, moldy, foul-smelling, or otherwise suspicious, and never taste-test questionable low-acid food.