Bisquick Pot Pie Recipe With Chicken and Vegetables
This easy Bisquick pot pie recipe combines cooked chicken, creamy vegetables, and a tender golden biscuit-style topping in one shallow casserole—no rolled pastry crust required.
What to Expect From This Bisquick Chicken Pot Pie
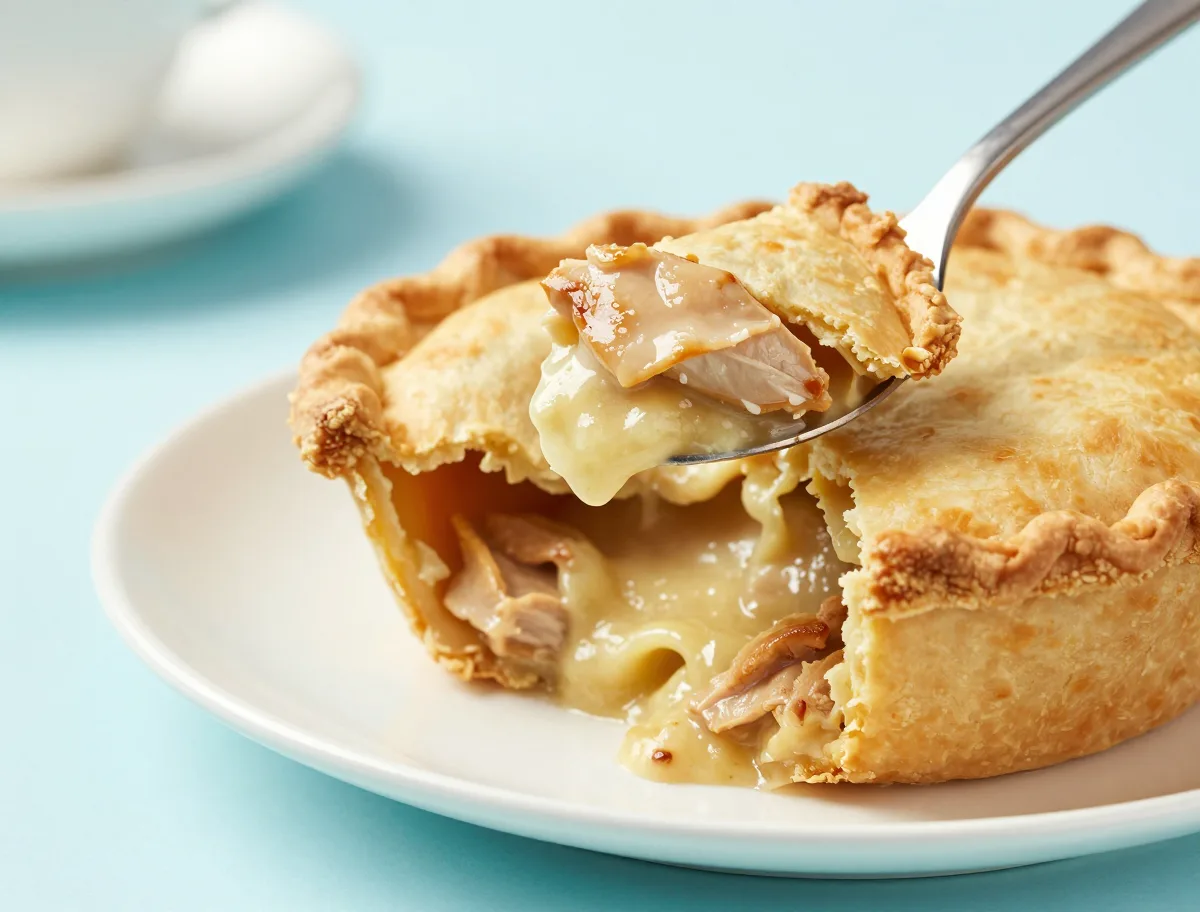
This is a spoonable chicken pot pie casserole rather than a sliceable pastry pie. The filling is creamy and savory, with tender chicken and vegetables beneath a soft, golden Bisquick topping.
- The topping is mixed as a thick batter and gently spread over the filling; it is not rolled out.
- The finished casserole should have bubbling edges, a set center, and a tender top that may be slightly moist where it meets the sauce.
- Unlike a traditional pie, it is best served with a large spoon.
Why the Ingredients Work
The condensed soup gives the filling body and concentrated chicken flavor, while milk loosens it into a spoonable sauce. Bisquick supplies the flour, leavening, salt, and fat needed for a tender biscuit-like top; the egg adds structure and helps it brown.
- Cooked chicken keeps the assembly quick and prevents the filling from releasing the extra liquid associated with raw poultry.
- Frozen vegetables are convenient, but their surface ice must be removed so it does not dilute the sauce.
- Aromatics, thyme, and pepper add depth without requiring a separate homemade gravy.
- The topping liquid is deliberately limited so it can be spread rather than pooling into the filling.
Ingredients
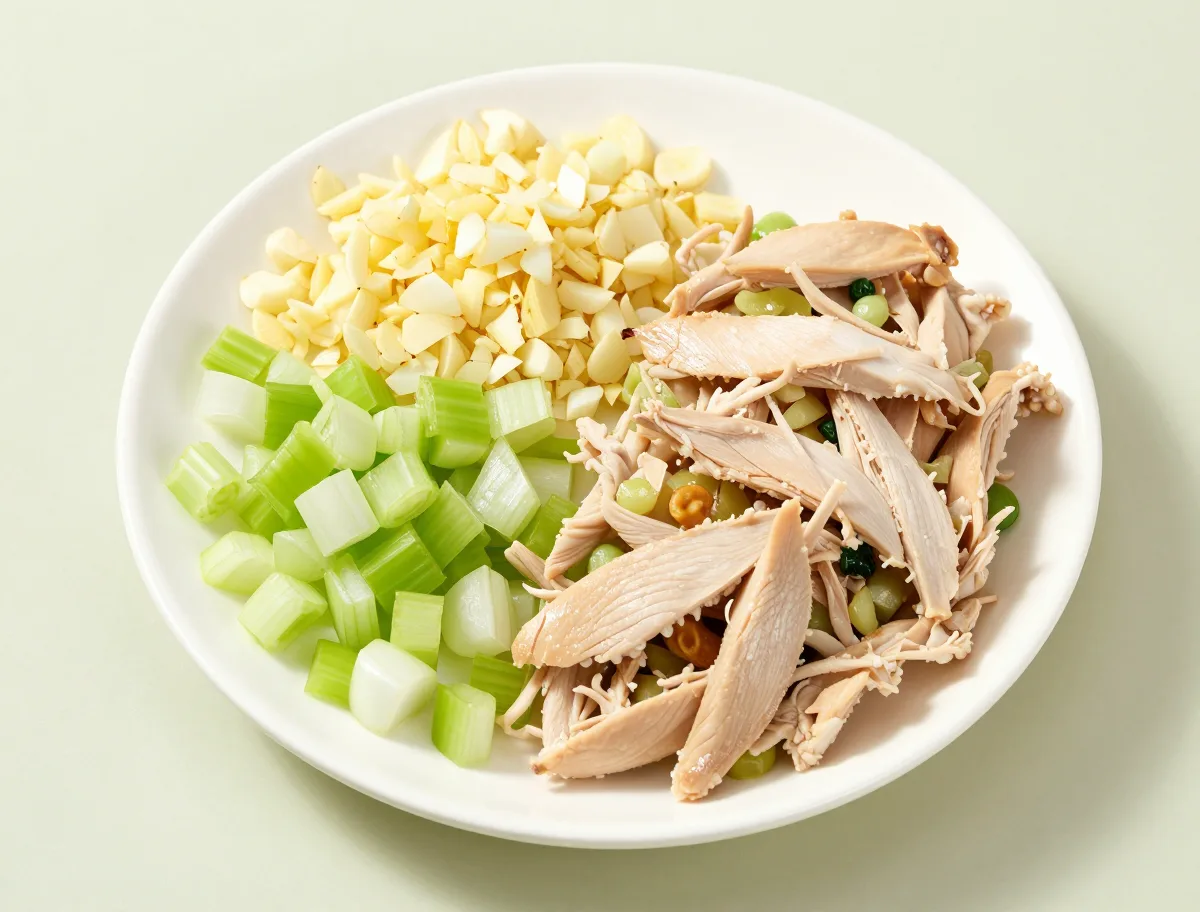
- 2 tablespoons unsalted butter
- ½ cup yellow onion, finely diced
- ½ cup celery, finely diced
- 2 cloves garlic, minced
- 1 can (10½ ounces) condensed cream of chicken soup
- ½ cup whole milk
- ½ teaspoon dried thyme
- ¼ teaspoon black pepper
- 3 cups cooked chicken, shredded or cut into bite-size pieces
- 2 cups frozen mixed vegetables, thawed, rinsed if icy, and drained very well
- 1¼ cups Bisquick baking mix
- ½ cup whole milk, for the topping
- 1 large egg
- 2 tablespoons unsalted butter, melted and slightly cooled, for the topping
How to Assemble the Chicken Pot Pie With Bisquick Topping
Even layers are the key to a properly cooked topping. Keep the filling level, mix the Bisquick batter only until combined, and distribute it in small spoonfuls instead of placing all of it in the middle.
- Cook the onion and celery until tender before adding the sauce ingredients; crunchy aromatics will remain noticeable in the finished casserole.
- Drain thawed vegetables in a sieve and press or pat away excess moisture.
- Spread the topping nearly to the edges in an even layer, but do not compress it into the filling.
- Mix the topping shortly before it goes into the oven because it thickens as it stands.
Instructions
- Heat the oven and prepare the dish: Heat the oven to 400°F (205°C). Lightly grease a 9-inch pie plate or 9×9-inch baking dish. If your dish is quite full, set it on a rimmed baking sheet to catch any bubbling sauce.
- Soften the aromatics: Melt 2 tablespoons of butter in a skillet over medium heat. Add the onion and celery and cook until softened, about 5 minutes. Stir in the garlic and cook for 30 seconds, just until fragrant.
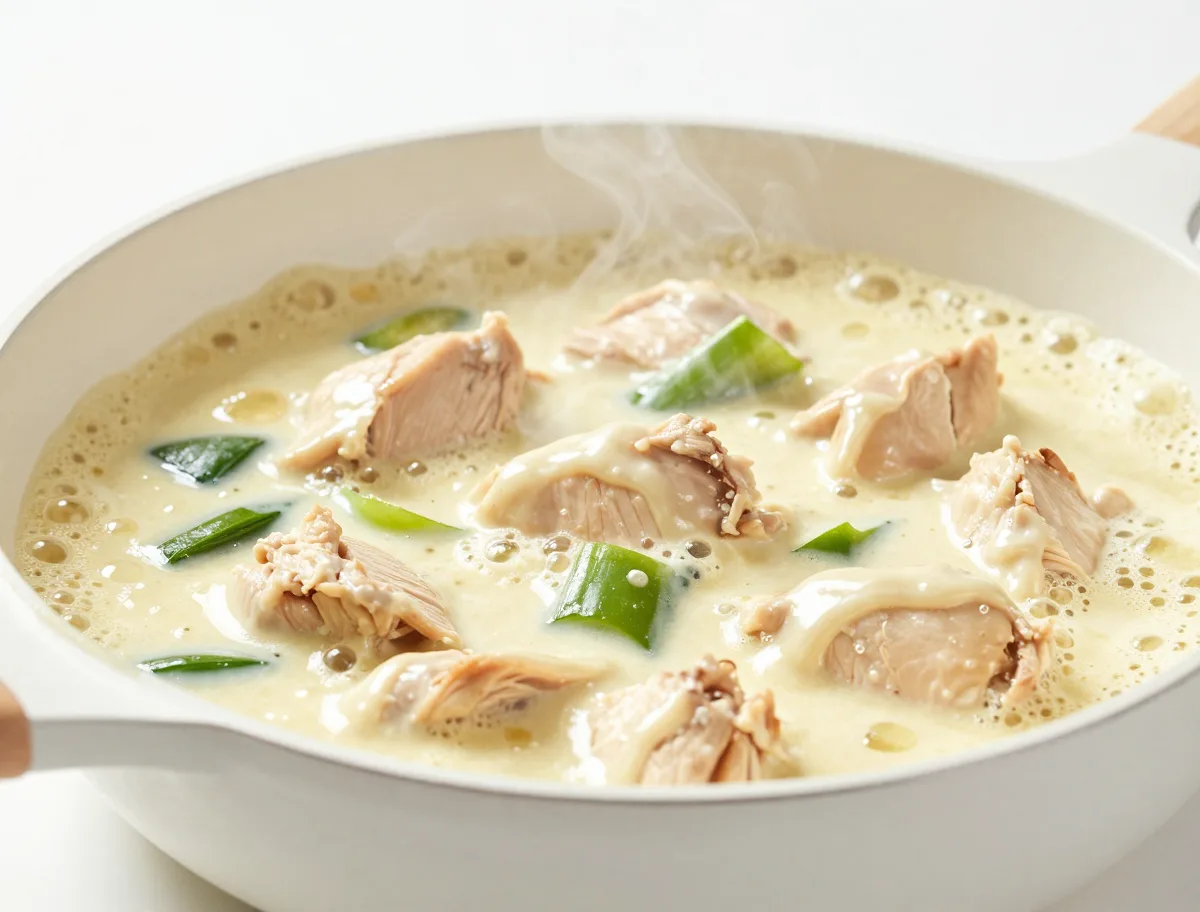
- Build the creamy filling: Reduce the heat to low and stir in the condensed soup, ½ cup milk, thyme, and black pepper. Cook, stirring, until smooth and hot, about 2 minutes. Fold in the chicken and well-drained vegetables, then spread the filling evenly in the prepared dish.
- Mix the Bisquick topping: In a bowl, whisk together the Bisquick mix, topping milk, egg, and melted butter just until no dry pockets remain. The mixture should be thick and spoonable, softer than drop-biscuit dough but not freely pourable.
- Cover the filling: Drop the topping mixture in small, evenly spaced spoonfuls over the hot filling. Gently nudge the spoonfuls together with the back of a spoon, leaving the topping at a fairly even thickness and avoiding a heavy mound in the center.
- Bake until golden and bubbling: Bake on the middle rack for 30 to 38 minutes, until the topping is deeply golden, feels set in the center, and the filling is bubbling around the edges. If the top becomes brown before the center is set, loosely tent the dish with foil and continue baking.
- Rest before serving: Let the pot pie stand for 5 to 10 minutes. Serve warm with a large spoon so each portion includes creamy filling and topping.
For additional established guidance on Bisquick pot pie preparation, frozen-vegetable handling, baking cues, serving, and leftovers, see the Betty Crocker Bisquick pot pie guidance.
How to Tell When Bisquick Pot Pie Is Done
Use several cues together rather than relying on the clock or the color of the top alone. A fully baked casserole has a deeply golden surface, bubbling sauce at the perimeter, and a center that no longer looks wet or wobbly.
- The center can remain softer than a free-standing biscuit because it sits against the moist filling, but it should not contain loose raw batter.
- A shallow metal dish may finish sooner; a glass, ceramic, or deeper dish may need the longer end of the baking range.
- Resting for 5 to 10 minutes allows the sauce to tighten so it does not flood the plate.
Doneness cues
- The topping is evenly deep golden brown rather than pale or wet-looking.
- The center of the topping feels set and springs back lightly when touched.
- The creamy filling bubbles visibly around the edges.
- For reheated leftovers, the center reaches 165°F (74°C).
The Variables That Control the Topping and Filling
Moisture and depth determine most of this casserole’s texture. Excess water from vegetables or a loose sauce slows the topping from setting, while a deep filling gives heat farther to travel before the center is cooked.
- Thoroughly drained vegetables are the simplest defense against watery gravy and a gummy underside.
- An even topping cooks more predictably than a thick central mound.
- The surface can brown before the interior sets because the exposed batter receives the most direct heat; foil slows browning while the center continues cooking.
- A short rest lets the starches in the sauce redistribute moisture and improves scoopability.
Common Bisquick Chicken Pot Pie Problems
Most problems can be prevented by controlling liquid and keeping the casserole shallow. If something goes wrong, continue cooking gently rather than removing a browned-but-raw pot pie from the oven.
- Watery filling: The vegetables may have carried in ice or the sauce may have been loosened too much. Drain the vegetables thoroughly and measure the milk accurately.
- Raw or doughy center: The topping may be too thick, the dish too deep, or the casserole too cold when it went into the oven. Tent with foil and bake until the center is set.
- Uneven topping: Large mounds cook slowly while thin patches overbrown. Use small, evenly spaced spoonfuls and smooth them gently.
- Overflow: A full dish can bubble over. Leave some headroom and place the dish on a rimmed baking sheet.
- Topping browns too quickly: Move the dish to the middle rack and cover it loosely with foil while the filling and center finish.
Useful Substitutions for This Chicken Pot Pie Casserole
The recipe is flexible as long as substitutions preserve the filling’s thickness and the topping’s hydration. Changes in salt, fat, or moisture may affect the final texture and baking time.
- Rotisserie chicken, leftover roast chicken, poached chicken, or cooked turkey can be used in the same quantity.
- Cream of mushroom or cream of celery soup can replace cream of chicken soup. For a soup-free version, use a thick homemade chicken cream sauce rather than a thin broth.
- Peas and carrots, corn, green beans, or a vegetable blend can replace the mixed vegetables. Dense vegetables such as broccoli should be cooked until barely tender first.
- Evaporated milk diluted with water, half-and-half, or unsweetened non-dairy milk can replace whole milk. Avoid sweetened milk.
- A gluten-free Bisquick-style mix may work, but follow its package hydration guidance; plain flour is not a direct substitute because it lacks Bisquick’s leavening and fat.
Flavor Variations That Keep the Bisquick Pot Pie Identity
Small changes can tailor the casserole without turning it into a different style of pot pie. Keep the creamy poultry-and-vegetable filling and the Bisquick-based topping at the center.
- Replace the chicken with cooked turkey for a post-holiday version.
- Add a pinch of dried sage or a little extra thyme for a more pronounced savory profile.
- Stir a modest amount of shredded cheddar into the topping for a cheesy finish; too much cheese can make the surface greasy and obscure doneness.
- Use a homemade thick chicken cream sauce in place of condensed soup when you want a from-scratch filling.
- Puff pastry, rolled pie dough, cornbread, and separately baked biscuits are valid alternate pot pie formats, but they are not the topping method used here.
What to Serve With Bisquick Chicken Pot Pie
Because the casserole already includes poultry, vegetables, sauce, and a substantial topping, it needs only a light, fresh accompaniment. Spoon it into bowls after the brief rest while the filling is still warm.
- A crisp green salad with a sharp vinaigrette balances the creamy filling.
- Steamed broccoli or another simply seasoned green vegetable adds freshness without another heavy starch.
- Fresh fruit makes an easy contrast for a family dinner.
- Skip extra rolls unless you are serving a particularly large group; the Bisquick topping already provides the meal’s bread component.
How to Store, Freeze, and Reheat Bisquick Pot Pie
This casserole is best immediately after baking, when the topping is most tender and the sauce is freshest. Refrigeration and freezing are practical, but moisture will gradually soften the biscuit-style top.
- For make-ahead preparation, cook the filling, cool it promptly, cover, and refrigerate it. Mix and add the topping just before baking for the best lift and texture.
- Refrigerate leftovers within 2 hours in a covered container and use them within 3 to 4 days.
- Reheat individual portions in the oven or microwave until the center reaches 165°F (74°C). Cover loosely in the oven if the topping is browning too much, then uncover briefly to refresh the surface.
- Freeze cooled portions in airtight, freezer-safe containers for convenience. Thaw in the refrigerator before reheating; expect a softer topping and possible slight separation in the creamy sauce.
- Do not place a frozen glass baking dish directly into a hot oven unless the manufacturer specifically states that it is freezer-to-oven safe.
For broader guidance on cooling, freezing, thawing, reheating, and quality considerations for poultry and cream-based casseroles, consult the University of Missouri Extension guidance on freezing home-prepared foods.
Bisquick Chicken Pot Pie FAQs
These answers address the preparation choices that most affect the casserole’s texture, baking time, and convenience.
Is this a traditional double-crust chicken pot pie?
No. It is a crustless-bottom casserole with a thick, biscuit-style Bisquick topping. It is spoonable rather than designed to be cut into pastry wedges.
Can I use rotisserie or leftover chicken?
Yes. Use fully cooked chicken with the bones and skin removed as desired, then shred or cut it into bite-size pieces. Do not use raw chicken in this shortcut version.
Do frozen vegetables need to be thawed first?
They should be thawed, or at least rinsed free of ice, and drained very well. Extra water can make the filling thin and prevent the topping from setting properly.
Should the Bisquick topping be poured or spread?
This formula makes a thick, spoonable batter. Place it in small dollops and gently spread it into an even layer. A freely pourable mixture belongs to a different, impossible-style formulation.
Can I bake it in a 9×9-inch dish?
Yes. A 9×9-inch dish works well if it has a similar capacity and keeps the filling at a moderate depth. A deeper casserole will take longer to cook through.
What if the top is brown but the middle is not done?
Loosely tent the dish with foil and continue baking on the middle rack. The top should be set in the center, and the filling should be bubbling at the edges before serving.
Can I mix the topping in advance?
It is better to mix it shortly before baking. The batter continues absorbing liquid as it stands, which can reduce lift and make coverage less even.
Why should the pot pie rest before serving?
A 5-to-10-minute rest lets the creamy filling thicken slightly. Serving immediately can make a properly cooked casserole seem looser than it will be after resting.
Food-Safety Notes for Chicken Pot Pie
Handle the cooked chicken and creamy casserole as perishable foods. Safe storage and reheating matter even when the surface looks browned or the edges are bubbling.
- Use chicken that has been safely refrigerated and is within its recommended storage period.
- Refrigerate the assembled or served casserole within 2 hours, or within 1 hour if the ambient temperature is above 90°F (32°C).
- Keep leftovers refrigerated at 40°F (4°C) or below and use them within 3 to 4 days.
- Thaw frozen portions in the refrigerator rather than on the counter.
- Reheat leftovers until the center reaches 165°F (74°C); bubbling edges alone cannot verify the temperature in a deep portion.