Moist Chocolate Chip Cake
This moist chocolate chip cake has a tender vanilla crumb, a lightly golden crust, and semisweet chocolate chips distributed throughout every slice.
What This Chocolate Chip Cake Is Like
This is a vanilla-forward butter cake rather than a cookie cake or a chocolate cake. It has a fine but sturdy crumb, a lightly browned top, and enough moisture from sour cream to stay tender without becoming heavy.
- Expect a soft, sliceable texture between a light snack cake and a dense pound cake.
- Semisweet chips provide distinct pockets of chocolate without overwhelming the vanilla base.
- The 9-inch round pan gives the cake moderate depth and an even balance of crust and crumb.
Why the Ingredients Work
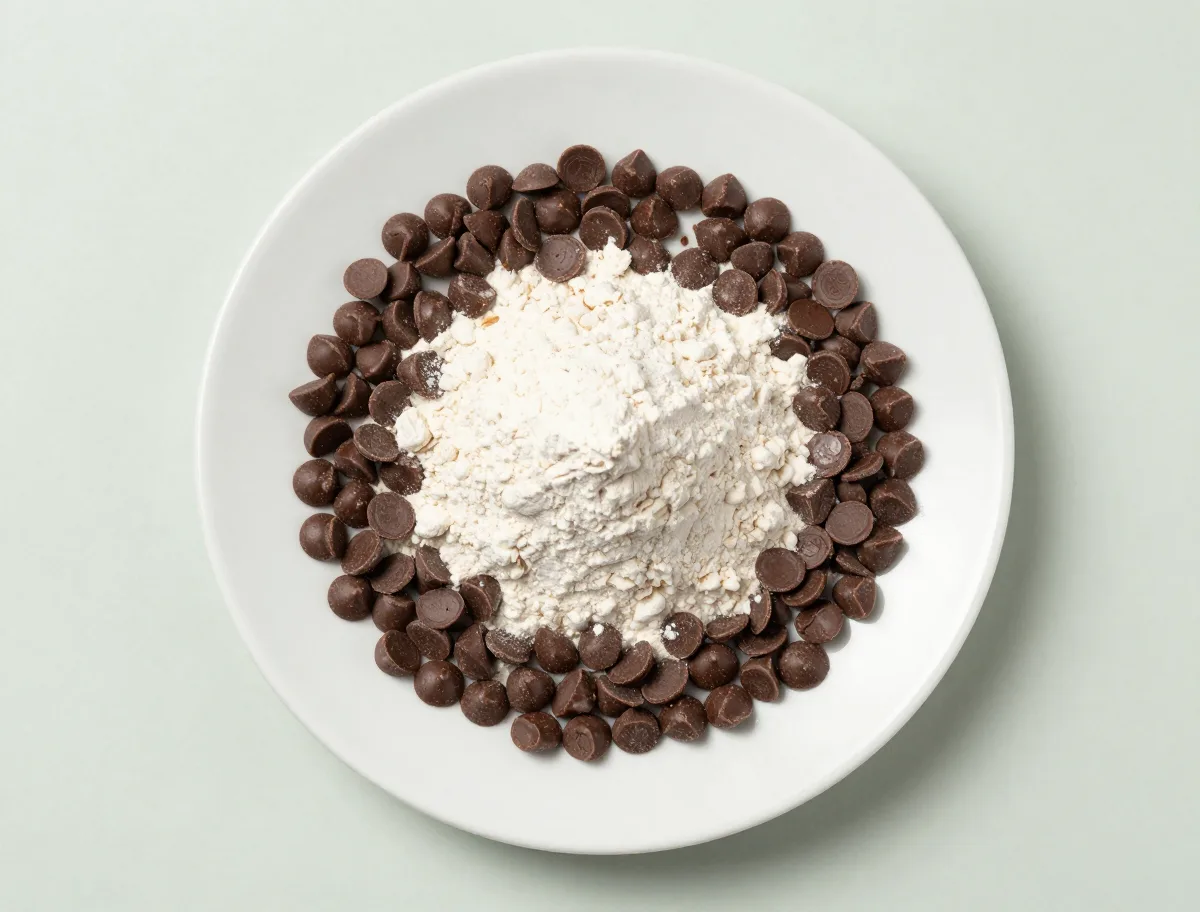
The recipe relies on a classic butter-cake balance. Butter supplies flavor and helps create lift during creaming; sugar sweetens while keeping the crumb tender; eggs provide structure and help bind the batter.
- Sour cream contributes moisture, richness, and mild acidity, producing a softer crumb than milk alone.
- All-purpose flour gives the cake enough strength to suspend the chips and hold clean slices.
- Baking powder supplies most of the lift, while the small amount of baking soda works with the acidic sour cream.
- Vanilla and salt sharpen the contrast between the buttery cake and semisweet chocolate.
- Mini chips distribute especially well; regular chips create larger, more noticeable melted pockets.
- 1 1/2 sticks unsalted butter, softened to cool room temperature
- 1 cup granulated sugar
- 3 large eggs, at room temperature
- 2 teaspoons vanilla extract
- 2 cups all-purpose flour, spooned and leveled; reserve 2 tablespoons for the chocolate chips
- 2 teaspoons baking powder
- 1/2 teaspoon baking soda
- 3/4 teaspoon fine salt
- 3/4 cup full-fat sour cream, at room temperature
- 1/4 cup whole milk, at room temperature
- 1 cup semisweet chocolate chips, regular or mini; reserve 2 tablespoons for the top
- 2 tablespoons confectioners’ sugar, for dusting after cooling; optional
How to Make Chocolate Chip Cake
The important technique is controlled aeration followed by restrained mixing. Butter should be pliable but not greasy, and the butter-sugar mixture should look genuinely pale and fluffy before the eggs go in.
- Scrape the mixing bowl during creaming so the butter and sugar aerate evenly.
- Add eggs one at a time to maintain a stable emulsion.
- Alternate the dry ingredients and dairy, then stop mixing as soon as the batter is uniform.
- Tossing the chips with a small portion of the measured flour can slow sinking, but prompt baking and a properly thick batter matter just as much.
- Do not leave the finished batter sitting on the counter; chemical leaveners begin working as soon as moisture is present.
- Prepare the pan and oven. Heat the oven to 350°F (175°C), with a rack in the center. Grease a 9-inch round cake pan, line the bottom with parchment, and lightly flour the sides.
- Combine the dry ingredients. Whisk the flour, baking powder, baking soda, and salt in a medium bowl. Transfer 2 tablespoons of this mixture to a small bowl and toss it with the chocolate chips, reserving 2 tablespoons of the chips for the top.
- Cream the butter and sugar. Using a stand mixer fitted with the paddle or a hand mixer, beat the softened butter and sugar on medium speed for 3 to 4 minutes, scraping the bowl once or twice, until pale, fluffy, and slightly increased in volume.
- Add the eggs and vanilla. Beat in the eggs one at a time, waiting until each is incorporated before adding the next. Beat in the vanilla. If the mixture looks slightly curdled, continue; it will smooth out when the flour is added.
- Build the batter. Add the dry mixture in three additions, alternating with the sour cream and milk in two additions. Begin and end with the dry ingredients, mixing on low speed only until each addition disappears. Stop as soon as no dry streaks remain.
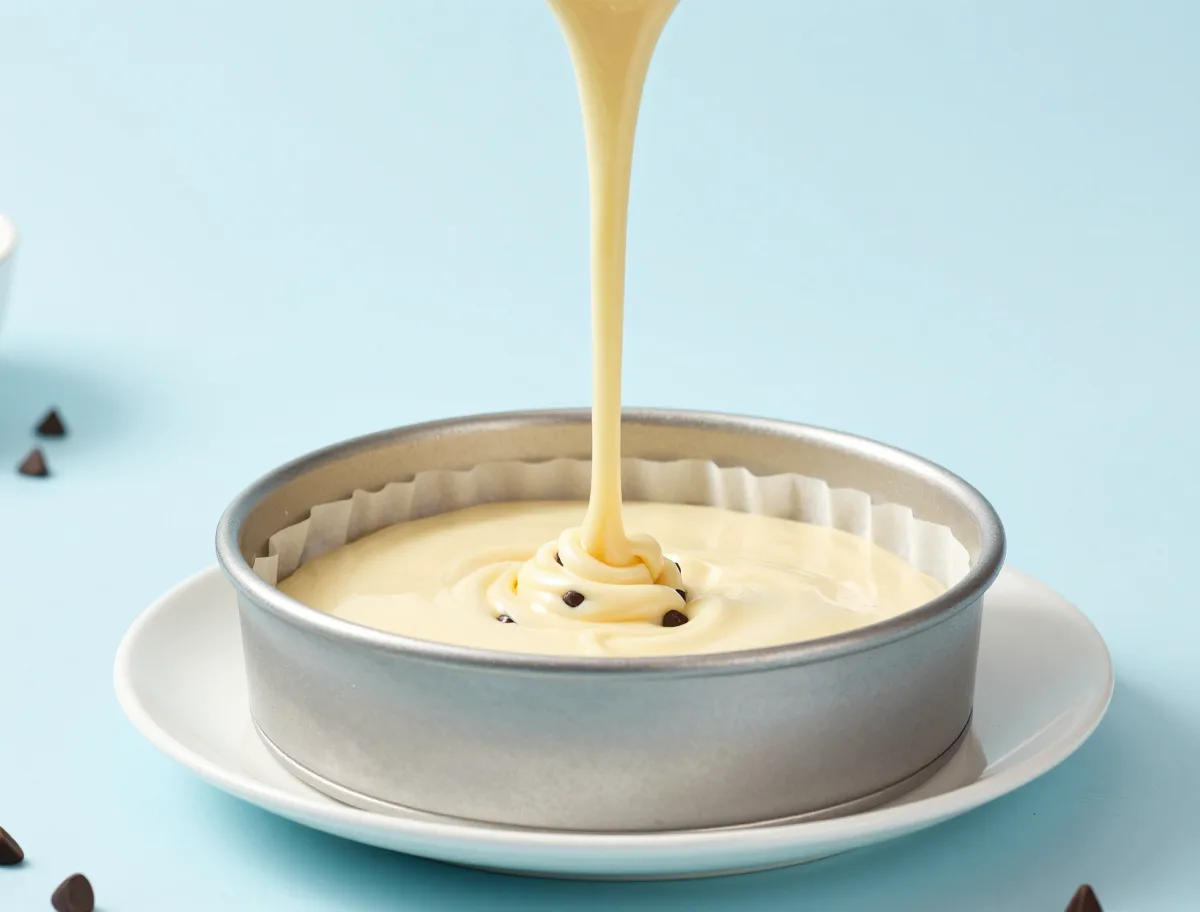
- Fold in the chocolate. Fold in the flour-coated chocolate chips with a flexible spatula. Scrape the batter into the prepared pan, smooth the top, and scatter the reserved chips over the surface. Put the cake in the oven promptly.
- Bake. Bake for 45 to 52 minutes, rotating the pan once after 30 minutes if your oven browns unevenly. The top should be golden, the edges set, and the center should spring back lightly when pressed. If the top browns before the center is ready, loosely tent it with foil.
- Cool and finish. Cool the cake in the pan on a rack for 15 minutes. Run a thin knife around the edge, invert the cake onto the rack, remove the parchment, and turn it right-side up. Cool completely, about 75 minutes more, before dusting with confectioners’ sugar and slicing.
How to Tell When the Cake Is Done
Use several signs rather than the timer alone. Chocolate stays fluid while hot and can make an otherwise baked cake appear wet on a tester.
- Look for a golden top, set edges, and a center that no longer jiggles.
- Press the center lightly; it should spring back instead of retaining a fingerprint.
- Test in a batter-only area, then check a second central spot. Moist crumbs are desirable; glossy or gummy batter is not.
- If the top is darkening quickly, tent it loosely with foil and continue baking until the center sets.
For additional guidance on using color, spring-back, edge set, and tester results together, see how to tell when cake is done.
The Variables That Matter Most
Small changes in mixing, batter depth, and oven heat have a noticeable effect on this cake. Creaming creates air cells that expand in the oven, while excessive mixing after flour is hydrated develops gluten and makes the crumb firmer.
- Melted or overly warm butter cannot hold air as effectively as softened butter, so the cake may rise less.
- Room-temperature ingredients emulsify more smoothly and reduce the chance of a lumpy batter.
- A deeper pan needs more time for the center to set; a shallow pan bakes faster and can dry at the edges.
- Dark metal pans brown more quickly than light-colored pans, so begin checking early if using one.
- Chocolate-chip suspension depends on batter thickness, chip size, chip quantity, and how quickly the pan reaches the oven.
Common Chocolate Chip Cake Mistakes and How to Avoid Them
Most problems can be prevented through accurate measuring, proper butter temperature, and careful endpoint judgment.
- Sinking chips: Use mini chips or the light flour coating described in the recipe, fold gently, and bake immediately. Excess chips or a very thin batter can still cause sinking.
- Dense cake: The usual causes are under-creamed butter, cold ingredients, excess flour, or overmixing after flour is added. Weigh the flour when possible and mix only until combined.
- Dry cake: Check early, especially in a dark pan. Overbaking by even several minutes can remove the moisture that makes this cake tender.
- Sunken center: This generally indicates underbaking, too much liquid, or opening the oven too early. Make sure the center springs back before removing the cake.
- Sticking: Line the pan base and grease the sides thoroughly. Let the cake cool 15 minutes before turning it out, while the edges are still easier to release.
- Chocolate-streaked tester: Test another location rather than automatically adding more baking time.
Ingredient Substitutions
Substitutions work best when they preserve the original ingredient’s thickness, moisture, and acidity. The cake may still succeed with a swap, but its crumb can change.
- Full-fat plain or Greek yogurt can replace the sour cream in equal volume. Greek yogurt will produce the closest thickness; regular yogurt may make the batter slightly looser.
- For a dairy-free version, use a dairy-free butter stick and unsweetened plain plant-based yogurt. Choose products with a similar thick consistency.
- Milk chocolate, dark chocolate, or mini chips can replace semisweet chips without changing the method.
- Buttermilk is thinner than sour cream and is not the best direct replacement here. If used, the batter may need a small amount of additional flour and the baking time may change.
- Almond flour or another single gluten-free flour should not replace the all-purpose flour one-for-one. Use a tested gluten-free cake formula instead.
- Replacing the butter with oil changes the mixing method and flavor, so it is better treated as a separately developed variation rather than an automatic swap.
Pan Options and Simple Variations
The same style of cake can be adapted to other formats, but pan depth changes both the baking time and the crust-to-crumb ratio. Keep the batter no more than about two-thirds of the way up the pan.
- An 8-inch square pan is a close alternative to the 9-inch round; begin checking around 40 minutes.
- A 9-by-5-inch loaf pan makes a taller, more crusty cake and will usually need approximately 55 to 65 minutes. Line the base with parchment and grease the sides.
- A 9-by-13-inch pan creates a shallower snack cake; begin checking around 28 to 35 minutes and avoid overbaking the edges.
- A well-greased and floured 9- to 10-inch Bundt pan can be used, but the shape may require roughly 50 to 60 minutes and careful testing in more than one area.
- For a more chocolate-forward version, use dark chips. For more even distribution, use mini chips. These changes preserve the identity of the vanilla cake.
How to Serve Chocolate Chip Cake
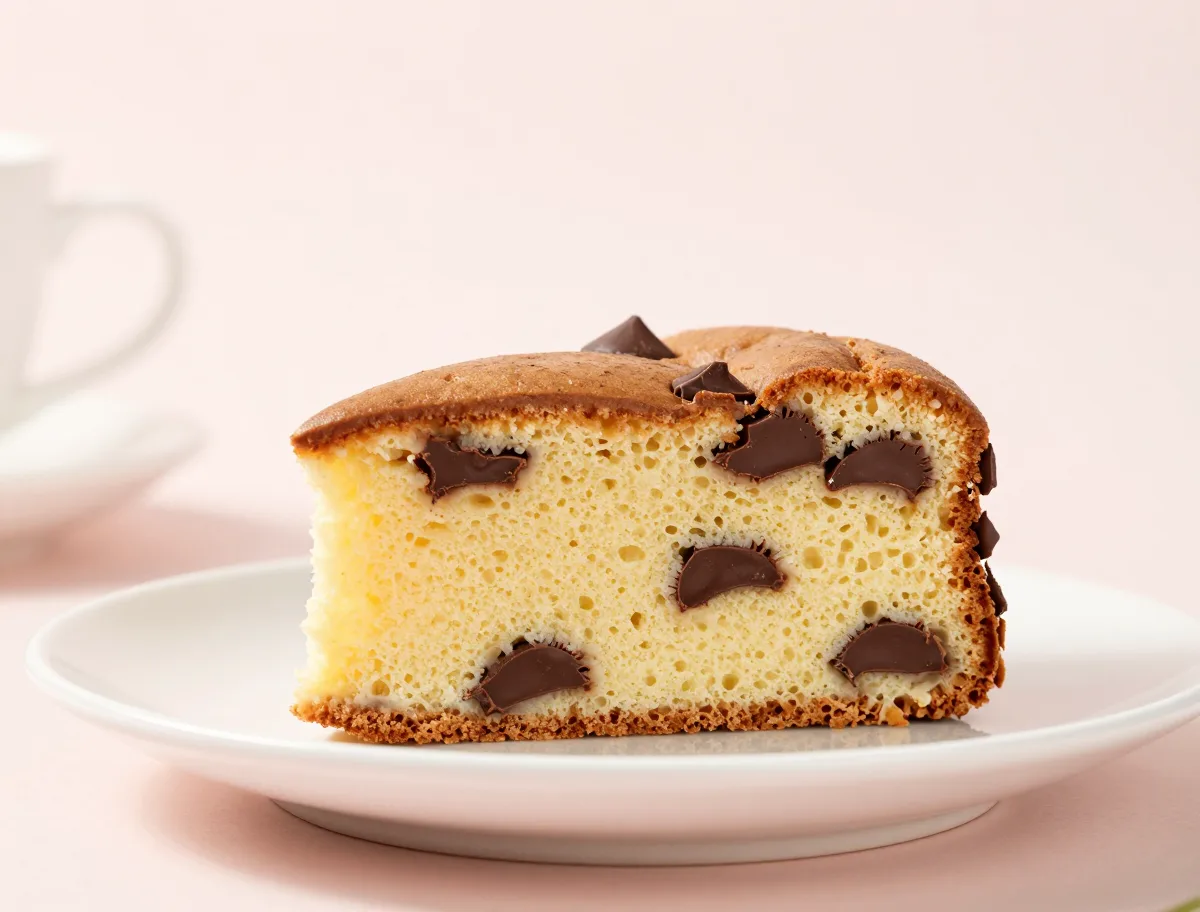
Let the cake cool completely before slicing or topping it. At room temperature, the crumb is soft and the chocolate has a pleasant, yielding texture.
- Dust with confectioners’ sugar for a simple, low-sweetness finish.
- A thin vanilla glaze works well when a shinier, sweeter finish is wanted.
- Serve slices with coffee, black tea, cold milk, berries, or a small scoop of vanilla ice cream.
- Warm an individual slice briefly if you prefer softer chocolate, but do not use warmth as a test of doneness.
How to Store, Freeze and Reheat Chocolate Chip Cake
Cool the cake fully before covering it, since trapped steam can make the surface sticky. Keep the plain cake airtight at room temperature for up to 3 days for the best texture.
- Freeze the unfrosted cake whole or in slices by wrapping it tightly, then placing it in a freezer-safe bag or container. Use within 2 months for best quality.
- Thaw frozen cake while wrapped, then uncover it once it has reached room temperature and condensation has dissipated.
- Refrigeration firms the butter and chocolate. If the cake has been chilled, let it stand at room temperature before serving.
- Cream-cheese frosting, whipped cream, custard, or fresh-fruit toppings require refrigeration; do not leave such toppings at room temperature for more than 2 hours, or 1 hour in temperatures above 90°F. See the FDA’s food-storage and egg-safety guidance for additional safety information.
- Warm only individual portions briefly. Reheating the whole cake or reheating repeatedly can dry the crumb.
Chocolate Chip Cake FAQs
These answers address the most common decisions about pan size, chocolate distribution, dairy, frosting, and doneness.
Can I bake this as a loaf, sheet cake, or Bundt cake?
Yes, but the pan changes the batter depth and baking time. Use the format guidance above, keep the pan no more than two-thirds full, and rely on the center’s spring-back and a chip-free tester spot rather than the clock alone.
What chocolate chips are best?
Semisweet chips provide a balanced result. Mini chips spread more evenly, while regular chips create larger pockets. Dark or milk chips are also suitable if you prefer a more intense or sweeter chocolate flavor.
How do I keep chocolate chips from sinking?
Use a thick, properly mixed batter, lightly coat the chips with some of the recipe’s flour, fold them in gently, reserve a few for the top, and move the cake directly into the oven. These steps help but cannot fully compensate for excessive chips or an overly thin batter.
Can I use yogurt instead of sour cream?
Yes. Use full-fat plain or Greek yogurt in the same volume, with Greek yogurt giving the closest body. Regular yogurt may make the batter looser and can slightly alter the baking time.
Should I frost the cake?
No frosting is necessary. Confectioners’ sugar keeps the cake light and snack-like, while a thin vanilla glaze makes it more celebratory without hiding the vanilla and chocolate flavors.
How do I know it is baked when the toothpick hits chocolate?
Check a second spot away from visible chips. The cake is ready when the tester shows moist crumbs or is nearly clean, the edges are set, and the center springs back. Liquid batter, a jiggling center, or a deep indentation means it needs more time.
Can I make the cake ahead?
Yes. Bake and cool it completely, wrap it airtight, and keep it at room temperature for short-term serving or freeze it for longer storage. Add any perishable frosting only after thawing and keep that topping refrigerated.