Inside Out Cake Recipe: A Pixar Memory Orb Cake
This Inside Out cake recipe combines purple buttercream and colorful memory-orb candies with a genuine surprise center: cut into the layered cake to reveal a burst of candy hidden inside.
What Makes This an Inside Out Cake?
This is both a Pixar Inside Out-themed cake and a true surprise cake. Purple buttercream signals the theme from the outside, while a concealed chamber of colorful candy spheres creates the inside-out reveal when the cake is cut.
- The bottom and top layers remain whole to support and close the cake.
- The two middle layers are cut into aligned rings and filled with loose, colorful candies.
- The finished slice should show an intact cake wall surrounding a concentrated burst of candy.
Why the Cake and Buttercream Work
A surprise cake needs a crumb that is tender enough to eat but sturdy enough to be cut into rings and carry a candy center. All-purpose flour and eggs provide the framework, while butter, sugar, and milk keep the layers moist without making them fragile.
- Butter gives the cake flavor and firms as it cools, which helps with stacking.
- American buttercream is thick enough to seal exposed cake inside the cavity, join the layers, and support the outer decoration.
- Small, dry candy-coated spheres are preferable to wet fillings here because they do not migrate moisture into the cake.
- Gel coloring gives the buttercream strong purple color without adding enough liquid to make it runny.
Ingredients
- 3 cups all-purpose flour, spooned into measuring cups and leveled
- 2 cups granulated sugar
- 2 1/2 teaspoons baking powder
- 3/4 teaspoon fine salt
- 1 cup unsalted butter, softened
- 4 large eggs, at room temperature
- 2 teaspoons pure vanilla extract
- 1 1/4 cups whole milk, at room temperature
- 1 1/2 cups unsalted butter, softened, for buttercream
- 6 cups confectioners’ sugar, sifted
- 1/3 cup heavy cream
- 1 teaspoon pure vanilla extract, for buttercream
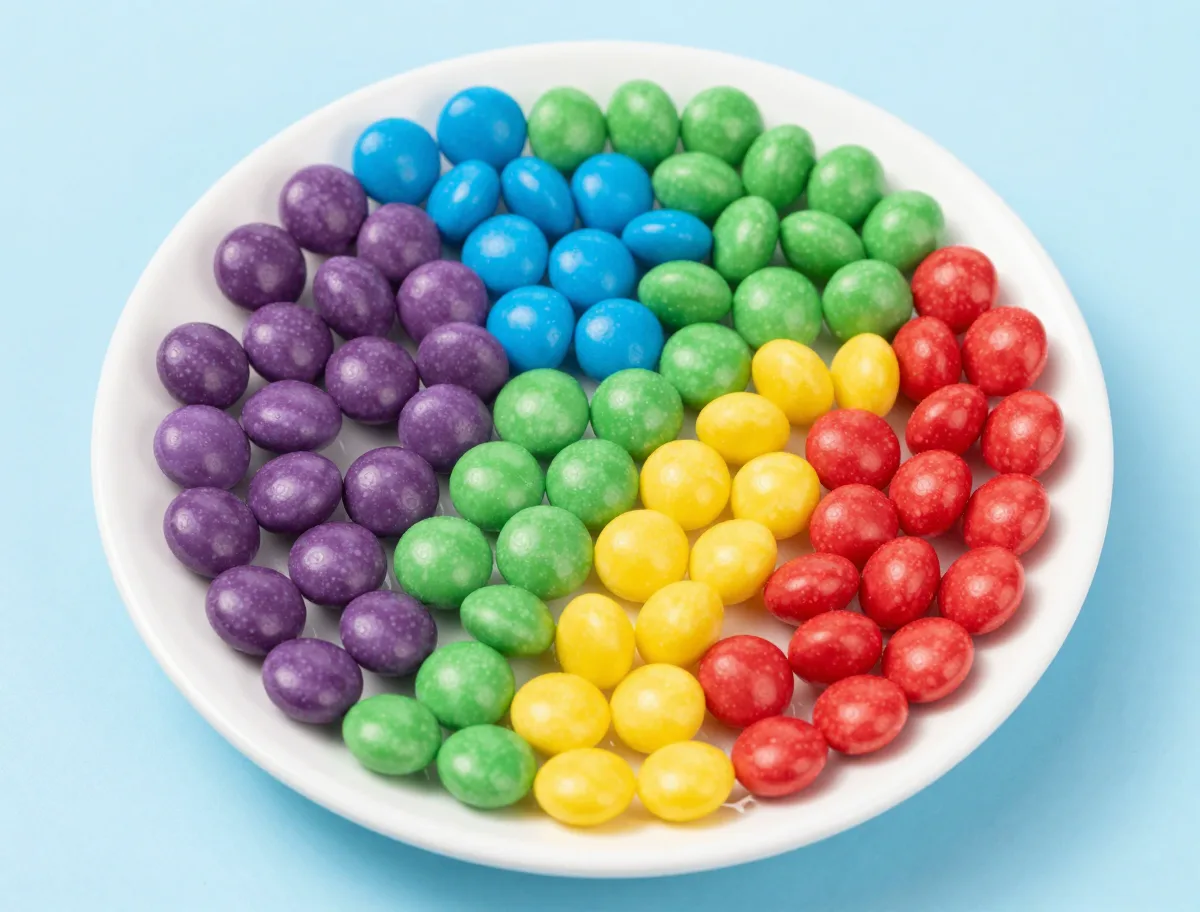
- 2 cups mini gumballs or small candy-coated chocolate spheres, sorted by color
- Purple gel food coloring, as needed
- Optional: small amounts of yellow, blue, green, red, and orange gel food coloring, for optional decorative accents
How to Assemble the Hidden Candy Center
The order of assembly matters more than elaborate decorating. Chill the layers before cutting, use a centered template, and seal the exposed crumb before adding candy. This keeps the chamber aligned and prevents loose crumbs from mixing into the filling.
- Cut the cavity from chilled layers, not from a finished frosted cake.
- Leave a generous outer ring and never cut into the bottom layer.
- Spread buttercream on the cavity wall before filling to bind crumbs and reinforce the surface.
- Chill after stacking and again after the crumb coat so the cake remains square and stable.
- Place the intact top layer gently; pressing down can crack the ring or crush the candy.
For additional guidance on leveling, chilling, frosting dams, crumb coating, and finishing a stable layered cake, see this layer-cake assembly and frosting guide from King Arthur Baking.
Instructions
- Prepare the pans and oven: Heat the oven to 350°F (175°C). Grease three 8-inch round cake pans, line the bottoms with parchment, and lightly flour the sides.
- Mix the dry ingredients: Whisk the flour, sugar, baking powder, and salt in a large bowl until evenly combined.
- Build the batter: Add the softened butter and beat with a stand mixer or hand mixer on low speed until the mixture resembles damp crumbs. Add the eggs one at a time, beating well after each addition, then mix in the vanilla. Add the milk in two additions, mixing just until no dry streaks remain. Do not overmix.
- Bake the layers: Divide the batter evenly among the prepared pans and smooth the tops. Bake for 26 to 30 minutes, rotating the pans halfway through, until the tops spring back lightly and a tester inserted in the center comes out clean or with a few moist crumbs. Cool in the pans for 10 minutes, then turn out onto a rack and cool completely.
- Make the buttercream: Beat the butter for 2 minutes until creamy. Gradually add the confectioners’ sugar, then beat in the heavy cream and vanilla. Continue beating for 3 to 4 minutes until fluffy and thick enough to hold a ridge. Tint about three-quarters of the buttercream a vivid purple with gel coloring. Keep the remaining buttercream white, or divide it and tint small portions yellow, blue, green, red, and orange for accents.
- Cut the surprise chamber: Chill the cooled cake layers for 20 to 30 minutes so they are firm. Leave one layer whole for the bottom and one whole for the top. On the remaining layer, center a 5-inch bowl or cutter and remove the middle, creating a ring. Repeat with the other interior layer. Do not cut through either whole layer.
- Stack and seal the cavity: Place the whole bottom layer on a cake board or serving plate. Spread a thin layer of purple buttercream over it. Add one ring layer, align it carefully, and spread buttercream over the ring and along the inside wall of the opening. Add the second ring layer, align the cavity, and repeat the buttercream seal. Chill for 15 minutes, then fill the cavity with the mini gumballs, keeping them loose and level with the top of the cake rather than heaping them.
- Close the cake: Spread a thin layer of buttercream on the upper ring and gently place the remaining whole layer on top, cut-side down if that gives you the flatter surface. Press only enough to make the layers contact; do not compress the candy. Chill the stacked cake for 20 minutes.
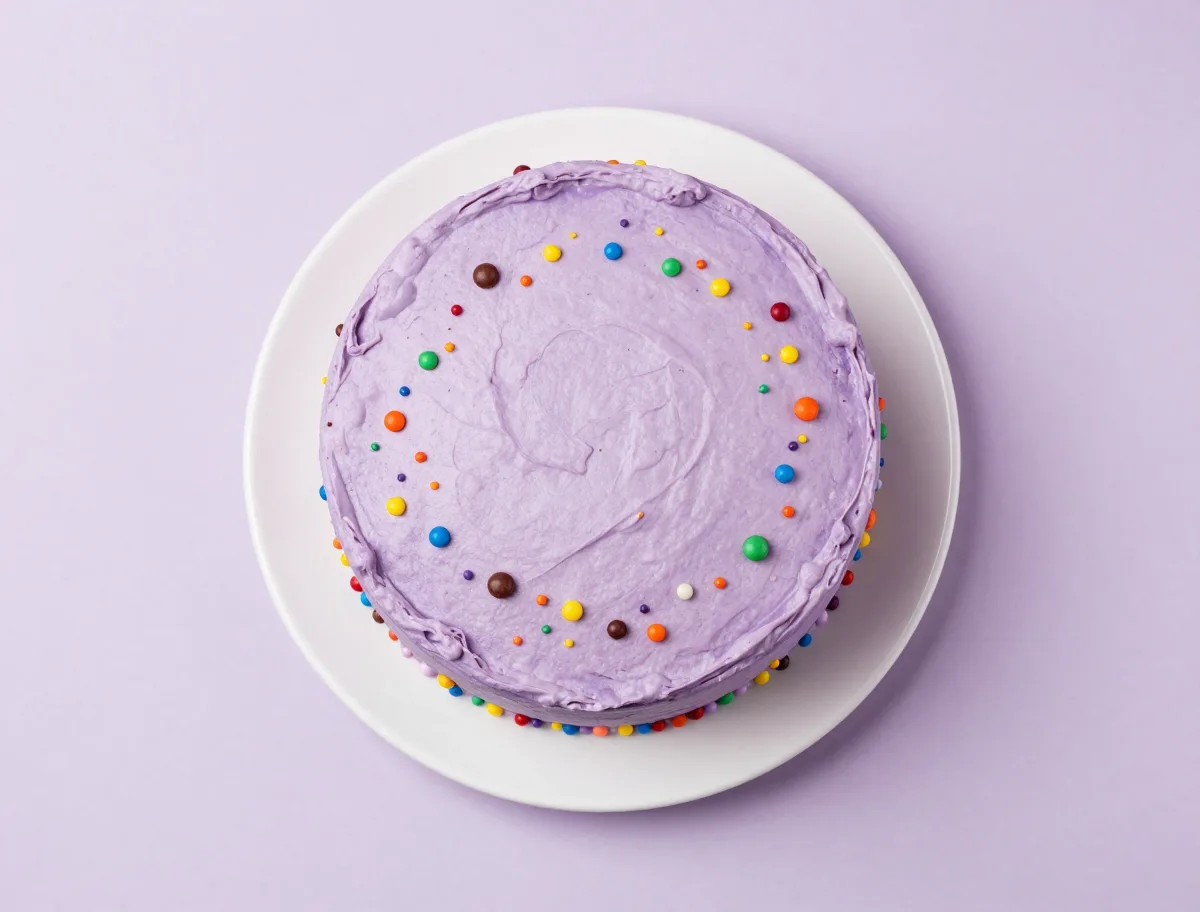
- Crumb-coat and frost: Apply a thin coat of purple buttercream over the top and sides, filling any exposed seams without dragging crumbs through the frosting. Refrigerate for 20 to 30 minutes, until the coating feels firm to a light touch. Add the remaining purple buttercream and smooth or texture the finish.
- Decorate and slice: Pipe small multicolored buttercream dots around the top edge, or add a few extra candy spheres as decorative memory-orb accents. Chill the finished cake for at least 30 minutes. For the cleanest reveal, let it stand at cool room temperature for 15 to 20 minutes, then cut with a sharp knife and wipe the blade between slices.
How to Tell When the Cake Is Ready
The ideal cake is moist but not delicate, with enough resistance to support the cavity. Use several cues rather than relying on the stated baking time alone, since pan material and oven behavior can shift the finish point.
- The center should spring back lightly rather than remain indented.
- A tester should come out clean or with a few moist crumbs, never streaked with batter.
- Cool the layers completely before frosting; chilled layers are easier to level and move.
- Before the final coat, the crumb coat should feel set and should not leave crumbs on a fingertip.
- Chilling the finished cake produces cleaner cuts, while a short tempering period improves the eating texture.
Additional doneness and stability cues:
- The cake tops spring back lightly when pressed.
- A cake tester shows no wet batter and may have a few moist crumbs.
- The edges are beginning to pull slightly from the pans.
- The crumb coat feels firm and does not pick up loose crumbs before the final frosting layer.
- The assembled cake feels stable and does not slide when the plate is gently turned.
The Structural Details That Prevent Collapse
Removing the center removes some of the cake’s load-bearing structure, so the cavity size, cake strength, candy weight, and frosting consistency all affect the result. The recipe keeps those variables conservative: a smaller opening, thick outer walls, an intact base and cap, and a level rather than heaped filling.
- A cavity that is too wide leaves a thin wall that can split under the weight of the upper layers.
- Underbaked cake has a weak crumb and is more likely to buckle around the opening.
- Cold cake and chilled buttercream resist sliding because the fat and crumb firm as their temperature drops.
- Dry candy avoids the moisture migration that can make exposed cake soggy.
- Warm rooms and excess cream soften buttercream; chill it briefly or adjust with a little more confectioners’ sugar if it will not hold a dam.
Common Inside Out Cake Problems and Fixes
Most failures occur during cutting, filling, or warm assembly rather than during decoration. Stop and chill the cake whenever it begins to lean or slide; trying to finish a soft stack usually makes the damage worse.
- If the cake cracks around the cavity, the opening may be too large, the cake underbaked, or the candy overfilled. Reduce the opening or candy load in the next cake; a minor surface crack can be concealed with a crumb coat if the structure is still sound.
- If candy escapes through the side, check that the rings were centered and that the cavity wall was sealed with buttercream.
- If layers slide, refrigerate the stack until firm, then realign it before continuing. Soft seams and warm cake are common causes.
- If crumbs show through the purple finish, scrape on a thinner crumb coat and chill it fully before adding more buttercream.
- If the candy becomes sticky, humidity or a wet filling is likely responsible. Use dry candy and keep the completed cake covered.
Easy Substitutions for the Cake, Candy, and Frosting
The construction is flexible, but substitutions should preserve a firm, sliceable cake and a dry, manageable center. Change one major component at a time so the layers remain predictable.
- A reliable boxed white or vanilla mix can replace the scratch cake; follow the package formula rather than applying the scratch quantities.
- Mini chocolate candies, jelly beans, or edible pearls can replace the gumballs if they are dry, small, and not prone to melting.
- Cake flour will produce a more delicate crumb; all-purpose flour is the safer choice for cutting and stacking.
- A portion of the buttercream butter can be replaced with shortening for greater heat stability, though the flavor and mouthfeel will change.
- Use powdered coloring if desired. Liquid coloring is less suitable because it can thin the frosting.
- Gluten-free flour should come from a tested cake formula rather than an unadjusted one-to-one substitution.
Inside Out Cake Variations
The defining feature is an enclosed interior reveal, while the purple color and orb-like decorations establish the movie theme. Variations can change the filling or decoration without losing that identity.
- Use a single-color candy center for a simpler design, or sort the candies into bright colors for a stronger memory-orb effect.
- Add a piped control-panel border or small colored buttercream dots without requiring fondant characters.
- For an advanced version, bake colored cake pieces inside a second batter so the slice reveals edible cake orbs rather than loose candy; this requires separate testing and is not interchangeable with the cavity method.
- A fruit, jam, curd, or ganache center is possible, but it needs a strong buttercream dam and refrigeration because it adds moisture.
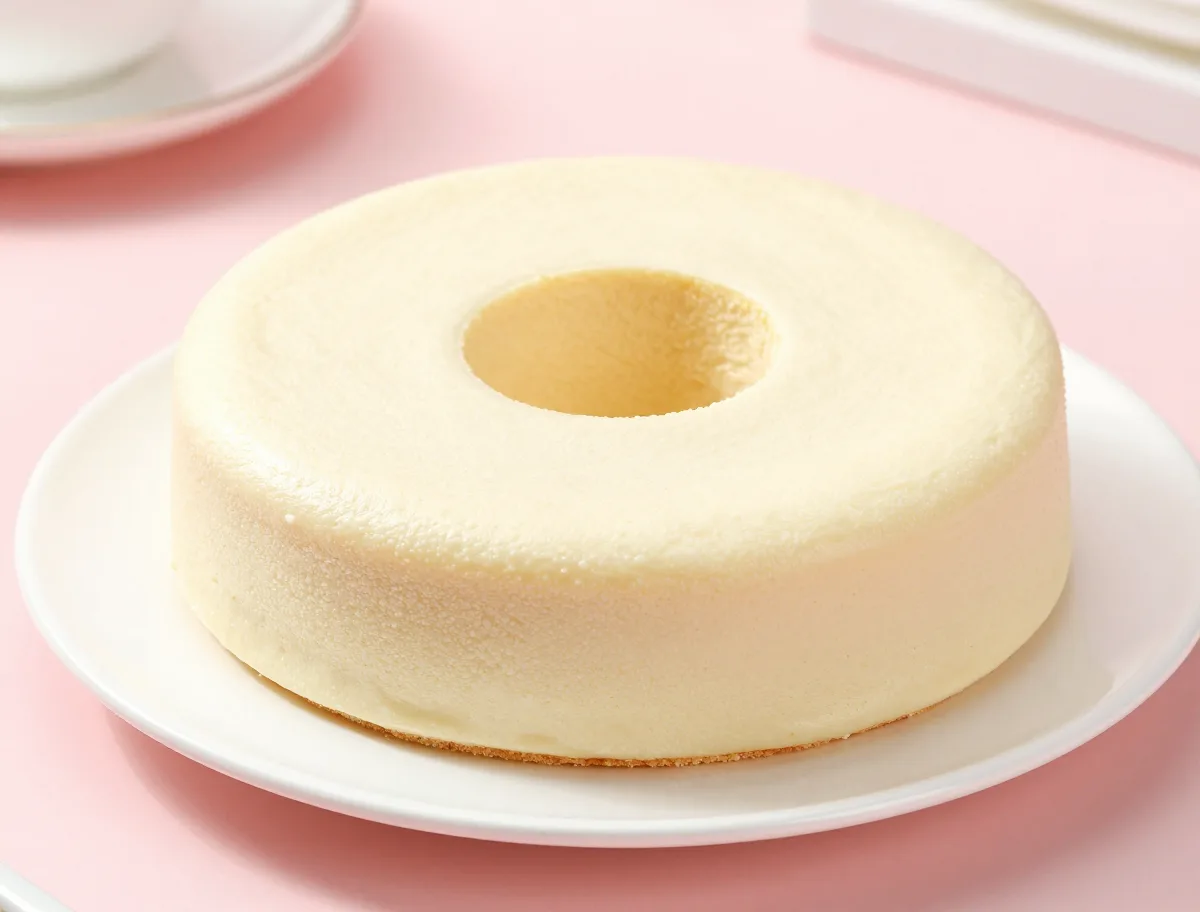
- A bundt pan is not a direct substitute for the round layers: its curved shape and center tube make a contained, centered candy chamber more difficult.
How to Store and Make This Surprise Cake Ahead
Dry candy and stable American buttercream make this cake relatively straightforward to plan ahead, but perishable fillings change the storage rules. Keep the candy chamber dry and avoid unnecessary condensation, which can soften the coatings and bleed the colors.
- Bake the layers up to 1 month ahead, wrap them airtight once completely cool, and freeze. Thaw them while wrapped before cutting and assembling.
- For best candy texture, fill the chamber close to assembly and store the covered cake in a cool, dry place for short holding.
- Refrigerate the cake for longer storage, warm conditions, or cleaner slicing; let it stand briefly before serving.
- Cakes made with cream cheese, whipped cream, custard, mousse, fresh fruit, or other perishable fillings must be refrigerated promptly.
- Do not reheat the cake. Heat softens the buttercream and can loosen the candy-filled structure.
For more information about storing foods safely during events, consult the FDA food-storage guidance.
Inside Out Cake Recipe FAQs
The phrase “Inside Out cake” can describe a movie-themed cake, a hidden filling, or both. This recipe deliberately combines the two: a purple Pixar-inspired exterior with a real candy surprise inside.
What is hidden inside this Inside Out cake?
A chamber of mini gumballs or other small candy-coated spheres is enclosed between the two middle cake layers. The candies spill into view when the cake is sliced.
What pan size does this recipe use?
It uses three 8-inch round cake pans. A centered 5-inch cutter leaves enough cake around the cavity to support the stack.
Can I make this cake with boxed mix?
Yes. Prepare enough white or vanilla boxed cake batter for three 8-inch layers, following the mix’s own ingredient amounts and baking directions. Cool the layers fully before cutting.
How do I stop the candy from leaking out?
Keep the bottom and top layers intact, align the two ring layers carefully, coat the cavity wall with buttercream, and do not overfill the chamber. The candy should sit level with the top of the ring.
Can I use a Bundt pan?
It is possible, but it is not recommended for this method. The central tube and curved sides make it harder to create a stable, sealed candy chamber.
How do I get clean slices?
Chill the assembled cake thoroughly, let it temper for 15 to 20 minutes, and cut with a sharp knife. Wipe the blade between slices to remove buttercream and candy residue.
Can the candy be replaced with fruit or frosting?
Yes, but wet fillings need a buttercream dam, refrigeration, and more careful handling. They will not have the same dry, loose reveal or room-temperature stability as candy.
What decorations are essential for the Pixar theme?
Purple buttercream and multicolored round candies are enough to suggest the theme. Character toppers, a control-panel motif, and extra orb decorations are optional.