BBQ Baked Chicken Drumsticks Recipe
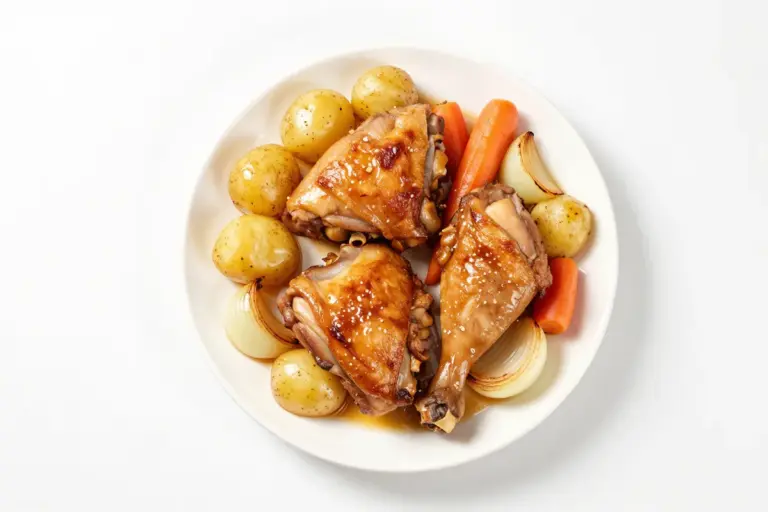
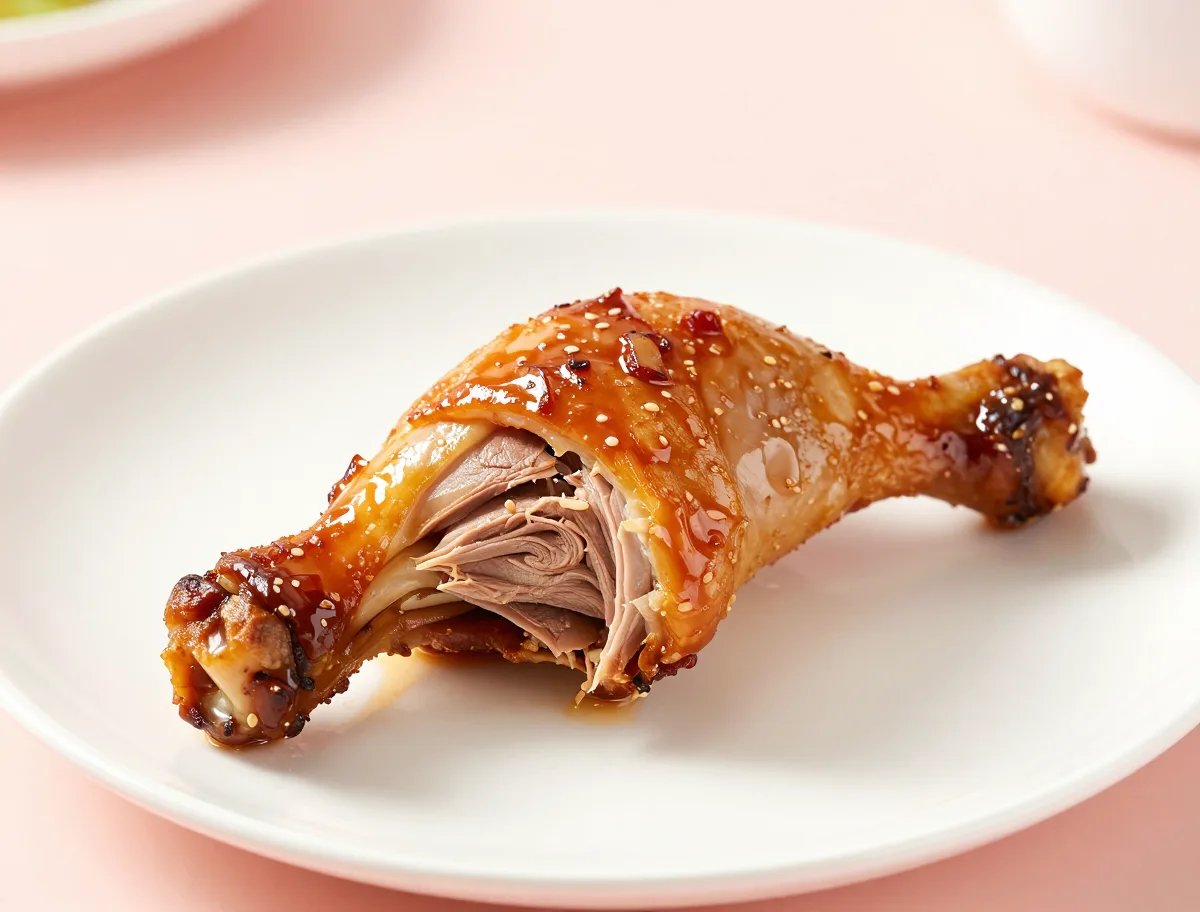
This BBQ baked chicken drumsticks recipe produces juicy oven-roasted chicken with browned skin and a glossy, sticky barbecue glaze applied at the end so it caramelizes without burning.
What Makes Great BBQ Baked Chicken Drumsticks
The goal is a three-part finish: tender, fully cooked dark meat; browned skin with some crispness; and a shiny barbecue coating that clings to the chicken. Roasting the seasoned drumsticks first and glazing them near the end delivers that contrast more reliably than baking them submerged in sauce.
- Expect browned rather than cracker-crisp skin once the glaze is applied.
- The finished sauce should be glossy and tacky, with caramelized edges but no widespread blackening.
- Barbecue sauce functions as a finishing glaze, not as the main cooking liquid.
Why These Ingredients Work
Skin-on drumsticks bring enough fat and connective tissue to stay succulent during roasting. A small amount of oil helps the spice mixture adhere and encourages browning, while the dry seasonings build savory flavor underneath the barbecue sauce instead of leaving the chicken dependent on the glaze alone.
- Paprika contributes color and gentle sweetness; garlic, onion, pepper, and cayenne give the rub depth.
- Salt seasons the meat and keeps the sauce from carrying the entire flavor burden.
- A bottled barbecue sauce is practical here; thick tomato-based sauces usually form the most substantial glaze.
- Additional brown sugar is unnecessary for most sauces and would increase the chance of scorching.
Ingredients
- 10 bone-in, skin-on chicken drumsticks, about 3 pounds, thawed
- 1 tablespoon neutral oil
- 1 1/2 teaspoons kosher salt
- 2 teaspoons sweet paprika
- 1 teaspoon garlic powder
- 1 teaspoon onion powder
- 1/2 teaspoon black pepper
- 1/4 teaspoon cayenne pepper (optional)
- 3/4 cup barbecue sauce, divided, plus more for serving if desired
The Best Method for Oven-Baked Chicken Drumsticks
Dry the chicken well, season it evenly, and roast it in one uncrowded layer. The first stage develops color and renders the skin; the final, thin coats of sauce provide adhesion and caramelization without giving the sugar time to burn.
- Do not rinse raw chicken. Patting it dry is safer and produces better browning.
- A rack is preferred because it lets hot air circulate beneath the drumsticks. Without one, turn the pieces so one side does not sit in rendered liquid.
- Two thin coats of sauce adhere more evenly than one heavy, wet coating.
- Use a clean brush and clean sauce after the chicken has been cooked.
Instructions
- Heat the oven and prepare the pan: Heat the oven to 425°F (220°C). Line a rimmed sheet pan with foil and set an oven-safe wire rack on top. If you do not have a rack, use the lined pan alone and leave space between the drumsticks.
- Dry and season the chicken:
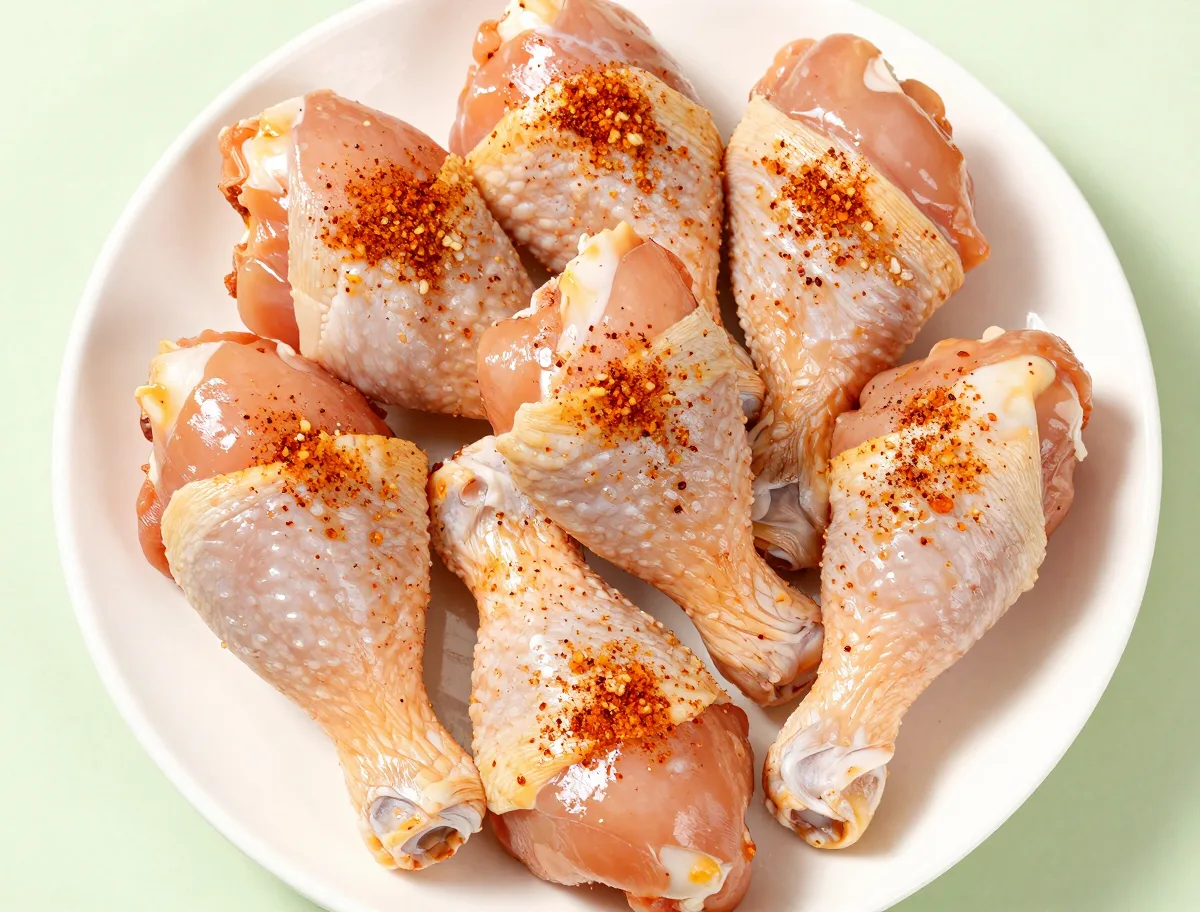
Pat the drumsticks thoroughly dry with paper towels; do not rinse them. In a small bowl, stir together the salt, paprika, garlic powder, onion powder, black pepper, and cayenne pepper. Toss the chicken with the oil, then coat evenly with the seasoning mixture.
- Roast before saucing: Arrange the drumsticks in a single layer with space between each piece, placing the thicker ends toward the outside of the pan. Roast until the skin is browned and the thickest part of the chicken registers at least 155°F (68°C), about 30 minutes. Rotate the pan halfway through; if using a rack-free pan, turn the drumsticks as well.
- Brush with barbecue sauce:
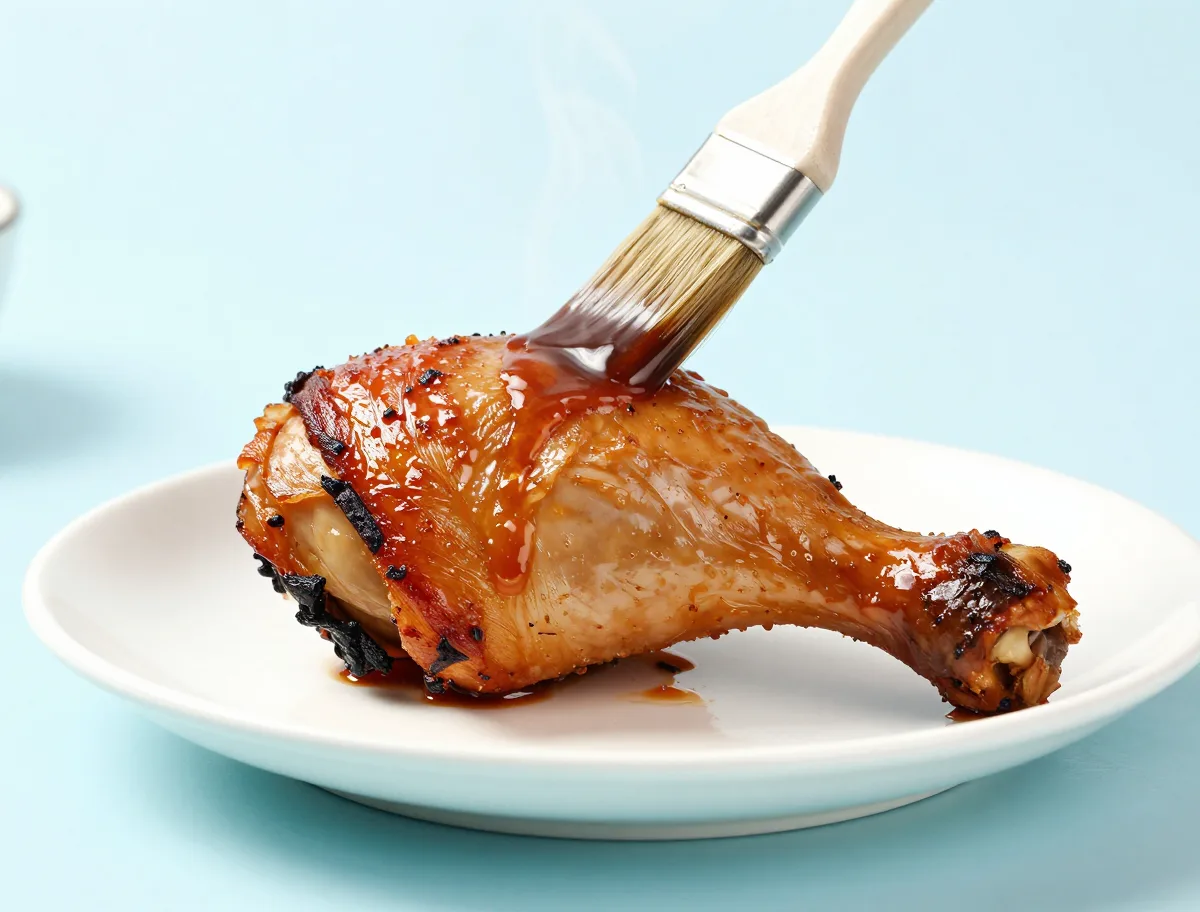
Brush the drumsticks with a thin coat of barbecue sauce, using about half of the measured sauce. Return the pan to the oven and roast for 6 minutes. Brush with the remaining sauce and continue roasting until the glaze is bubbling and the chicken reaches at least 165°F (74°C) in the thickest meat, away from the bone.
- Optional broiler finish: For a darker, stickier glaze, switch the oven to broil and broil the chicken for 1 to 2 minutes, watching continuously. Remove it as soon as the sauce bubbles and deepens in color; sugary glaze can scorch quickly.
- Rest and serve:
Transfer the drumsticks to a clean platter and rest for 5 minutes before serving. Discard any sauce or brush that touched the raw chicken; use only clean sauce for serving.
How to Tell When the Drumsticks Are Done
Time provides a useful estimate, but the thermometer determines doneness. Insert an instant-read thermometer into the thickest muscle from the side, keeping the probe away from the bone. Every piece should reach at least 165°F (74°C).
- At doneness, the meat is firm but not hard, and the skin is browned rather than gray or rubbery.
- The glaze should look set, shiny, and lightly bubbled.
- Clear juices, pinkness near the bone, or meat pulling away from the bone are only secondary observations and cannot replace a temperature check.
- A five-minute rest makes the drumsticks easier to handle, but it must not be used to compensate for undercooking.
Why Sauce Timing and Airflow Matter
Surface moisture has to evaporate before the skin can brown, which is why drying the chicken and leaving space between pieces matters. Elevating the drumsticks improves airflow and keeps the underside from sitting in juices. Meanwhile, barbecue sauce contains sugars that thicken and brown quickly, so it needs only a short exposure to high heat.
- Bone-in meat and thick drumsticks heat more slowly at the center than small or boneless pieces.
- Crowding traps steam and softens the skin; spacing allows rendered fat and moisture to move away.
- A 425°F oven is useful for browning the unsauced chicken, but the sauce should be added only during the final cooking stage.
- Broiling accelerates bubbling and caramelization but can turn a sweet glaze bitter within a short time.
Common BBQ Chicken Drumstick Problems and Fixes
Most disappointing results come from relying on the clock, crowding the pan, or applying sauce too early. Correct the process rather than adding more sauce: the chicken needs dry heat and sufficient airflow before it needs a glaze.
- Raw center: Continue roasting and check the thickest piece with a thermometer. Large, partially frozen, or crowded drumsticks need more time.
- Burned glaze: Stop broiling immediately. If the chicken is not done, move it away from the strongest heat and finish roasting at 400°F (205°C), adding fresh sauce only near the end.
- Pale or soggy skin: Drain excess liquid, space the chicken farther apart, and use a rack if available. Avoid coating it heavily before roasting.
- Dry meat: Begin checking smaller drumsticks early and keep the broiler finish brief. Once chicken is substantially overcooked, extra sauce will not restore its moisture.
- Uneven browning: Rotate the pan and turn the pieces on a rack-free pan; arrange similar-sized drumsticks together when possible.
Sauce and Seasoning Options
The method is flexible as long as the chicken remains bone-in and the sauce is treated as a late-stage glaze. Bottled sauce can be smoky, spicy, mustard-forward, vinegar-forward, or honey-sweet, but each style changes how quickly it browns and how thickly it coats.
- A sweeter sauce needs especially close attention under the broiler; use thin coats and remove the chicken as soon as the glaze darkens.
- Thin vinegar-based sauce can be brushed on lightly or reduced separately before glazing if a thicker coating is desired.
- For a milder rub, omit the cayenne. For a smokier profile, choose a smoked barbecue sauce or smoked paprika in place of some or all of the sweet paprika.
- A mild cooking oil such as avocado, canola, or grapeseed oil works in place of the listed neutral oil.
- Thighs or leg quarters can use the same seasoning idea, but they are larger pieces and require their own timing checks.
How to Store, Freeze and Reheat BBQ Chicken Legs
Cooked drumsticks keep well for planned leftovers, although the skin will soften in the refrigerator or freezer. Cool and store them safely first, then use moderate covered heat to protect the meat during reheating.
- Refrigerate cooked chicken in a shallow, covered container within 2 hours, or within 1 hour in temperatures above 90°F (32°C).
- Use refrigerated leftovers within 3 to 4 days when held at 40°F (4°C) or below.
- Freeze cooled drumsticks in airtight packaging for longer storage. The chicken remains useful, but the glaze and skin will not be as crisp after thawing.
- Reheat covered in a moderate oven until the center reaches 165°F (74°C), then uncover briefly if you want to refresh the surface.
- You can season thawed raw drumsticks several hours ahead, but keep them refrigerated and cook them within the normal raw-poultry storage window.
BBQ Baked Chicken Drumsticks FAQ
These practical answers cover the decisions that most affect timing, browning, glaze texture, and food safety.
What oven temperature works best for BBQ baked drumsticks?
Roast them at 425°F (220°C). This is hot enough to brown and render the skin while keeping the sauce exposure brief. If the glaze is darkening too quickly, lower the oven to 400°F (205°C) for the final stage.
How long should drumsticks bake?
Thawed, average-size drumsticks usually take about 40 to 45 minutes at 425°F, including the saucing stage. Size, spacing, starting temperature, pan type, and oven accuracy all affect the timing, so begin checking with a thermometer around 35 minutes.
When should barbecue sauce be added?
Add it when the drumsticks are nearly cooked, generally during the final 8 to 15 minutes. Early application exposes the sauce sugars to heat for too long and can produce a burnt coating before the chicken is safe.
Is a wire rack necessary?
No. A rack improves airflow and browning, but a foil-lined rimmed pan works. Leave space between the drumsticks and turn them once so the underside does not remain in pooled juices.
Can I cook the drumsticks from frozen?
Thaw them first for this recipe. Frozen chicken makes the timing and browning less predictable and can leave the surface ready for sauce while the center is still undercooked. Thaw in the refrigerator, in cold water inside a leakproof package, or in the microwave, then cook immediately after microwave or cold-water thawing.
Can I broil the finished chicken?
Yes. Broil for 1 to 2 minutes as an optional final step, watching continuously. The glaze should bubble and deepen in color, not blacken.
How long should the chicken rest?
Rest the cooked drumsticks for about 5 minutes. The rest improves handling and serving quality, but the chicken must already have reached 165°F (74°C).
Safe Handling and Cooking Temperature
Raw poultry should be handled as a contaminating food. Keep it cold, prevent its juices from touching ready-to-eat foods, and wash hands, utensils, and surfaces after contact. Do not rinse the chicken, since splashing can spread pathogens without making the meat safer.
- Cook every drumstick to a minimum internal temperature of 165°F (74°C), measured in the thickest meat without touching the bone.
- Thaw chicken only in the refrigerator, in cold water in a leakproof package, or in the microwave; never thaw it on the counter.
- Keep raw chicken refrigerated for no more than 1 to 2 days before cooking or freezing.
- Refrigerate cooked chicken within 2 hours and reheat leftovers to 165°F (74°C).
- Use separate clean utensils and a clean brush for cooked chicken and reserved sauce.
For more detail, follow official safe minimum internal temperature guidance for poultry and reheated leftovers, along with the CDC guidance on chicken safety for thawing, handwashing, rinsing, and preventing cross-contamination.