Mounds Bar Cake Recipe with Chocolate and Coconut
This easy Mounds bar cake recipe pairs a moist devil’s food cake with a thick marshmallow-coconut filling and a smooth semisweet chocolate ganache. It is a nut-free 9×13-inch chocolate coconut cake made for clean, generous slices.
What to Expect from This Mounds Bar Cake
This Mounds-inspired sheet cake is built around the candy bar’s defining contrast: deep chocolate and sweet coconut, without nuts. The cake remains soft and sturdy enough to support a substantial coconut layer, while the ganache firms into a smooth finish that can be cut cleanly.
- The 9×13-inch format gives every serving a visible coconut center.
- Sweetened coconut and marshmallows create a cohesive, chewy filling rather than a loose coconut topping.
- The finished cake is richest when served in modest squares with coffee or unsweetened tea.
Why the Chocolate, Coconut and Marshmallow Layers Work
A boxed devil’s food mix is used here because it delivers a moist, sliceable crumb with very little preparation. Sweetened shredded coconut supplies both chew and sweetness, while the milk-marshmallow mixture binds the flakes into a layer that firms as it cools. Semisweet chocolate keeps the ganache from becoming overwhelmingly sweet alongside the cake and filling.
- Evaporated milk adds dairy solids and richness without the extra sugar of condensed milk.
- Marshmallows provide structure as they melt, helping the coconut layer hold together.
- A relatively chocolate-forward ganache sets more reliably than a thin glaze and remains tender enough to slice.
Ingredients
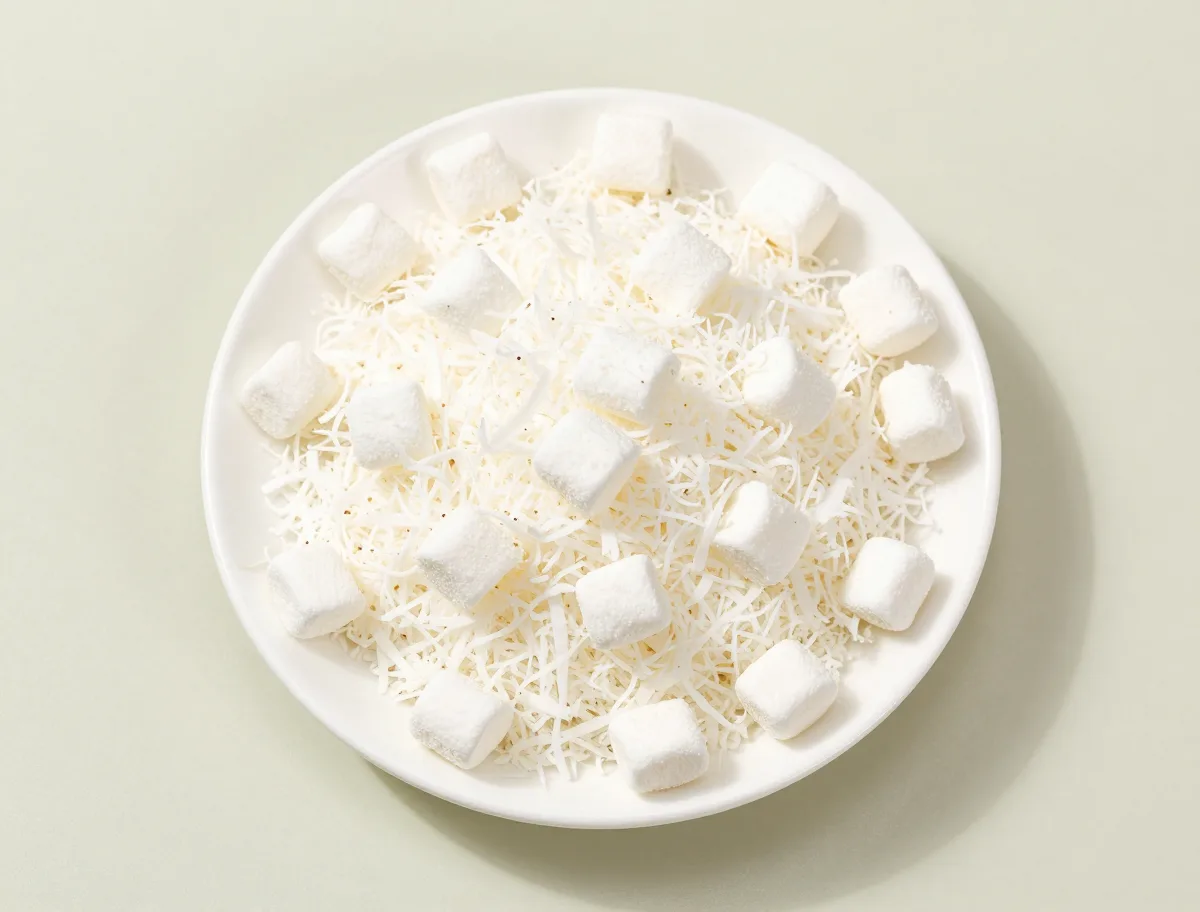
- 1 box devil’s food cake mix, 15.25-ounce box
- 3 large eggs
- 1/2 cup neutral vegetable oil
- 1 cup water
- 1 cup evaporated milk, divided
- 3/4 cup granulated sugar
- 4 tablespoons unsalted butter, divided
- 10 ounces miniature marshmallows
- 4 cups sweetened shredded coconut
- 1/2 teaspoon fine salt, divided
- 1 teaspoon vanilla extract
- 12 ounces semisweet chocolate, finely chopped
- 2/3 cup heavy cream
How to Assemble the Chocolate Coconut Cake
Temperature control is the central technique. The cake should be warm enough for the filling to settle onto its surface, but not so hot that it becomes gummy. Spread the coconut mixture as soon as it reaches a thick, workable consistency; waiting too long can make it seize in the saucepan.
- Stir the milk, sugar, butter and marshmallows frequently over moderate heat to prevent scorching.
- Spread the filling promptly and use a flexible spatula to reach the corners without tearing the cake.
- Cool the coconut layer completely before adding ganache so the chocolate remains distinct instead of melting into it.
- Let the ganache thicken before spreading; warm, fluid ganache can migrate into the coconut layer.
Instructions
- Prepare the pan and oven: Heat the oven to 350°F (175°C). Lightly grease a 9×13-inch metal baking pan and line the bottom with parchment, leaving enough overhang to help lift chilled slices if desired.
- Mix and bake the cake: In a large bowl, whisk the cake mix, eggs, vegetable oil, and water just until the batter is smooth; do not overmix. Spread it evenly in the prepared pan. Bake for 28 to 32 minutes, until the center springs back lightly and a tester inserted in the middle shows no wet batter, only a few moist crumbs.
- Cool the cake slightly: Set the pan on a rack and let the cake cool for 20 to 25 minutes. It should be warm but no longer steaming hot. Leave it in the pan for the rest of the assembly.
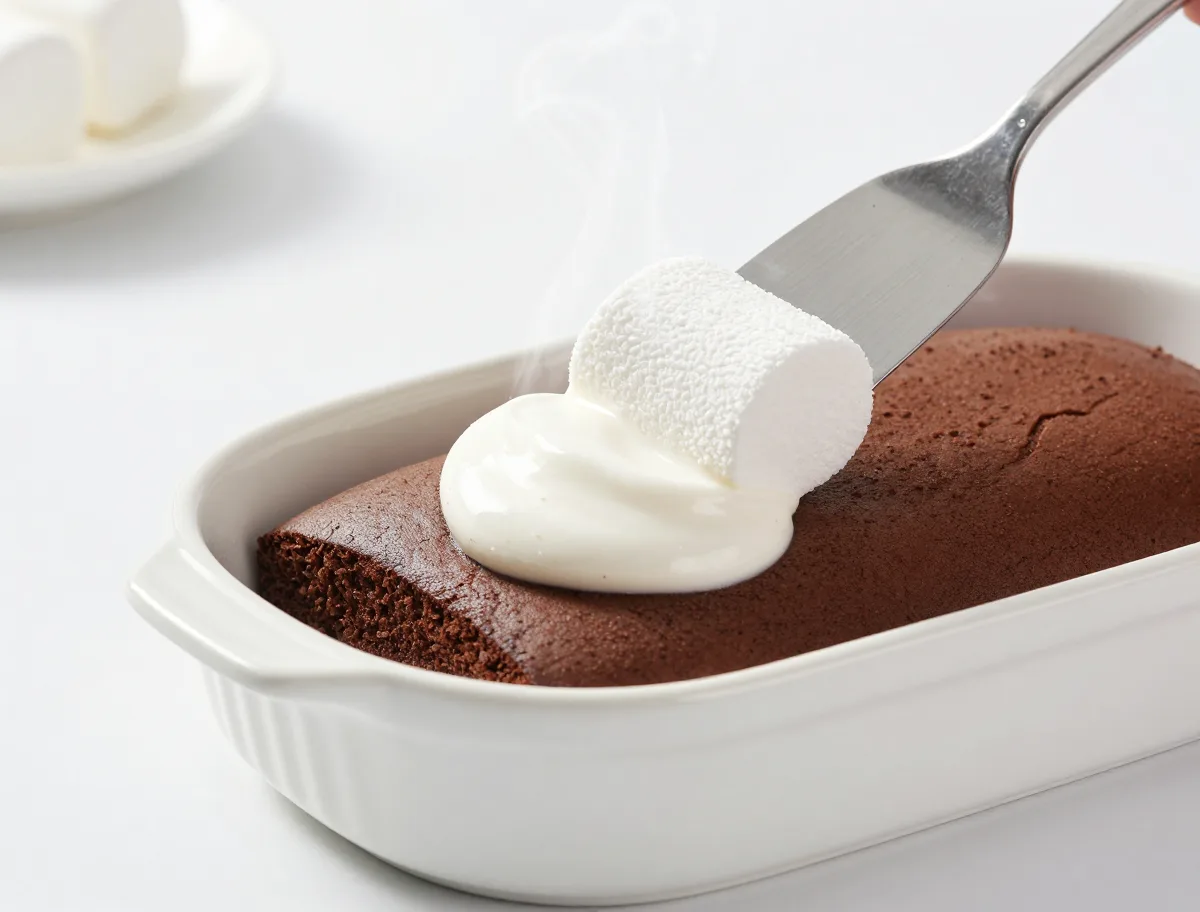
- Cook the coconut filling: While the cake cools, place 3/4 cup evaporated milk, the sugar, 2 tablespoons butter, and 1/4 teaspoon salt in a medium heavy saucepan over medium-low heat. Stir frequently until the butter melts and the sugar dissolves. Add the marshmallows and cook, stirring constantly, until they are almost completely melted and the mixture is glossy and cohesive, about 4 to 6 minutes. Do not let the milk mixture boil hard or sit unattended, as it can scorch.
- Finish and spread the coconut layer: Remove the saucepan from the heat. Stir in the remaining 1/4 cup evaporated milk, the coconut, vanilla, and remaining 1/4 teaspoon salt. The mixture should be thick, moist, and spreadable rather than pourable. Immediately spread it over the warm cake in an even layer, pressing gently into the corners without compressing the crumb. Let the cake cool completely in the pan, about 45 minutes.
- Make the ganache: Put the chopped chocolate and remaining 2 tablespoons butter in a heatproof bowl. Warm the heavy cream in a small saucepan until steaming and just beginning to bubble at the edges; do not boil it vigorously. Pour it over the chocolate and butter and leave undisturbed for 3 minutes. Stir slowly from the center outward until glossy and completely smooth.
- Top and chill: Let the ganache stand for 10 to 15 minutes, stirring once or twice, until it has thickened to a spreadable consistency and holds a soft ridge from a spatula. Spread it over the cooled coconut layer. Refrigerate the cake, uncovered, for 30 minutes, then cover the pan tightly and chill for at least 3 hours more, or overnight.
- Slice and serve: For neat portions, lift the cake using the parchment if used, or cut it in the pan with a sharp knife warmed under hot water and wiped dry between cuts. Serve chilled for the firmest layers, or let each piece stand at room temperature for 20 to 30 minutes for a softer crumb and topping.
How to Tell When the Cake and Layers Are Ready
Chocolate cake can look moist even when the center is underbaked, so check the middle rather than relying on browned edges. The correct coconut filling is glossy and cohesive, with enough body to stay where it is spread. Once chilled, the cake should cut with slight resistance from the ganache and no sliding between layers.
- A few moist crumbs on a tester are acceptable; streaks of liquid batter are not.
- The cake center should spring back lightly when pressed.
- The coconut layer should not release liquid around its edges.
- If using an instant-read thermometer as a secondary check, a finished cake is commonly in the approximate 200 to 210°F range at the center.
Recipe Doneness Cues
- The cake center should look set and matte, spring back lightly, and show no wet batter on a tester.
- The marshmallow mixture is ready when it is glossy and nearly smooth; after the coconut is added, the filling should mound slightly and spread without running.
- The ganache should coat a spatula and hold a soft ridge before it is spread over the cake.
- The assembled cake is ready to slice when the coconut layer and ganache feel firm under a light touch.
For additional guidance on checking cake doneness by texture and tester results, see King Arthur Baking’s guide to telling when cake is done.
The Variables That Keep the Layers Stable
The cake’s thickness, the amount of liquid absorbed by the coconut, and the chocolate-to-cream balance all affect the final structure. Evaporation concentrates the filling while it cooks, and cooling allows the marshmallow mixture to set. In the ganache, the chocolate must provide enough cocoa solids and cocoa butter to bind the cream into a coating rather than a sauce.
- A smaller or deeper pan changes the distance heat must travel, so its bake time cannot be copied directly from the 9×13-inch version.
- Sweetened coconut is moister than unsweetened coconut; changing coconut types can alter both sweetness and filling consistency.
- More cream makes a softer ganache, while more chocolate makes a firmer one.
- Refrigeration improves slice stability, but a short room-temperature rest brings back a more tender crumb and softer chocolate texture.
Common Mounds Cake Problems and How to Fix Them
Most problems with this cake come from temperature or moisture rather than complicated technique. Watch the saucepan closely, allow the cake to cool at the specified stages, and judge the filling by its consistency before spreading.
- Runny filling: Cook the milk-marshmallow mixture a little longer before adding the coconut, or return the finished mixture briefly to low heat. Excess liquid or insufficient concentration is usually the cause.
- Scorched filling: Use medium-low heat and stir across the bottom and corners continuously. A burned mixture cannot be fully repaired, so discard it if it tastes bitter.
- Gummy cake top: The cake or filling was too hot during assembly. Let the cake cool until warm rather than steaming.
- Soft ganache: Cool it longer before spreading. If it remains loose after chilling, the cream-to-chocolate balance was too fluid for a firm topping.
- Cracked ganache: Let the cake stand briefly at room temperature and use a warm, dry knife. Cutting while the topping is very cold can make it fracture.
- Dry cake: Check the center early and remove the cake as soon as the tester shows moist crumbs. A smaller or darker pan may bake the edges faster.
Use a metal 9×13-inch pan for the stated bake time. A glass pan may require a few additional minutes, so rely on the center doneness cues rather than the clock alone.
If the coconut mixture seems loose, return it to low heat for 1 to 2 minutes, stirring constantly, before spreading. If it becomes too stiff, stir in a tablespoon of the reserved warm filling mixture before applying it.
Ingredient Substitutions for This Mounds Cake
The boxed cake base is the simplest route, but the filling and topping can be adjusted if needed. Substitutions change the dessert’s sweetness, richness or firmness, so they should be made with those tradeoffs in mind.
- For a from-scratch base, use a moist chocolate cake formula designed for a 9×13-inch pan and bake until the center is set; do not substitute an unusually delicate cake that cannot support the filling.
- Evaporated milk may be used in the same amount wherever regular milk is called for in a filling, producing a richer result. Sweetened condensed milk is not a direct swap because it contains substantial sugar and creates a denser, sweeter layer.
- Unsweetened shredded coconut can replace sweetened coconut, but the filling will be less sweet and potentially drier. Add sweetness and liquid only after assessing the mixture’s consistency.
- Milk chocolate can replace semisweet chocolate for a sweeter topping, but it generally needs less cream to achieve a comparable set.
- Avoid almond extract and nuts in the main recipe if the goal is a Mounds-style flavor rather than an Almond Joy variation.
Mounds Cake Variations That Still Work
The sheet cake is the most dependable format because it keeps the coconut layer level and eliminates stacking concerns. Other formats are possible, but they change the way the coconut is distributed and should not be expected to eat exactly like this version.
- For a poke cake, poke the baked cake and use a thinner condensed-milk or coconut mixture to infuse the crumb. The result will be softer and more integrated, not a distinct coconut center.
- For a round layer cake, divide the batter between prepared round pans and cool the coconut filling completely before stacking. Keep the filling layer modest to prevent sliding.
- A Bundt cake can include coconut in the batter and chocolate glaze, but it will not provide the same full, visible coconut layer.
- Toasted coconut is suitable as an optional garnish, but its browned, nutty flavor is less like the soft coconut profile of a classic Mounds bar.
How to Serve Chocolate Coconut Layer Cake
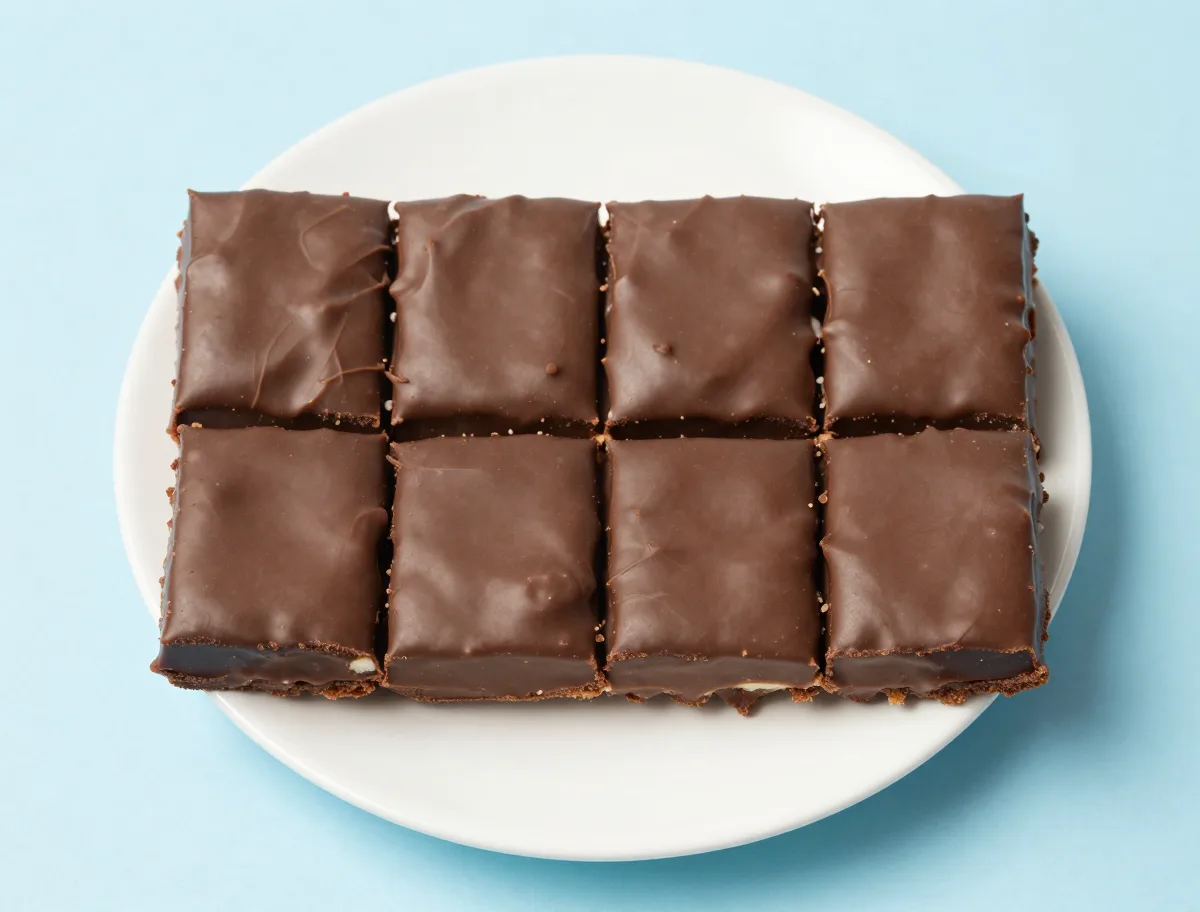
Refrigeration gives this rich cake its cleanest layers and most polished appearance. For the best balance between neat slices and tender texture, remove portions from the refrigerator 20 to 30 minutes before serving.
- Use a sharp knife warmed under hot water and wiped dry for smooth cuts through the chilled ganache.
- Pair the cake with black coffee, espresso or unsweetened tea to balance its sweetness.
- Vanilla ice cream is an optional accompaniment for especially rich servings.
- Keep garnishes restrained; a little plain coconut or chocolate is more in keeping with the recipe than nuts.
How to Store, Freeze and Make This Mounds Cake Ahead
Because the coconut filling contains milk and the ganache contains cream, store the assembled cake covered in the refrigerator rather than at room temperature. Making it a day ahead is particularly useful: the layers stabilize overnight and become easier to portion.
- Refrigerate the cake promptly after assembly and keep it at 40°F or below.
- For quality and conservative storage, use the refrigerated cake within 3 to 4 days.
- To freeze, first chill or freeze the cake until the topping is firm, then wrap it airtight. Thaw it overnight in the refrigerator.
- Frozen cake is best within about 3 months; the coconut may lose a little spring and the ganache may look less glossy after thawing.
- Do not reheat the assembled cake. Allow it to rest briefly at room temperature before serving.
For general food-storage practices, consult the FDA’s food-storage guidance.
The cake may be made one day ahead. Keep it covered and refrigerated, and use it within 3 to 4 days.
To freeze, firm the uncovered cake in the freezer, wrap it tightly, and thaw it overnight in the refrigerator. The coconut may be slightly less springy and the ganache less glossy after thawing.
Mounds Bar Cake Recipe FAQs
These answers address the most common choices around the cake base, coconut filling, pan size, chilling and storage.
Does this Mounds cake use a boxed mix or a scratch cake?
The primary recipe uses a boxed devil’s food cake mix for a dependable, easy 9×13-inch cake. A moist scratch chocolate cake can be used, but its bake time and structure may vary.
What makes the filling taste like a Mounds bar?
Sweetened shredded coconut cooked with evaporated milk, sugar and marshmallows creates the thick, sweet and chewy layer that distinguishes this cake from an ordinary chocolate coconut cake.
Can I use sweetened condensed milk instead?
Yes, but it is better treated as a separate filling method rather than a one-for-one substitution. Condensed milk makes a sweeter, denser and often softer layer, so the sugar and cooking process need to be recalculated.
Why is a 9×13-inch pan recommended?
It gives the cake a useful thickness, provides enough surface area for an even coconut layer and avoids the sliding risk of a stacked cake. Other pans require different baking times and doneness checks.
How long should the cake chill before slicing?
Chill it for at least 3 hours after topping; overnight is even better for the cleanest slices. Let portions stand for 20 to 30 minutes if you prefer a softer texture.
Can I make this cake a day ahead?
Yes. Keep it tightly covered and refrigerated. The overnight chill helps the filling and ganache firm and makes the cake easier to transport and cut.
Is this cake nut-free?
The recipe contains no nuts or almond flavoring. Check packaged ingredients for allergen labeling if preparing it for someone with a serious allergy.
Can the finished cake be frozen?
Yes. Firm it before wrapping, seal it well, and thaw it overnight in the refrigerator. The texture should remain good, although the coconut may be slightly less springy and the ganache may lose some shine.