Air Fry Teriyaki Chicken Recipe: Juicy Glazed Bites
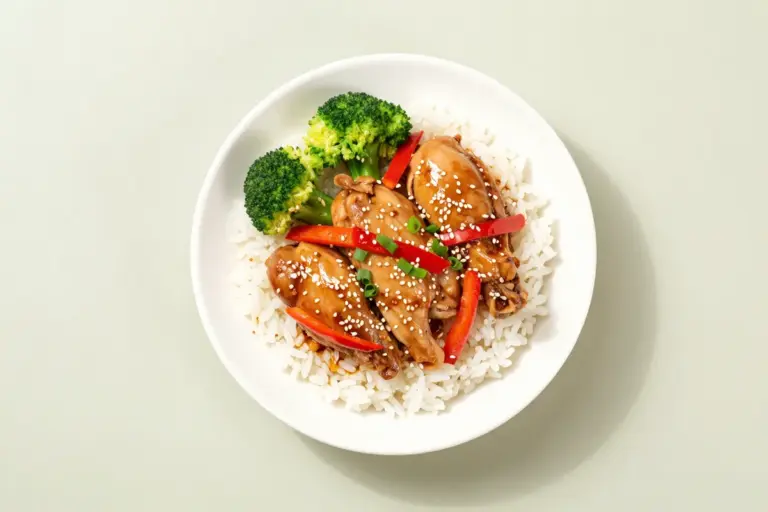
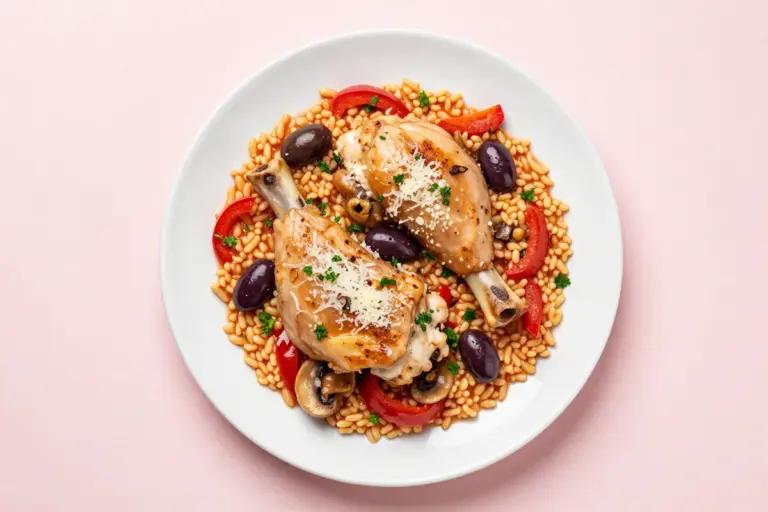
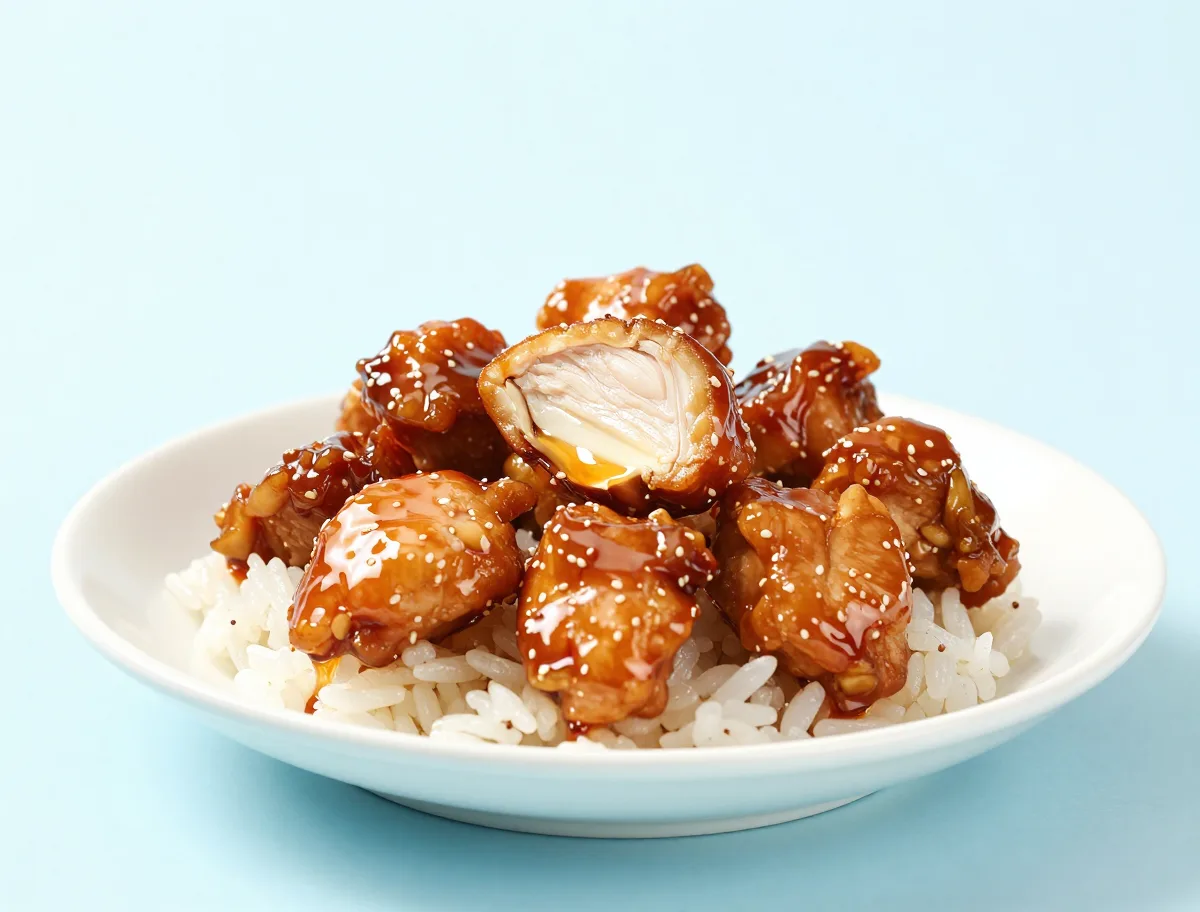
This air fry teriyaki chicken recipe makes juicy, browned chicken bites with a glossy homemade soy-ginger glaze, served over rice for an easy weeknight meal.
What Makes Great Air Fryer Teriyaki Chicken
The goal is chicken with browned, lightly crisp edges and a juicy center, finished with a thin lacquer of savory-sweet sauce. The most reliable approach is to give the chicken dry exposure for most of its cooking time, then add the sugar-containing glaze near the end so it shines without burning.
- Boneless, skinless thighs are the forgiving default because they stay moist through small timing variations.
- The glaze should cling and shine without pooling in the basket.
- A late glaze gives better browning than coating the raw chicken heavily from the start.
Why the Teriyaki Ingredients Matter
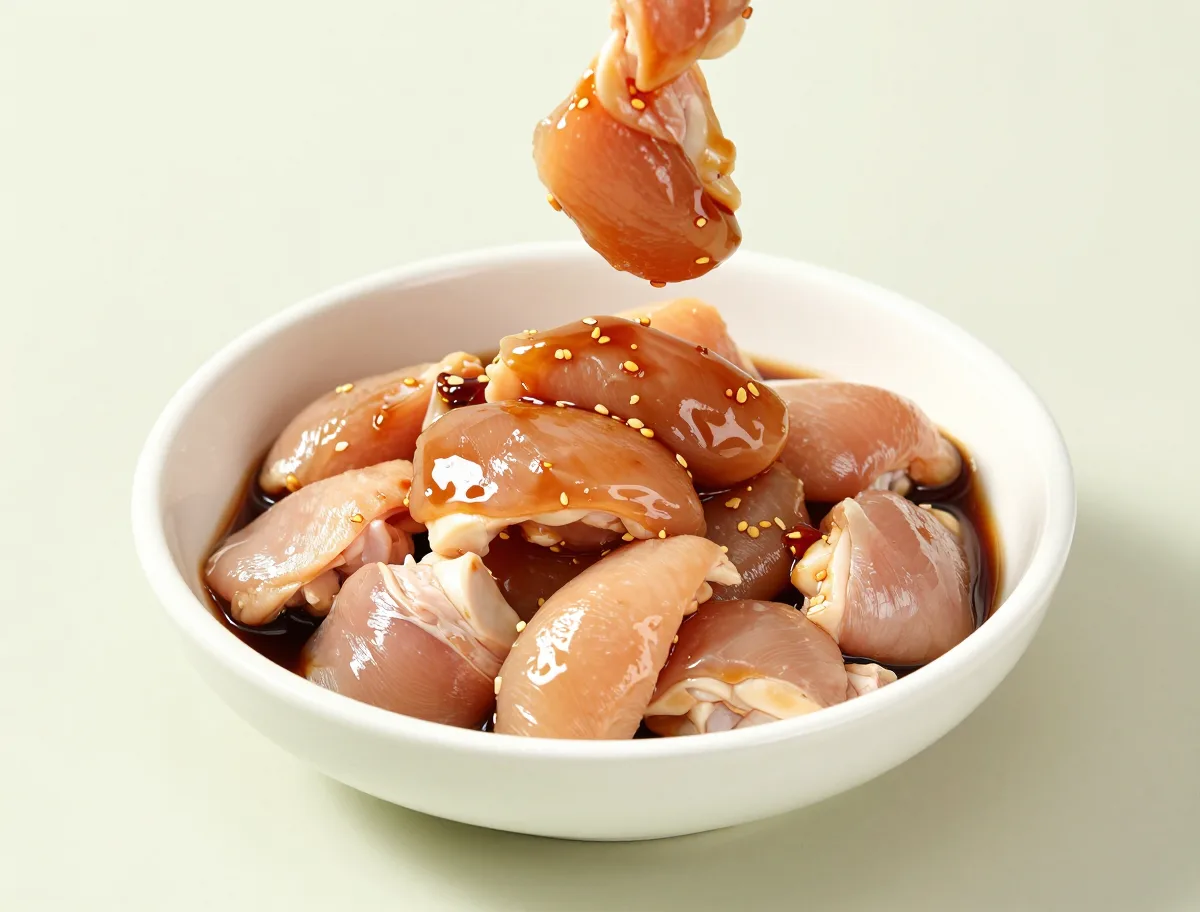
Soy sauce supplies salt and umami, while mirin contributes gentle sweetness and fermented depth. Brown sugar helps create the characteristic sheen, and rice vinegar keeps the sauce from tasting flat. Ginger, garlic, and sesame oil add aromatic dimension; the small amount of cornstarch makes the glaze cling quickly without requiring a long reduction.
- Fresh ginger and garlic are incorporated into the sauce so they flavor the chicken without scorching on its surface.
- Neutral oil supports browning and release; the chicken needs only a light coating.
- Cornstarch should thicken the sauce to a brushable consistency, not a pudding-like one.
- 1 1/2 pounds boneless, skinless chicken thighs, trimmed and cut into 1 1/2-inch pieces
- 1/3 cup soy sauce
- 1/4 cup mirin
- 1/4 cup water
- 2 tablespoons light brown sugar, packed
- 1 tablespoon rice vinegar
- 2 teaspoons fresh ginger, finely grated
- 2 cloves garlic, finely grated or minced
- 1 teaspoon toasted sesame oil
- 1 tablespoon cornstarch
- 1 tablespoon water, cold, for the cornstarch slurry
- 2 teaspoons neutral oil, plus more for the basket if needed
- 3 cups cooked white rice, hot
- 1 tablespoon sesame seeds
- 3 green onions green onions, thinly sliced
The Best Technique for Juicy, Browning Chicken
Uniform pieces are more important than an exact clock time. Brief refrigerated marination adds flavor, but drying the chicken before air frying is what preserves the possibility of browned edges. Keep the clean finishing glaze separate from anything that touched raw poultry, and use it only after the chicken has developed color.
- Drain and pat marinated chicken dry before adding oil.
- Preheat when your air fryer allows it for a more predictable start.
- Use a spaced single layer; batch cooking is better than extending the time on an overloaded basket.
- Turn larger pieces halfway through and shake smaller pieces when needed.
- Make the teriyaki glaze: In a small saucepan, whisk together the soy sauce, mirin, 1/4 cup water, brown sugar, rice vinegar, ginger, garlic, and sesame oil. Bring to a gentle simmer over medium heat. Stir the cornstarch with the 1 tablespoon cold water in a small bowl, then whisk the slurry into the simmering sauce. Cook for 30 to 60 seconds, until glossy and just thick enough to coat a spoon. Do not reduce it to a sticky paste.
- Reserve sauce and marinate: Pour about 1/3 cup of the sauce into a clean bowl and let it cool briefly. This portion is for the chicken marinade. Set the remaining sauce aside as the finishing glaze. Add the chicken to the marinade, toss to coat, cover, and refrigerate for 15 to 20 minutes. Do not marinate at room temperature.
- Preheat the air fryer: Preheat the air fryer to 400°F. If the basket is prone to sticking, lightly brush or spray it with a little of the neutral oil.
- Dry and oil the chicken: Drain the chicken well and discard the used marinade. Pat the pieces as dry as practical with paper towels; this helps them brown instead of steam. Toss the chicken with the 2 teaspoons neutral oil.
- Air fry until nearly cooked: Arrange the chicken in a single layer with space between pieces. Air fry at 400°F for 10 minutes, shaking the basket or turning the pieces halfway through. If the basket is crowded, cook in batches rather than stacking the chicken.
- Glaze and finish: Brush or toss the nearly cooked chicken with the reserved clean glaze, using a thin coating rather than flooding the basket. Return it to the air fryer at 375°F for 2 to 4 minutes, turning once if needed, until the glaze is shiny and set and the thickest pieces reach at least 165°F.
- Serve: Divide the hot rice among four bowls. Top with the glazed chicken, sesame seeds, and sliced green onions. Serve immediately; add any remaining clean glaze sparingly so the browned edges stay visible.
How to Tell When the Chicken Is Done
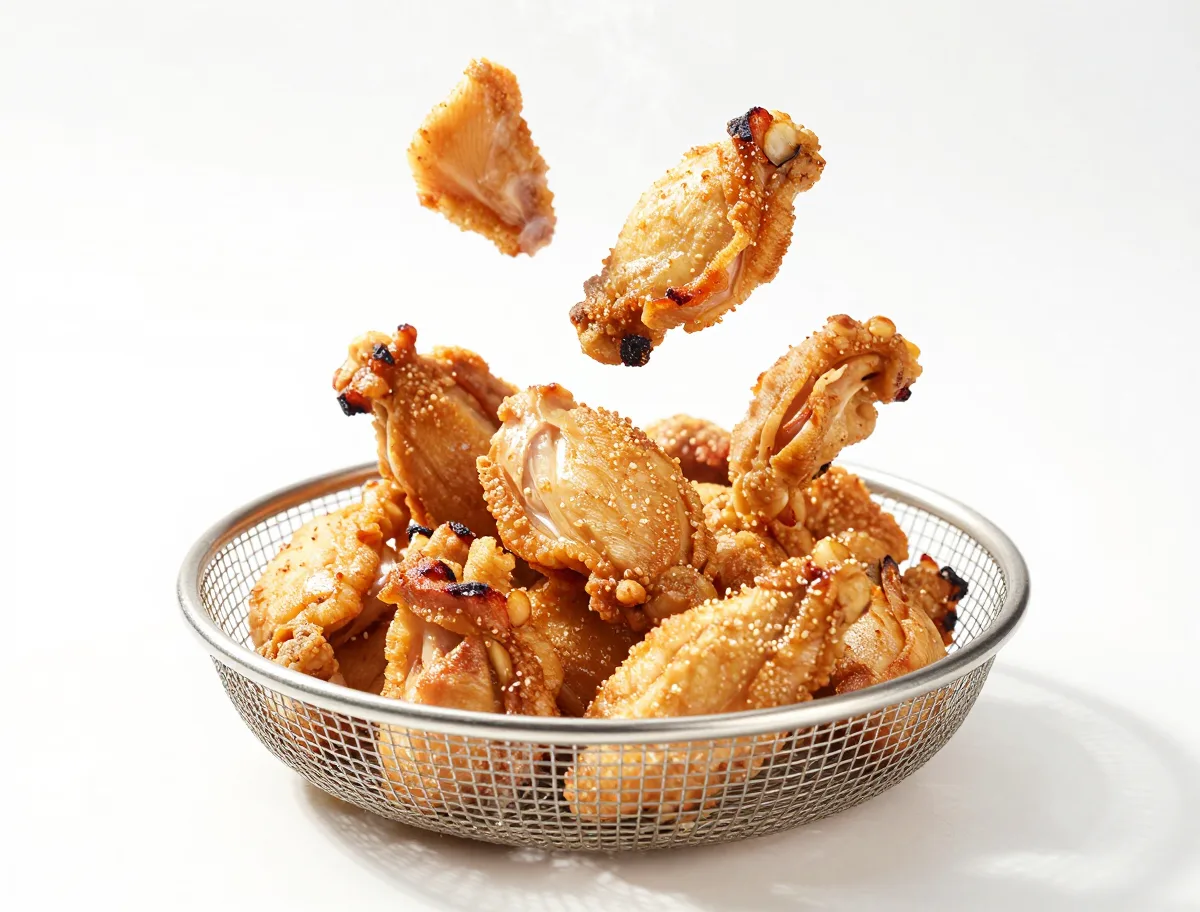
Color and firmness help judge quality, but they cannot replace a thermometer. Check the thickest portion of several pieces, especially when the chicken is cut unevenly. The glaze should look glossy and lightly syrupy; it will firm slightly as it cools.
- Every portion must reach 165°F (74°C) for safe doneness.
- Finished chicken is opaque inside and firm but still yielding.
- Browned edges are desirable; blackened sauce indicates excessive heat or too much early glazing.
- Thighs can be cooked somewhat beyond the minimum for tenderness, while breasts should be removed promptly at a safe temperature.
- The chicken should have browned edges and a thin, glossy coating rather than a wet layer of sauce.
- The thickest chicken pieces must register at least 165°F (74°C), measured in the center and checked in more than one piece if sizes vary.
- The meat should be opaque and firm but yielding, with no translucent center.
- If using thighs, a temperature modestly above 165°F can produce a softer texture, but 165°F remains the minimum safe endpoint.
The Air-Fryer Variables That Change the Result
Air fryers brown exposed surfaces through fast-moving hot air, so moisture, spacing, and piece thickness matter. Crowding traps steam, while a thick sugary coating darkens rapidly near the heating element. Moderate-high heat is useful for the mostly dry chicken; the final glazing stage needs only a short exposure.
- Piece thickness controls cooking time more than total weight.
- Dry surfaces brown sooner because moisture does not have to evaporate first.
- Small pieces cook quickly and can dry out if left in while waiting for larger pieces.
- Reducing sauce too far concentrates salt and sugar and increases the chance of scorching.
Common Air Fryer Teriyaki Chicken Problems
Most disappointing results come from too much moisture, too little airflow, or exposing sweet sauce to heat for too long. Correct the process rather than simply adding cooking time, since extra time can make both pale chicken and dry meat worse.
- Burnt glaze: apply a thinner coat later, lower the finishing temperature, and discard any blackened sauce rather than scraping it back onto the chicken.
- Pale or soggy chicken: pat it drier, leave space between pieces, and cook in batches.
- Dry breast meat: use smaller, even pieces and begin temperature checks earlier than you would for thighs.
- Uneven cooking: separate very large pieces from small ones and check the thickest pieces individually.
- Thin sauce: simmer it briefly before glazing. Overly thick sauce: whisk in a teaspoon or two of water and warm gently.
- Sauce that tastes too salty or sweet: dilute it with a little water rather than reducing it further.
Chicken, Sauce and Dietary Substitutions
The method works with both thighs and breasts, but they do not share the same moisture margin. Sauce substitutions also change salt, sweetness, and thickness, so taste and timing should be adjusted rather than assumed to be identical.
- Use boneless thighs for the most forgiving result; breasts need earlier temperature checks.
- Certified gluten-free tamari or clearly labeled gluten-free soy sauce is necessary for a gluten-free preparation.
- Low-sodium soy sauce lowers salt but may produce a less concentrated glaze; adjust only after tasting.
- Sake can replace part of the mirin with additional sweetener, though the flavor will be less rounded.
- Honey, maple syrup, and very sweet bottled sauces darken quickly, so use them in a thin late coat.
- Coconut aminos are generally milder and sweeter than soy sauce and may need a flavor adjustment.
Ways to Vary This Teriyaki Chicken
These variations keep the defining combination of air-fried chicken and a glossy sweet-savory teriyaki-style glaze. Change the cut or format, but preserve the late-glazing strategy.
- Chicken bites maximize glazed surface area and cook quickly; check them early and avoid crowding.
- Whole boneless thighs make a more substantial portion and need longer cooking than bite-size pieces.
- Boneless breast pieces work well when cut evenly and removed as soon as they reach 165°F.
- Finish with extra sesame seeds and green onions for a sesame teriyaki variation.
- Bone-in or skin-on chicken is possible but requires substantially longer timing and a separate method for managing the skin and bone.
How to Serve Air Fryer Teriyaki Chicken
Serve the chicken promptly over hot rice so the grain can absorb a little of the concentrated glaze. A simple vegetable keeps the meal balanced without competing with the sauce.
- Pair with steamed broccoli, green beans, snap peas, cabbage, or cucumber.
- Use white rice, brown rice, noodles, or cauliflower rice according to preference.
- Scatter sesame seeds and green onions over the chicken just before serving.
- Serve extra glaze on the side instead of pouring it over the chicken, which can soften the browned edges.
How to Store, Freeze and Reheat Teriyaki Chicken
For the best texture, prepare the sauce ahead and cook the chicken close to serving time. Store chicken and sauce separately whenever possible; this limits sogginess and lets you refresh the glaze after reheating.
- Refrigerate cooked chicken in a shallow container within two hours, or within one hour when the temperature is above 90°F, and use it within three to four days.
- Refrigerate the sauce separately in a covered container and warm it gently before serving.
- Freeze cooked chicken in airtight packaging for longer storage, but expect softer edges and less shine after thawing.
- Reheat only the amount needed, covered in the microwave or gently in the air fryer, until it reaches 165°F throughout.
- A short uncovered air-fryer finish can restore some surface texture, but watch closely because the sugary glaze can darken.
Air Fryer Teriyaki Chicken FAQ
These answers address the decisions that most affect browning, juiciness, sauce texture, and safe cooking.
Which cut works best: thighs or breasts?
Boneless, skinless thighs are the most forgiving and remain juicy through a wider cooking window. Breasts are leaner and can be excellent when cut evenly, but they should be checked earlier and removed promptly at 165°F.
Do I need to marinate the chicken?
No. A 15- to 20-minute refrigerated marinade adds flavor, but seasoning and late glazing also work. If you marinate, drain and pat the chicken dry, and discard the used marinade.
Can I use store-bought teriyaki sauce?
Yes. Commercial sauces vary widely in sugar, salt, and starch. Very sweet or thick sauce should be loosened with a little water and applied only during the final 1 to 2 minutes.
When should teriyaki sauce be added?
Add it near the end, preferably after the chicken has browned and is nearly cooked. A thick sugary coating applied at the beginning is more likely to burn and can prevent browning.
How do I safely reserve sauce for glazing?
Set aside a clean portion before adding raw chicken to any marinade. Never reuse raw-chicken marinade as a finishing sauce unless it has been brought to a thorough boil.
What temperature and time should I use?
For 1 1/2-inch thigh pieces, use 400°F for about 10 minutes, then glaze and finish at 375°F for 2 to 4 minutes. Breast pieces may finish sooner, while whole boneless pieces take longer. Times vary by thickness and appliance, so use 165°F as the deciding endpoint.
Do I need to preheat or use oil spray?
Preheating improves repeatability when supported by your appliance. A light coating of neutral oil helps browning and release, but heavy oil is unnecessary.
How can I keep the chicken from sticking or steaming?
Lightly oil the basket if needed, pat the chicken dry, arrange it in one layer, and leave space around each piece. Cook in batches instead of crowding the basket.
How can I make the edges crispier?
Cook the chicken mostly unglazed in a single layer, use a light oil coating, and apply only a thin glaze at the end. More sauce creates more shine but softens the surface.
How do I make the recipe gluten-free or lower in sodium?
For gluten-free chicken, use soy sauce or tamari specifically labeled gluten-free. For lower sodium, use low-sodium soy sauce and taste the sauce before reducing it further; these are separate substitutions.
Food Safety for Air Fryer Chicken
Handle raw poultry separately from ready-to-eat food, keep it refrigerated during marination, and rely on temperature rather than appearance alone. The same minimum temperature applies whether the chicken is thigh meat, breast meat, whole pieces, or bites. Follow official safe cooking temperature guidance for poultry and leftovers.
- Cook every chicken portion to at least 165°F (74°C) in the thickest part, away from bone and the basket surface.
- Check several pieces when their sizes differ.
- Marinate only in the refrigerator and wash or replace utensils that contacted raw poultry before using them for cooked food. For additional handling details, follow USDA poultry marinating guidance.
- Refrigerate leftovers within two hours, or within one hour above 90°F, and reheat them to 165°F.
- Check sauce labels for wheat, soy, and other allergens; standard soy sauce is not automatically gluten-free.