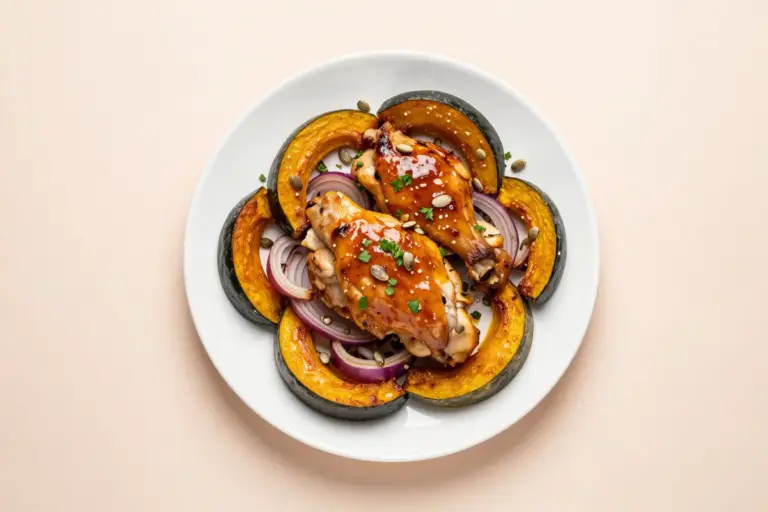
Soyaki Chicken Recipe with Sticky Soyaki Sauce
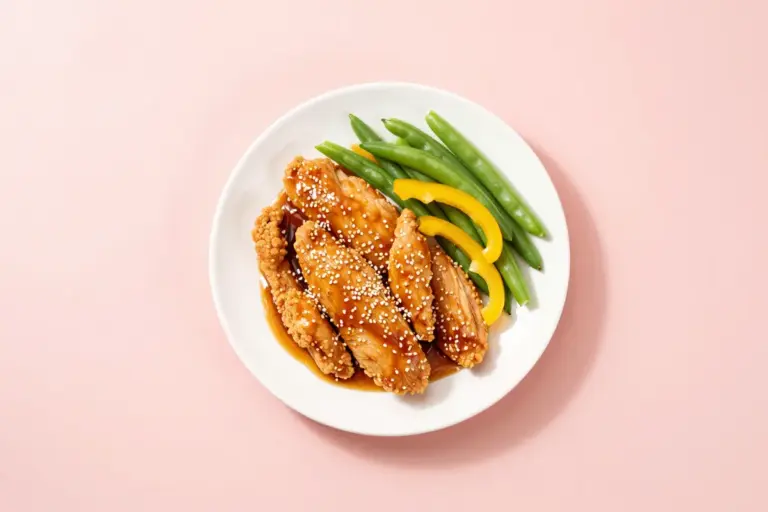
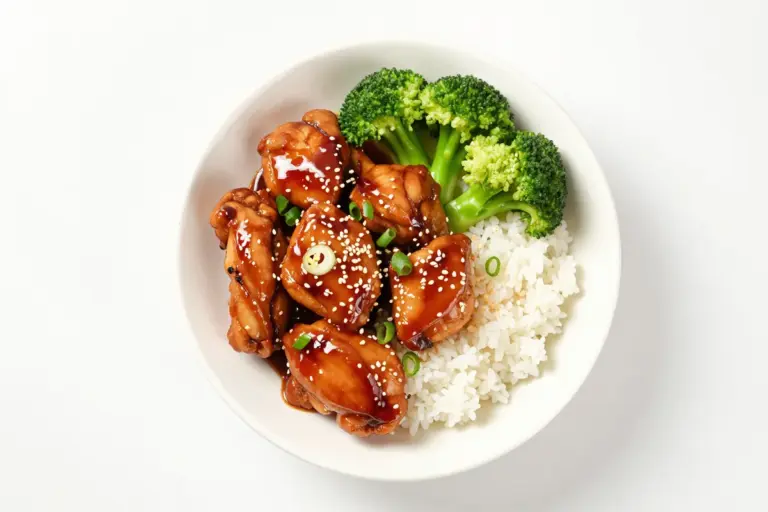
This easy Soyaki chicken recipe uses Trader Joe’s Soyaki sauce to make tender chicken thighs with a glossy, savory-sweet sesame-ginger glaze, served with rice and colorful vegetables.
What to Expect from This Soyaki Chicken Recipe
This is a quick Asian-fusion skillet meal built around Trader Joe’s bottled Soyaki sauce. The sauce brings soy-based savoriness, sweetness, ginger, garlic, sesame, and acidity in one step, so the finished chicken should taste balanced by plain rice and lightly cooked vegetables.
- The target texture is juicy chicken with a thin, glossy glaze that clings to the surface.
- The sauce should be caramelized around the edges but never blackened or bitter.
- This is a teriyaki-style adaptation made with a commercial sauce, not a traditional preparation.
Why These Soyaki Chicken Ingredients Work
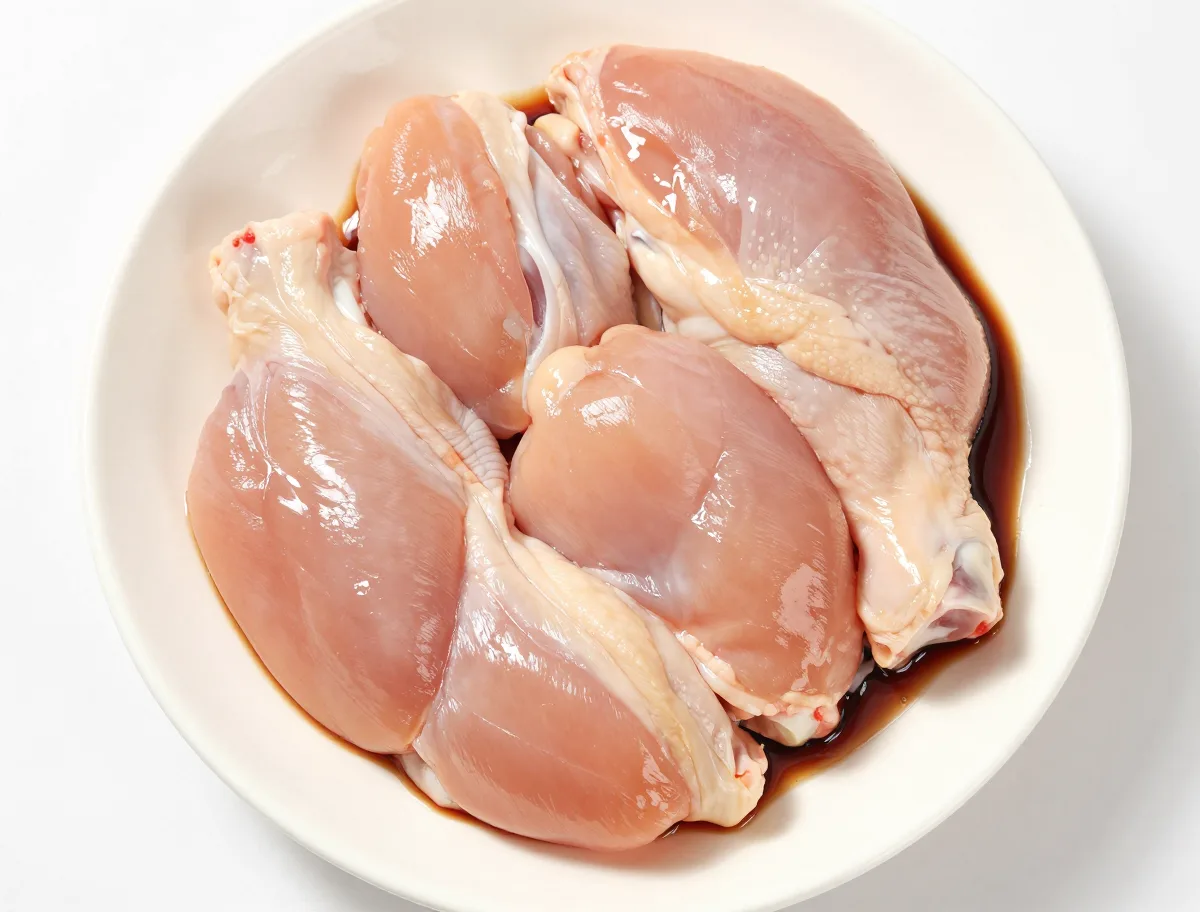
Chicken thighs provide enough natural fat to stay moist while the sauce reduces. Rice acts as a mild, absorbent base for the concentrated glaze, while broccoli and bell pepper add freshness, color, and a tender-crisp counterpoint.
- Soyaki supplies most of the seasoning, sweetness, acidity, aromatics, and sesame character.
- A neutral oil helps the chicken brown without competing with the sauce.
- Scallions and sesame seeds reinforce the sauce’s fresh allium and toasted notes.
- Cashews are optional but add useful crunch and richness.
- 1 cup jasmine rice, rinsed
- 1 1/2 cups water
- 1 1/2 pounds boneless, skinless chicken thighs, trimmed and cut into 1 1/2-inch pieces
- 3/4 cup Trader Joe’s Soyaki sauce, divided
- 1 tablespoon neutral cooking oil
- 3 cups broccoli florets, cut into bite-size pieces
- 1 medium red bell pepper, thinly sliced
- 3 tablespoons scallions, thinly sliced
- 1 tablespoon sesame seeds
- 1/3 cup roasted cashews, roughly chopped, optional
Because product formulations and allergen information can change, check the current Trader Joe’s Soyaki product listing when confirming the sauce’s ingredients and allergen information.
How to Get Tender, Glossy Soyaki Chicken
The key is to brown the chicken before introducing most of the sauce. Patting the meat dry and leaving space between pieces allows the skillet to sear rather than steam. Once the chicken is nearly cooked, moderate the heat and add the sauce for a short final reduction.
- Cut the thighs into similarly sized pieces so they finish together.
- Use a broad skillet and cook in batches if the chicken nearly fills the pan.
- Cook dense vegetables before quick-cooking garnishes or greens.
- Add clean sauce near the end; sugary sauce exposed to high heat for too long can scorch.
- Cook the rice: Combine the rinsed rice and water in a medium saucepan. Bring to a boil, cover, reduce the heat to low, and cook until the water is absorbed and the rice is tender, about 15 minutes. Remove from the heat and let stand, covered, while you cook the chicken.
- Prepare the chicken and sauce: Pat the chicken dry. Set aside 1/2 cup of the Soyaki sauce in a clean bowl for the final glaze. Keep the remaining 1/4 cup separate for the vegetables and serving. Do not salt the chicken; the sauce is already seasoned.
- Sear the chicken: Heat the oil in a large 12-inch skillet over medium-high heat. Add the chicken in a single layer, working in two batches if necessary. Cook until browned on the underside, about 3 minutes, then turn and cook until the pieces are nearly cooked through, 3 to 4 minutes more. Transfer the chicken to a plate.
- Cook the vegetables: Add the broccoli and bell pepper to the same skillet. Stir-fry until the broccoli is bright green and tender-crisp and the pepper has softened slightly, 4 to 5 minutes. If the skillet is dry, add 1 tablespoon of water and scrape up any browned bits.
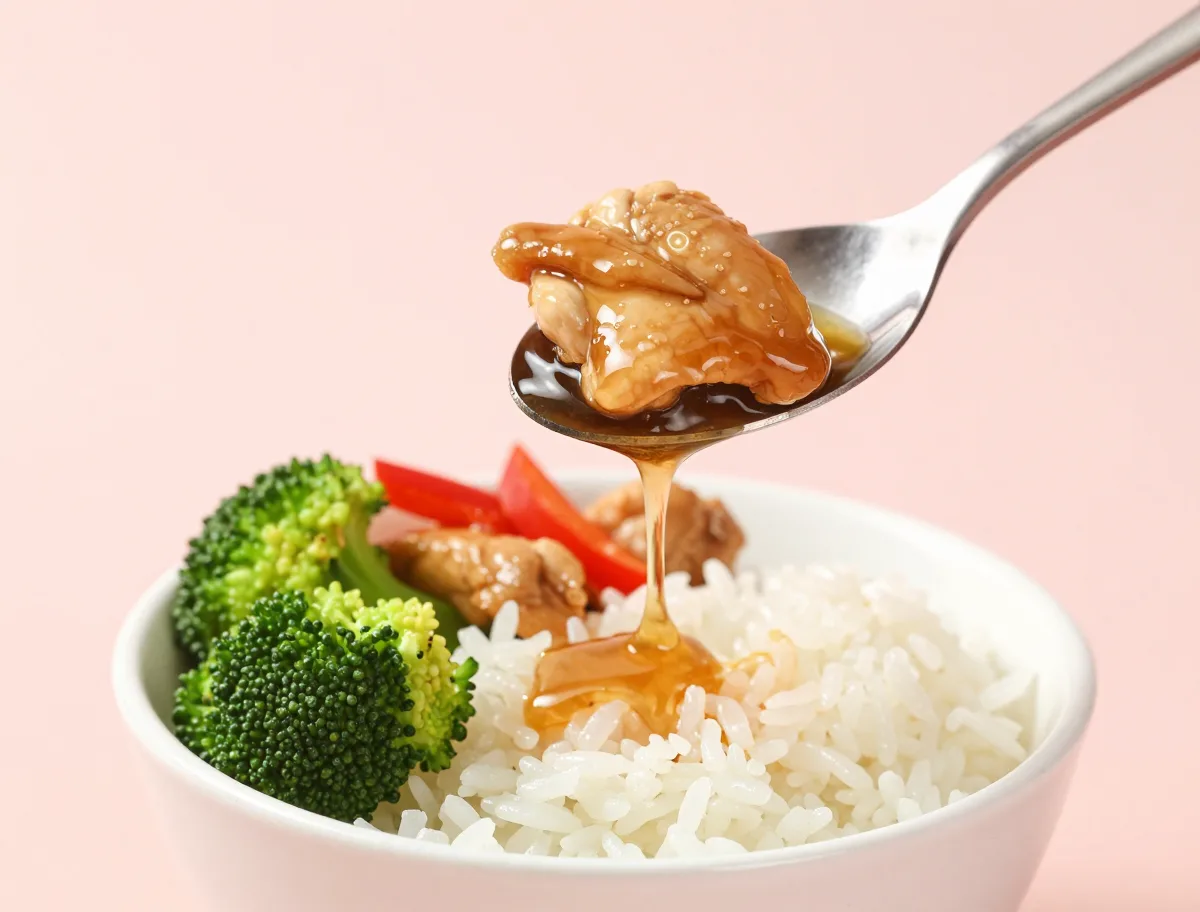
- Glaze the chicken: Return the chicken and any accumulated juices to the skillet. Reduce the heat to medium and pour in the reserved 1/2 cup of clean Soyaki sauce. Toss for 2 to 3 minutes, until the sauce bubbles gently, turns glossy, and clings to the chicken. Remove the skillet from the heat as soon as the glaze coats the pieces; do not let it darken to a burnt or sticky-black color.
- Finish and serve: Check the thickest chicken piece with an instant-read thermometer; it must reach 165°F (74°C). Divide the rice among four bowls and top with the chicken and vegetables. Spoon over a little of the remaining clean Soyaki sauce, then finish with the scallions, sesame seeds, and cashews, if using.
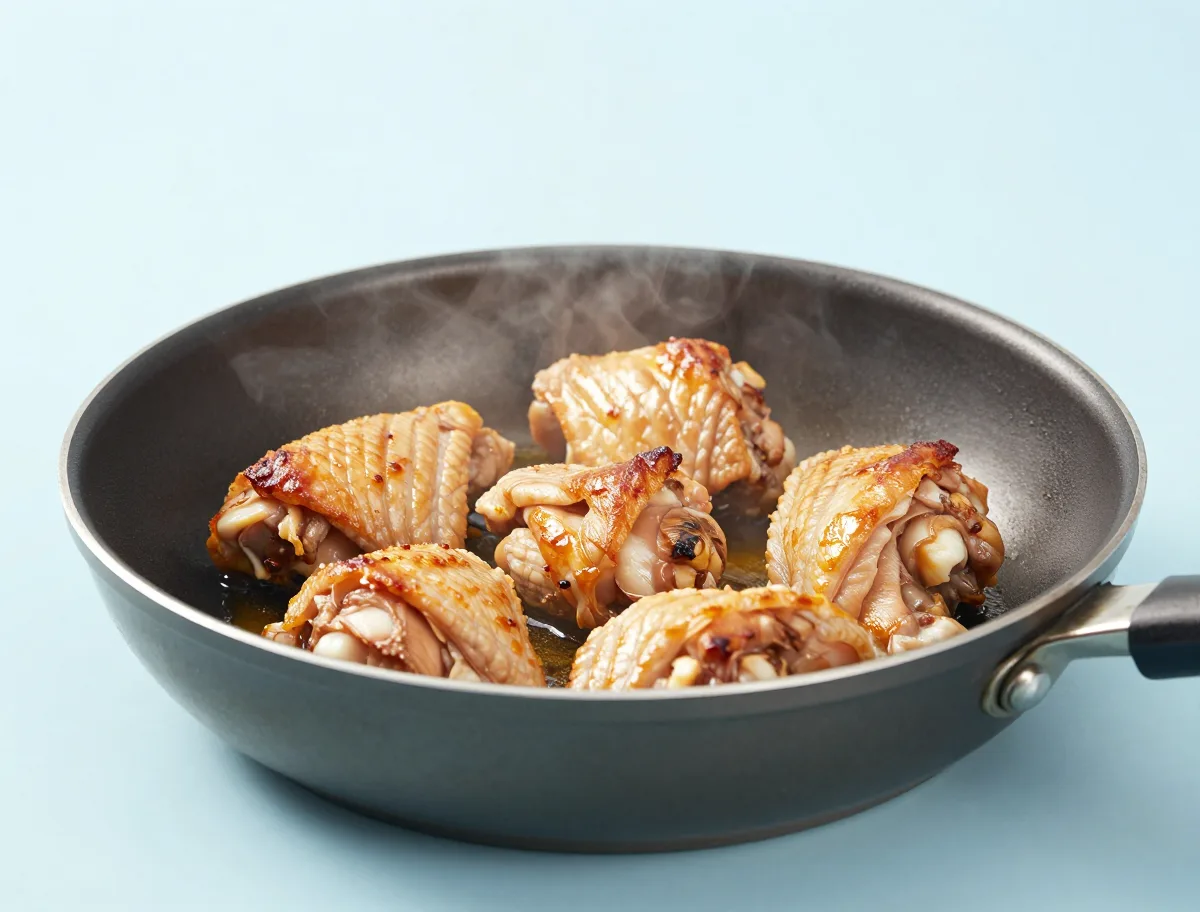
How to Tell When Soyaki Chicken Is Done
Dark sauce makes visual judgments less reliable, so use a thermometer rather than color alone. Insert it into the thickest piece, avoiding the pan, and cook until the center reaches 165°F (74°C).
- A properly reduced glaze bubbles more slowly and looks shiny rather than watery.
- The sauce should leave a brief trail when moved across the skillet, then cling to the chicken.
- Stop reducing while the glaze is still slightly loose; it thickens as it cools.
- If the chicken is firm, dry, or stringy, it has likely cooked past its ideal endpoint.
- The thickest chicken pieces reach 165°F (74°C).
- The glaze is glossy and coats the chicken in a thin lacquer.
- The broccoli remains bright green and tender-crisp rather than limp.
- The chicken feels tender when pierced and is not chalky or stringy.
The Cooking Variables That Matter Most
Soyaki contains both sugar and salt, which makes it flavorful but quick to overconcentrate. High heat is useful for browning bare chicken, but once the sauce enters the pan, moderate heat gives the liquid time to coat the meat without burning.
- Surface moisture from wet chicken suppresses browning, so pat the pieces dry.
- Crowding lowers the skillet temperature and releases steam; batch cooking produces better color.
- Reduction intensifies salt as well as sweetness, so stop at a coating consistency instead of chasing a very thick sauce.
- If the glaze tightens too quickly, lower the heat and loosen it with a small splash of water.
Common Soyaki Chicken Mistakes and How to Fix Them
Most problems come from uneven pieces, an overcrowded pan, or applying the sugary sauce too early. The following adjustments keep the dish juicy and prevent a scorched glaze.
- Dry chicken: Cut pieces evenly, check them early, and remove them as soon as the thickest piece reaches 165°F.
- Burnt sauce: Reduce the heat immediately after adding Soyaki. If it smells acrid or turns black, discard the scorched sauce rather than trying to mask it.
- Watery vegetables: Cook them in a single layer and avoid adding sauce until they are nearly finished.
- Overly salty chicken: Do not add soy sauce or salt. Serve with extra plain rice and vegetables; a small splash of water can loosen an over-reduced glaze.
- Thin glaze: Give it another brief simmer over moderate heat. If necessary, use a small cornstarch slurry in a separate sauce adaptation, but avoid making the coating gummy.
Soyaki Chicken Substitutions
Thighs are the default because they tolerate the final sauce reduction well, but breasts, tenderloins, and small stir-fry pieces can also work when their thickness is controlled. Each cut should be checked by temperature rather than by the recipe clock alone.
- Chicken breasts: Pound to an even thickness or cut into uniform pieces; they generally finish sooner and dry out more readily.
- Soyaki substitute: Combine soy sauce or tamari with a modest amount of brown sugar or honey, grated garlic and ginger, a little sesame oil, and rice vinegar. Adjust gradually because the bottled sauce’s exact balance varies.
- Gluten-free version: Use a soy or tamari sauce specifically labeled gluten-free and check the labels of all prepared sauces and garnishes.
- Less salty: Choose a reduced-sodium soy-based substitute and thin the finished sauce with water rather than reducing it aggressively.
- More heat: Add a small amount of chili flakes or hot sauce to the clean finishing sauce, watching that extra sugar does not make the glaze burn faster.
Oven, Grill, Air-Fryer and Slow-Cooker Variations
The skillet method gives the strongest browning and the most controlled glaze. Other appliances can produce good Soyaki chicken, but the sauce should generally be added late so it does not scorch.
- Oven: Roast evenly sized thighs on a lined sheet pan at 425°F (220°C), brushing with clean Soyaki during the final 5 to 8 minutes.
- Grill: Grill lightly seasoned or lightly marinated chicken over medium heat, then brush with clean sauce near the end.
- Air fryer: Cook the chicken mostly without sauce, then brush or toss with Soyaki during the final few minutes or immediately after cooking.
- Slow cooker: Cook with a restrained amount of sauce until tender, then reduce a clean portion separately for serving. Expect soft, braised chicken rather than a seared lacquer.
- Stir-fry: Use small, uniform pieces and cook the chicken and vegetables in separate batches before combining them with the glaze.
What to Serve with Soyaki Chicken
Plain jasmine rice is the most useful partner because it absorbs the savory-sweet sauce without adding another strong flavor. Keep the vegetables crisp and lightly seasoned so they balance the richness of the chicken.
- Replace jasmine rice with brown rice, rice noodles, quinoa, cauliflower rice, or lettuce cups.
- Broccoli, snap peas, green beans, cabbage, carrots, and cucumber all provide useful freshness and contrast.
- Scatter scallions and sesame seeds over each bowl just before serving.
- Cashews add crunch, but omit them for a nut-free meal.
- A lightly dressed cucumber or cabbage side can brighten an especially sweet or salty batch.
How to Store, Freeze and Reheat Soyaki Chicken
For meal prep, cool the chicken, rice, and vegetables promptly and store them in shallow containers. Keeping the components separate, when practical, preserves the vegetable texture and makes it easier to reheat only what you need.
- Refrigerate leftovers within 2 hours, or within 1 hour if the room temperature is above 90°F (32°C).
- Use refrigerated chicken, rice, and vegetables within 3 to 4 days.
- Reheat a covered portion with a small splash of water until it reaches 165°F (74°C).
- Freeze in airtight portions for best quality within about 2 to 6 months. The chicken remains usable, but the glaze may lose shine and vegetables may soften.
- For make-ahead bowls, keep scallions, sesame seeds, cashews, and any extra sauce separate until serving.
Soyaki Chicken Recipe FAQ
These answers cover the most common questions about Trader Joe’s Soyaki, chicken cuts, marinating, sauce safety, and alternate cooking methods.
Is this recipe intended to use Trader Joe’s bottled Soyaki?
Yes. The primary recipe is designed for Trader Joe’s Soyaki sauce, though the substitution guidance gives a way to approximate its salty-sweet, sesame-ginger profile if it is unavailable.
Does the chicken need to be marinated?
No. The recipe skips marinating so the chicken browns more readily. For additional flavor, refrigerate the chicken with a small portion of sauce for 30 minutes, then pat it dry and use a separate clean portion for glazing.
Which chicken cut works best?
Boneless skinless thighs are the most forgiving and remain moist during glazing. Breasts also work, but pound or slice them to an even thickness and begin checking their temperature earlier.
Can I use the marinade as the finishing sauce?
Only if it is brought to a full boil before reuse. A clean portion of Soyaki is preferable because it is safer and more convenient.
Why add the Soyaki sauce near the end?
The sauce contains sugar, which can burn before the chicken is cooked if exposed to high heat for too long. Late application lets it reduce into a glossy coating without scorching.
Can I make Soyaki chicken in a slow cooker?
Yes, but the result will be tender and braised rather than browned and caramelized. Finish it with a clean portion of reduced sauce after slow cooking.
How can I make the dish less sweet or salty?
Use less sauce, thin it with water, and serve with additional plain rice and vegetables. A small amount of rice vinegar or citrus can balance sweetness, but adding more soy sauce will increase saltiness.
Food Safety for Soyaki Chicken
Treat this dish like any raw-poultry recipe. Keep the chicken refrigerated, prevent raw juices from touching cooked food, and use a clean utensil when handling the finished chicken and sauce.
- Cook every piece of chicken to a minimum internal temperature of 165°F (74°C), measured in the thickest portion.
- Marinate only in the refrigerator, never at room temperature.
- Sauce that touched raw chicken must be discarded or boiled before it is used as a serving sauce.
- Wash hands, boards, plates, and utensils that contacted raw chicken before using them for cooked food.
- Refrigerate leftovers promptly in shallow containers and reheat them to 165°F (74°C).
For additional guidance on refrigerated marinating, safe marinade reuse, poultry temperature, storage, and reheating, consult the USDA poultry basting, brining, and marinating guidance.