Canned Chicken Broth Recipe for Pressure Canning
This canned chicken broth recipe makes a clean, savory homemade stock for soups, rice, sauces, and casseroles. The strained broth is pressure canned in pint or quart jars for shelf-stable storage.
What This Canned Chicken Broth Recipe Makes
This recipe is for homemade chicken broth preserved in jars with a pressure canner, not broth made from canned chicken and not commercial broth repacked at home. The finished stock is strained, relatively clear, lightly seasoned, and fluid enough to pour into soups, sauces, grains, and casseroles.
- Carcasses and joint-rich chicken parts provide savory flavor and body without turning the jars into a canned chicken-meat product.
- The broth may be clear to mildly cloudy; it does not need to resemble clarified consommé.
- The recipe yields plain liquid stock so the validated processing schedule remains appropriate.
Why the Ingredients Matter
The chicken is the essential ingredient: bones and connective tissue contribute flavor and gelatin, while a little residual meat adds depth. Water extracts those flavors, but too much dilution produces a weak broth. The vegetables and herbs provide background aroma, and straining them out keeps the finished product a simple liquid stock.
- Carcasses, backs, necks, and wings are economical choices with useful bone and connective tissue.
- Onion, carrot, celery, parsley, bay, and peppercorns are flavor builders rather than preservation requirements.
- Salt can be omitted for a low-sodium base and added when the broth is used.
- Removing surface fat improves mouthfeel and keeps grease away from the jar rims and sealing surfaces.
Ingredients
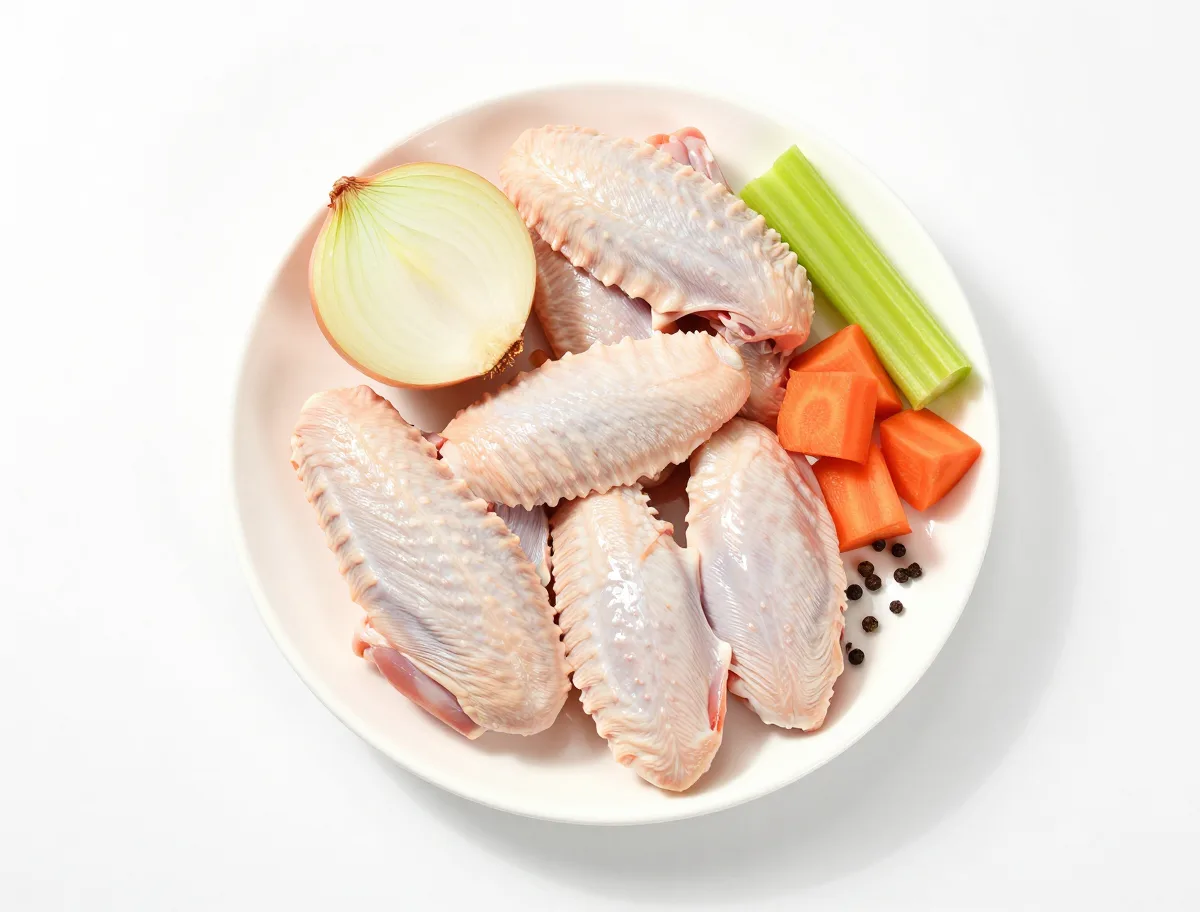
- 5 pounds chicken carcasses, backs, necks, or wings, rinsed if needed; thawed if frozen
- 16 cups cold water
- 1 medium yellow onion, quartered (optional)
- 2 medium carrots, cut into large chunks (optional)
- 2 ribs celery, cut into large chunks (optional)
- 4 sprigs flat-leaf parsley (optional)
- 2 leaves bay leaves (optional)
- 1 teaspoon whole black peppercorns (optional)
- 1 teaspoon kosher salt, or to taste (optional)
How to Prepare the Broth for Canning
Start cold and heat the bones gradually. Once the initial foam has been skimmed, maintain a quiet simmer; vigorous boiling breaks fat and proteins into the liquid and makes the stock cloudier. The broth should be strained carefully, chilled for easy defatting, and brought back to a boil immediately before hot filling.
- Use water only to cover the chicken, adding more only if the bones become exposed during cooking.
- A fine-mesh strainer catches small bone fragments, herbs, and sediment that a coarse colander may miss.
- Keep broth that is waiting for canning refrigerated, then reheat it fully before filling hot jars.
- Follow the complete pressure-canning sequence: hot jars, 1-inch headspace, clean rims, 10-minute venting, timed processing, natural depressurization, and undisturbed cooling.
Instructions
- Combine the chicken and water: Place the chicken pieces in a large stockpot and add the cold water. The liquid should cover the bones; add only enough additional water to maintain coverage if necessary.
- Begin a gentle simmer: Bring the pot slowly to a simmer over medium heat. Skim off foam that rises during the first several minutes, then add the onion, carrots, celery, parsley, bay leaves, and peppercorns. Adjust the heat so the surface barely trembles rather than boils vigorously. Maintain about 190°F (88°C).
- Extract the broth: Simmer uncovered until the remaining meat loosens easily from the bones and the liquid tastes distinctly of chicken, about 30 to 45 minutes. Keep the heat gentle and skim visible fat or foam as needed. Maintain about 190°F (88°C).
- Strain and chill: Set a fine-mesh strainer over a heatproof container and strain the broth, removing every bone, vegetable, herb, and peppercorn. Divide the broth among shallow containers and cool promptly. Refrigerate until thoroughly cold, preferably overnight, so the fat hardens on the surface. Chill to about 40°F (4°C).
- Defat and reheat: Lift off and discard the solidified fat. Transfer the broth to a clean pot, add the salt if using, and bring it to a full boil. Taste only for seasoning at this stage; do not reduce it into a concentrated or thickened stock. Bring to 212°F (100°C).
- Prepare the jars: Prepare a pressure canner, jars, lids, and bands according to the equipment manufacturer’s directions. Keep the jars hot. Ladle the boiling strained broth into pint or quart jars, leaving 1 inch of headspace. Remove trapped bubbles, wipe each rim completely clean, and apply the lids fingertip-tight. Keep the broth at 212°F (100°C).
- Pressure can the broth: Place the filled jars in the pressure canner and process only after the canner has been vented with a steady column of steam for 10 minutes. Process pints for 20 minutes or quarts for 25 minutes. Use the pressure specified by the current National Center for Home Food Preservation chicken or turkey stock table for your canner’s gauge type and elevation; for example, a weighted-gauge canner commonly uses 10 pounds from 0 to 1,000 feet.
- Cool and check the seals: Turn off the heat and let the canner depressurize naturally. Wait 10 additional minutes before removing the jars. Set them upright on a towel, undisturbed, for 12 to 24 hours. Check that each lid is concave and does not flex when pressed, then remove the bands, wash and dry the jars, label them, and store them in a cool, dark, dry place.
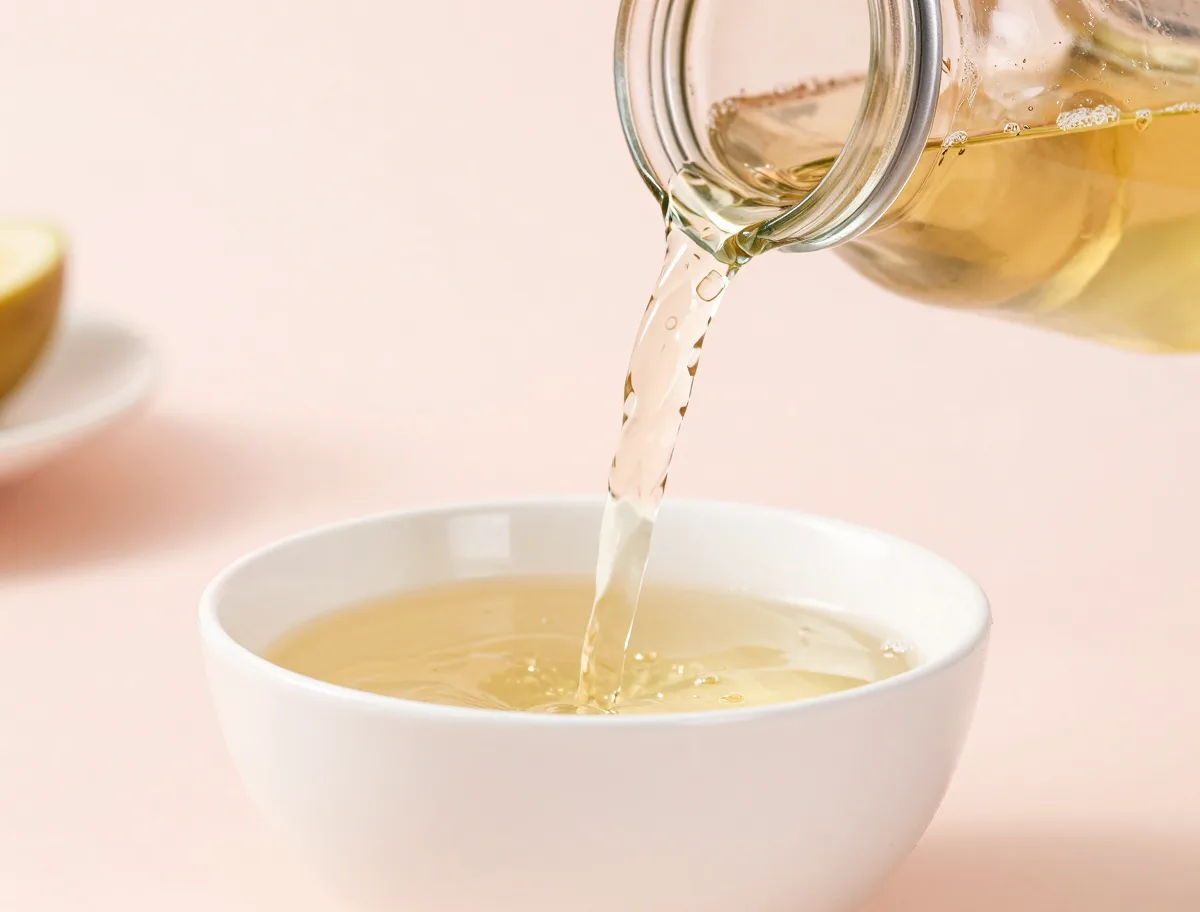
How to Tell When the Broth Is Ready
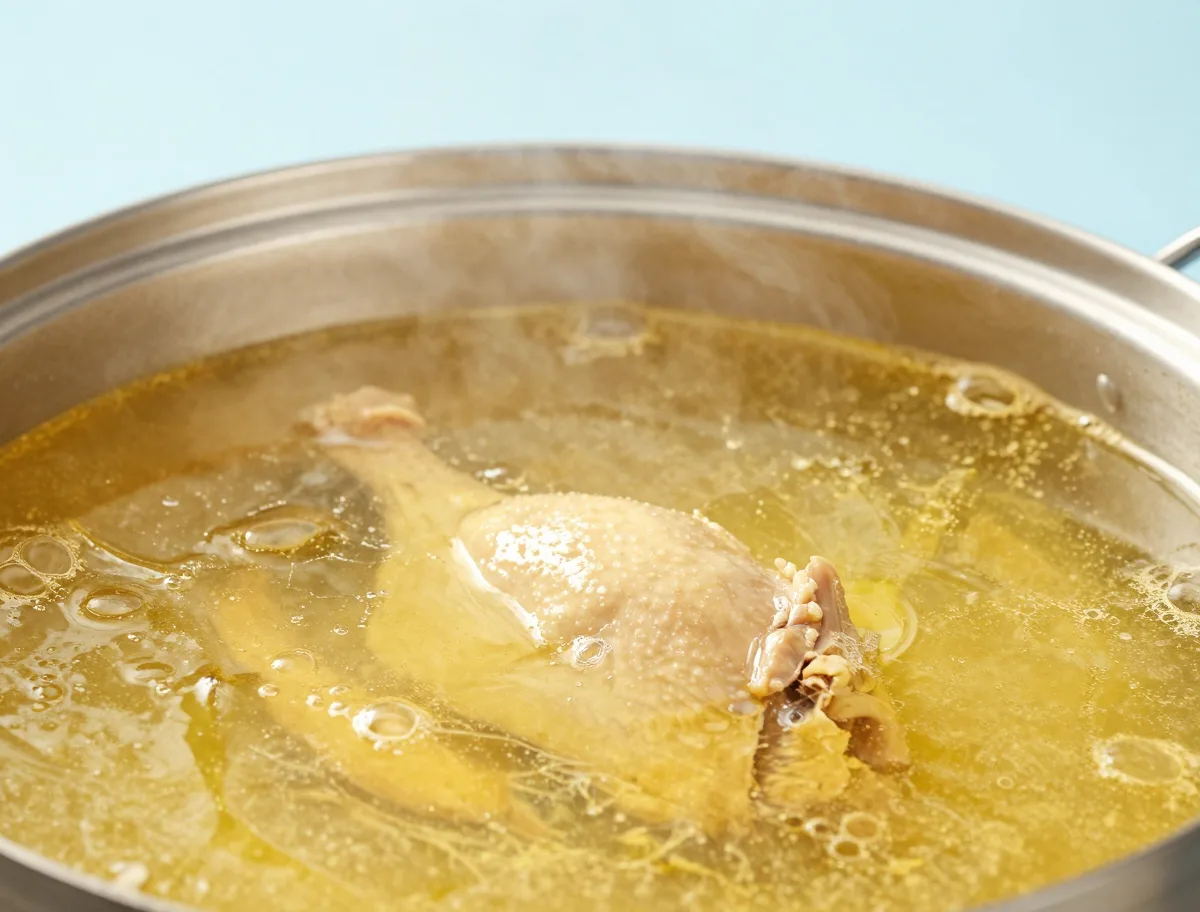
Broth is ready for straining when it has a definite chicken flavor and the small pieces of meat separate easily from the bones. After straining and chilling, the surface fat should be removable. A collagen-rich broth may set softly in the refrigerator, while a leaner batch may remain liquid; neither texture alone determines safety.
- The broth tastes clearly savory and chicken-rich rather than like lightly flavored water.
- Small amounts of meat loosen readily from the bones.
- After straining, the liquid contains no bones, vegetable pieces, herbs, or obvious sediment.
- A chilled layer of fat can be lifted from the surface.
- The broth may become jiggly when cold if collagen-rich parts were used, but gelling is not required.
- A gentle simmer usually produces a cleaner result than a rolling boil.
- Cloudiness is primarily a quality issue, not an automatic sign of spoilage.
- After processing and cooling, a properly sealed lid is depressed and does not flex or pop. A jar lid should be checked only after the full processing and cooling procedure; a seal by itself does not prove that an unsafe process was corrected.
The Variables That Matter for Safe Canning
Chicken broth is a low-acid food, so safety comes from the pressure-canning time and pressure—not from salt, vinegar, a vigorous boil, or a vacuum seal. Jar size, gauge type, elevation, headspace, and complete steam venting all affect the heat treatment inside the jar.
- Use 20 minutes for pints and 25 minutes for quarts only when processing plain strained stock.
- Select pressure from the current official table for the specific canner gauge and elevation; pressure is not universal.
- Leave 1 inch of headspace for this liquid stock.
- Do not thicken, purée, or substantially concentrate the broth after choosing this canning process.
- If pressure drops below the required level during processing, follow the applicable official guidance; simply adding a few minutes is not a reliable correction.
Common Canned Chicken Broth Problems
Most quality problems can be traced to heat, dilution, fat, or handling. Safety problems are different: an incorrect pressure or processing time must be treated as an inadequate process, even if the jar eventually seals.
- Weak broth: Use more bony chicken parts, avoid excessive water, and cook until the liquid tastes distinctly savory. Do not rely on extreme reduction as an improvised canning fix.
- Cloudy broth: Lower the heat, avoid stirring, skim early, and strain carefully. Once fat and proteins have emulsified, the appearance may not fully improve.
- Greasy broth: Chill the stock and remove the hardened fat before reheating. Keep every jar rim free of oil.
- Siphoning: Prevent overfilling, use the correct headspace, allow natural depressurization, and let jars rest before removal.
- Failed seal: Refrigerate the jar for prompt use or freeze it. Do not store it at room temperature.
- Off-odor, leakage, bulging, mold, or other spoilage signs: Discard without tasting.
Best Chicken Parts and Practical Substitutions
The recipe is flexible about which bony chicken parts you use, provided the finished product remains a strained liquid. The choice mainly changes flavor, fat, and body rather than requiring a different culinary method.
- Carcasses and backs are economical and produce a balanced, lighter stock.
- Necks, wings, joints, and feet contribute more connective tissue and can give the chilled broth greater body.
- Meatier pieces add flavor but should not become substantial chicken pieces in jars processed as plain stock.
- Breast meat alone makes a relatively lean broth with less gelatin.
- Canned chicken or commercial broth can be upgraded for an immediate meal, but it should not be used as the basis for a newly canned batch.
Flavor Variations That Still Work
Flavor can change while the identity of the recipe stays intact. The safe boundary is simple: the final jars must contain hot, strained chicken stock without substantial solids or thickeners.
- For a deeper, darker broth, roast the chicken bones before simmering.
- For a lighter stock, use unroasted bones and a restrained amount of aromatics.
- Leave out the salt when you want maximum flexibility for later recipes.
- Aromatic vegetables and herbs may vary, but they must be strained out before filling the jars.
- Chicken soup, concentrated bone broth, gravy, and broth with noodles or vegetables are different products and should not use this stock schedule automatically.
How to Store, Freeze, and Use the Broth
Uncanned broth needs rapid cooling and refrigeration or freezing, while correctly pressure-canned jars can be stored unopened in a cool, dark, dry place. Separate these storage methods: a hot-filled jar or a jar with a good-looking lid is not shelf-stable unless it has received the complete pressure-canning process.
- For refrigerated broth, divide it into shallow containers and chill promptly; remove the fat after it solidifies.
- Freeze broth in freezer-safe containers with room for expansion. Slight separation after thawing is normal; whisk or stir if needed.
- Store processed jars without their bands after the seals have been checked, and use them for best quality within about one year.
- Refrigerate or freeze any jar that does not seal.
- Discard jars with damaged lids, leaks, bulging, mold, off-odors, or other spoilage signs without tasting.
Canned Chicken Broth Recipe FAQs
These answers address the common confusion between making broth from canned chicken, improving store-bought broth, and pressure canning homemade stock.
Is this broth made from canned chicken?
No. This is homemade chicken broth made from bony chicken parts and preserved with a pressure canner. Canned chicken may be simmered with commercial broth for an immediate meal, but that mixture should not be repacked for shelf-stable storage.
Can I use a water-bath canner?
No. Chicken broth is low acid and requires a pressure canner. A boiling-water bath, atmospheric steam canner, hot-filling alone, salt, or vinegar cannot replace the approved pressure process.
Can I can the broth in pint and quart jars?
Yes, but the processing times differ. Use 20 minutes for pints and 25 minutes for quarts, with pressure selected from the current official table for your gauge type and elevation.
Can I add salt?
Yes. Salt is for flavor and may be omitted, reduced, or added after opening. It does not make the broth shelf-stable.
Why did my broth turn cloudy?
The usual causes are a hard boil, vigorous stirring, emulsified fat, or fine sediment. A low simmer, early skimming, chilling, and careful straining improve clarity, although a mildly cloudy broth is not automatically unsafe.
Can I add noodles, rice, vegetables, or chicken to the jars?
Not when using this plain-stock schedule. Those additions change the density and composition of the product. Can the strained broth alone, then add them when you prepare the finished dish.
What if the broth does not gel when chilled?
That is acceptable. Gel formation depends on the amount of collagen and dilution and is a quality characteristic, not a required safety test.
What should I do if the pressure drops during processing?
Do not simply add a few minutes. Consult the applicable official canning guidance for your equipment and follow its instructions, which generally require restarting the timing when pressure returns to the required level.
Pressure-Canning Safety for Chicken Broth
Because poultry broth is low acid, inadequate processing can permit dangerous bacterial growth without obvious changes in smell or appearance. Use a pressure canner in good condition, follow the current tested stock process, and treat time, pressure, jar size, elevation, headspace, venting, and cooling as essential parts of the recipe.
- Read the canner manufacturer’s instructions and use the current National Center for Home Food Preservation guidance on using pressure canners for your gauge and elevation.
- Vent the canner with continuous steam for 10 minutes before bringing it to processing pressure.
- Allow natural depressurization, then wait 10 minutes before removing jars.
- Cool jars undisturbed for 12 to 24 hours before checking seals.
- Never taste a questionable jar to determine whether it is safe.
- A jar that sealed can still be unsafe if the pressure, timing, formulation, or altitude adjustment was incorrect.