Coconut Cake Charleston SC: Peninsula Grill Recipe
Recreate the towering Charleston coconut cake inspired by Peninsula Grill: six tender syrup-brushed cake rounds layered with coconut cream filling, cream cheese frosting, and toasted coconut.
What Makes This Charleston Coconut Cake Distinctive
Peninsula Grill’s signature dessert is defined by height and repetition: two substantial butter cakes are split into six thin rounds, then stacked with five layers of cooked coconut filling. The result is often called a 12-layer coconut cake, although the practical cake count is six rounds plus five filling layers.
- Tender vanilla-butter cake is moistened with a restrained application of simple syrup.
- The filling is rich, cooked, coconut-forward, and firm enough to support a tall stack.
- Cream cheese frosting covers the exterior, while toasted coconut supplies aroma and crunch.
- The finished cake should be chilled for stability and allowed to soften briefly before eating.
Why the Ingredients Matter in a Tall Coconut Layer Cake
This cake depends on ingredients that provide both richness and structural strength. Butter and eggs make the crumb tender but sturdy enough to split; flour and baking powder give the cake a stable framework; and heavy cream contributes concentrated dairy richness without making the batter watery.
- Sweetened coconut contributes sweetness, moisture, and chew throughout the cake and filling.
- Cornstarch gives the cooked coconut filling enough body to remain between the layers instead of flowing out.
- Simple syrup restores tenderness after the cakes are divided into thin rounds, but it should be absorbed rather than pooled.
- Full-fat cream cheese and butter create a frosting firm enough for a tall cake.
- Toasting the exterior coconut adds contrast without changing the soft interior.
Ingredients
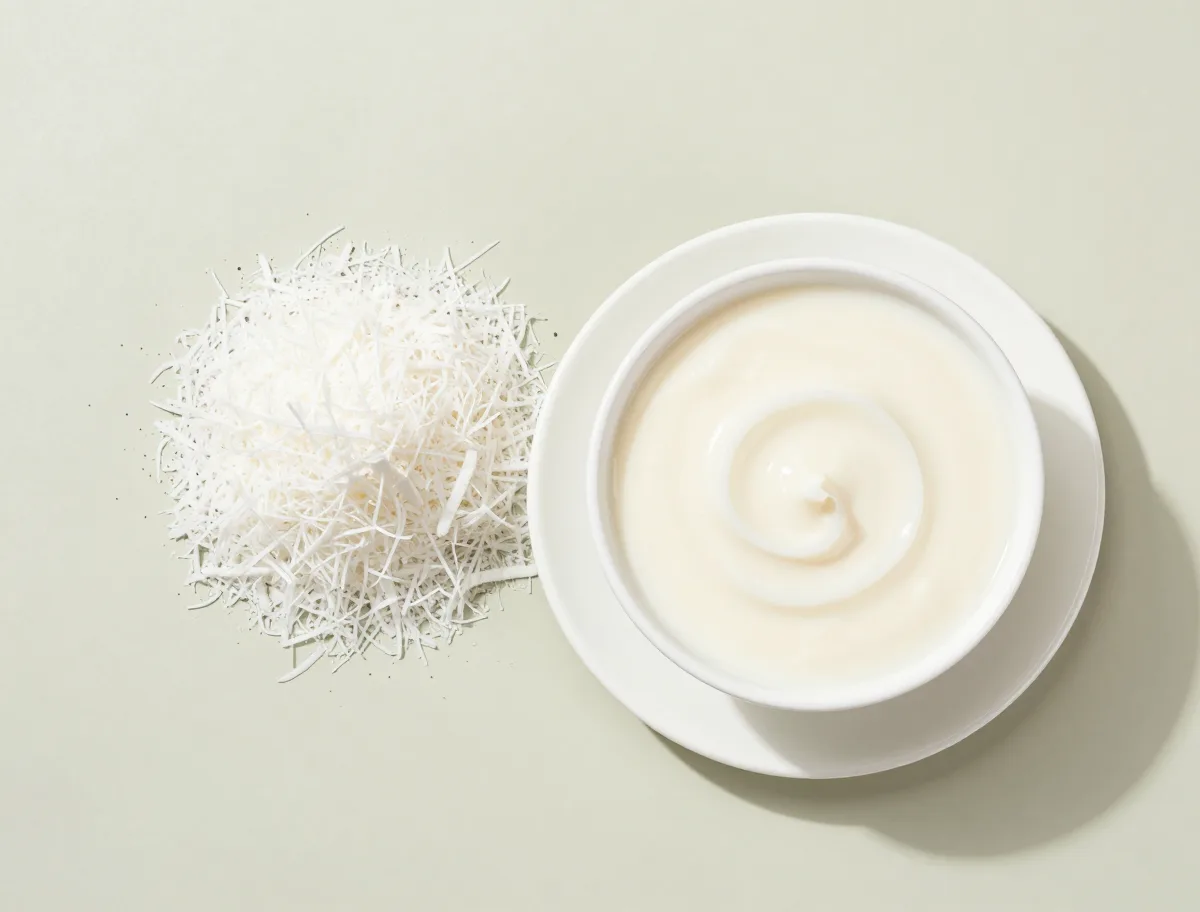
- 1 pound unsalted butter, softened; divided among cake, filling, and frosting
- 3 1/2 cups granulated sugar, divided among cake, filling, and syrup
- 8 large eggs, at room temperature
- 5 cups all-purpose flour, sifted
- 5 teaspoons baking powder
- 1 1/4 teaspoons fine salt, divided among cake, filling, and frosting
- 2 cups heavy cream, divided between cake and filling
- 5 teaspoons vanilla extract, divided among cake, filling, syrup, and frosting
- 2 cups sweetened shredded coconut, for the cake batter
- 4 cups heavy cream, for the coconut filling
- 12 tablespoons unsalted butter, for the coconut filling
- 1 1/2 cups granulated sugar, for the coconut filling
- 1/2 cup cornstarch
- 3 1/3 cups sweetened shredded coconut, for the coconut filling
- 1 cup water, for the syrup
- 1 cup granulated sugar, for the syrup
- 1 1/2 pounds full-fat cream cheese, softened
- 3/4 pound unsalted butter, softened; for the frosting
- 7 1/2 cups confectioners’ sugar, sifted
- 5 1/2 cups sweetened shredded coconut, for toasting and coating
How to Build the Six-Round Coconut Cake
Treat this as a staged baking project rather than an ordinary layer cake. Cold components are easier to cut and stack, and planned chilling pauses are what keep the tall structure from leaning or sliding.
- Use deep 10-inch pans so each baked cake is tall enough to split into three usable rounds.
- Chill the cakes thoroughly before leveling and cutting; warm cake is much more likely to tear.
- Divide the filling into five portions before assembly so the layers remain even.
- Leave a narrow margin around each filling layer to prevent pressure from squeezing it out.
- A thin crumb coat followed by refrigeration makes the final frosting coat cleaner and more stable.
Instructions
- Prepare the pans and coconut: Grease two deep 10-inch round cake pans, line the bottoms with parchment, and grease the parchment. Toast the 5 1/2 cups of coating coconut in a dry skillet or 325°F oven until fragrant and pale golden, stirring often. Cool completely. 15 minutes at 325°F (165°C).
- Make the coconut filling: In a large saucepan, whisk the 4 cups heavy cream, 1 1/2 cups sugar, cornstarch, and 1/2 teaspoon salt until smooth. Add the 12 tablespoons butter and cook over medium heat, whisking constantly, until the mixture reaches a full boil and becomes thick enough to hold clear whisk marks, about 5 minutes. Boil for 1 minute. Remove from the heat and stir in the 3 1/3 cups coconut and 2 teaspoons vanilla. Transfer to a shallow container, press plastic wrap directly onto the surface, cool briefly, then refrigerate overnight. 20 minutes, plus overnight chilling.
- Make the cake batter: Heat the oven to 325°F. Whisk together the flour, baking powder, and 1 teaspoon salt. In a stand mixer, beat 1 pound softened butter with 3 1/2 cups sugar on medium-high until very pale and fluffy, 4 to 5 minutes. Add the eggs one at a time, beating well after each addition. Mix in 3 teaspoons vanilla. Add the flour mixture in three additions, alternating with 2 cups heavy cream in two additions; mix just until smooth. Fold in the 2 cups cake coconut. 15 minutes at 325°F (165°C).
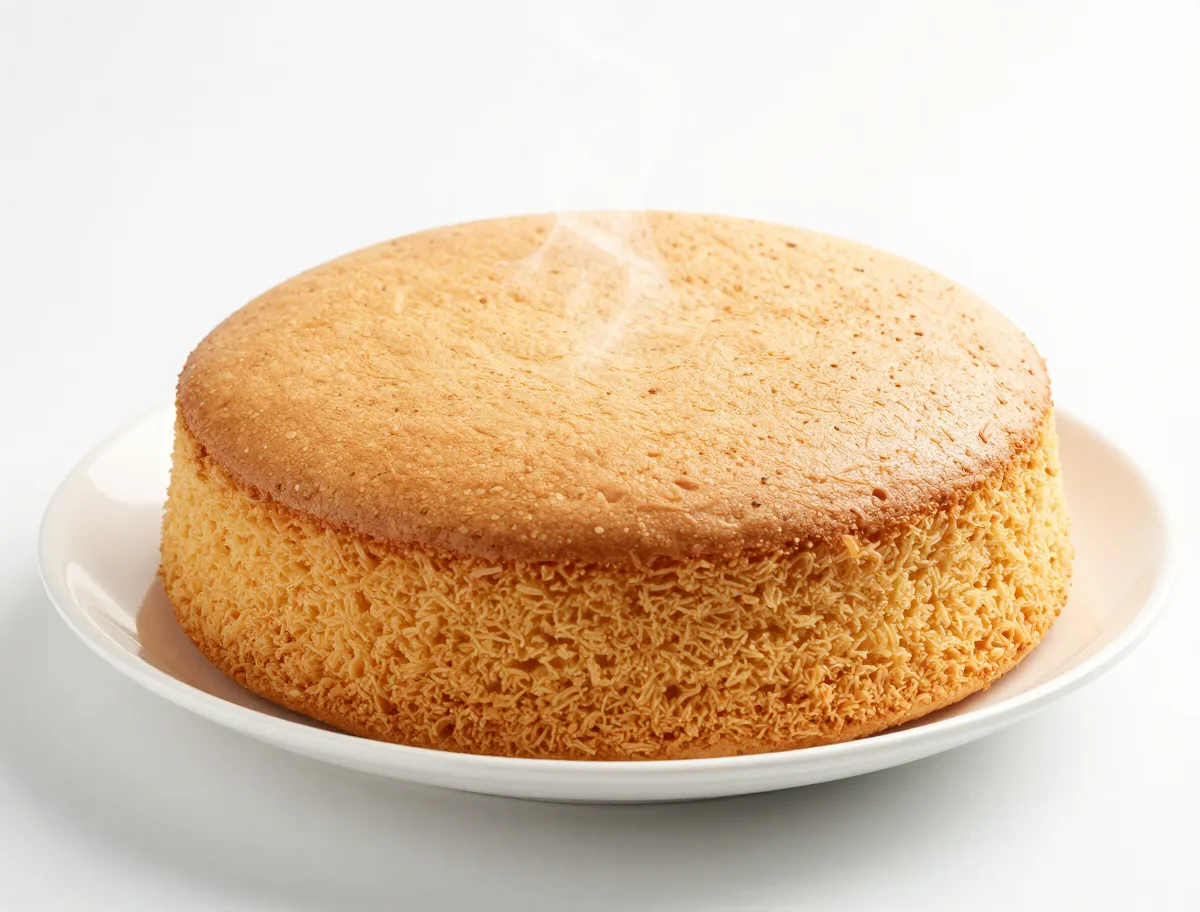
- Bake and chill the cakes: Divide the batter evenly between the prepared pans and smooth the tops. Bake until the centers spring back lightly and a tester emerges clean or with a few moist crumbs, 45 to 55 minutes. Cool in the pans for 15 minutes, then turn out onto racks and cool completely. Wrap and refrigerate the cakes for at least 4 hours, preferably overnight, before splitting. 45 to 55 minutes at 325°F (165°C), plus chilling.
- Prepare the syrup: Bring the water and 1 cup sugar to a simmer in a small saucepan, stirring until the sugar dissolves. Remove from the heat, stir in 1 teaspoon vanilla, and cool. Refrigerate until needed. 5 minutes.
- Whip the chilled filling: Beat the cold coconut filling on medium speed just until it becomes smooth, pale, and spreadable, 1 to 2 minutes. Do not whip it to a loose mousse; it should sit in a mound on a spatula. If it softens, refrigerate it for 20 minutes before assembly. 1 to 2 minutes.
- Split the cakes into six rounds: Trim any domed tops. Using a long serrated knife and a rotating cake turntable or lazy Susan, mark each cake at two evenly spaced heights and split each into three rounds. Keep the knife level and rotate the cake rather than sawing deeply from one side. Chill the rounds again for 20 minutes if they feel fragile. 30 minutes.
- Build the tall cake: Place the first cake round on a cake board or sturdy flat plate. Brush lightly with syrup; the surface should absorb it immediately without pooling. Spread about one-fifth of the filling over the round, stopping 1/2 inch from the edge. Repeat with the remaining five cake rounds and four more filling layers, finishing with the sixth cake round. Check the sides frequently and gently nudge the stack back into alignment. Refrigerate for 1 hour. 70 minutes.
- Make the cream cheese frosting: Beat the softened frosting butter until smooth. Add the cream cheese and beat just until combined. Gradually mix in the confectioners’ sugar, then add the remaining 2 teaspoons vanilla and remaining 1/2 teaspoon salt. Beat only until smooth and firm enough to spread. If soft, chill for 15 to 20 minutes. 10 minutes.
- Crumb-coat and chill: Spread a thin layer of frosting over the top and sides of the cold cake, filling any gaps and trapping loose crumbs. Chill until the frosting is firm, about 30 minutes. 35 minutes.
- Finish with frosting and coconut: Apply the remaining frosting in an even coat. While it is still tacky, press the cooled toasted coconut over the sides and sprinkle a light layer over the top. Refrigerate the finished cake for at least 4 hours, or overnight, before slicing. 30 minutes, plus chilling.
- Temper and serve: Keep the cake refrigerated until shortly before serving. For the best texture, let individual slices stand at room temperature for about 30 to 60 minutes, depending on the room temperature, then cut with a long sharp knife and wipe the blade between slices. About 60 minutes.
Texture and Doneness Cues for Success
Timing varies with pan depth and oven behavior, so visual and tactile cues are more reliable than the clock alone. The cake should be fully set but not dry, while the filling and frosting should be firm enough to hold their shape.
- A properly baked cake springs back gently in the center and has no wet batter at its core.
- The filling should spread like dense cream after chilling, not resemble sauce or whipped cream.
- A syrup-brushed layer should look moist but never glossy with standing liquid.
- The stack should stay upright when lightly nudged before it is frosted.
- The best slice is cold enough to cut cleanly but warm enough for the crumb and frosting to feel soft.
- The baked cakes spring back lightly in the center and a tester comes out clean or with a few moist crumbs.
- The cooked coconut filling reaches a full boil and holds distinct whisk marks before chilling.
- Chilled filling is dense and creamy, not pourable.
- Each cake round is cold, firm, and evenly cut before assembly.
- Syrup disappears into the crumb rather than collecting on the surface.
- The assembled stack remains centered without filling bulging from the sides.
- Toasted coconut is fragrant and pale golden, never dark brown.
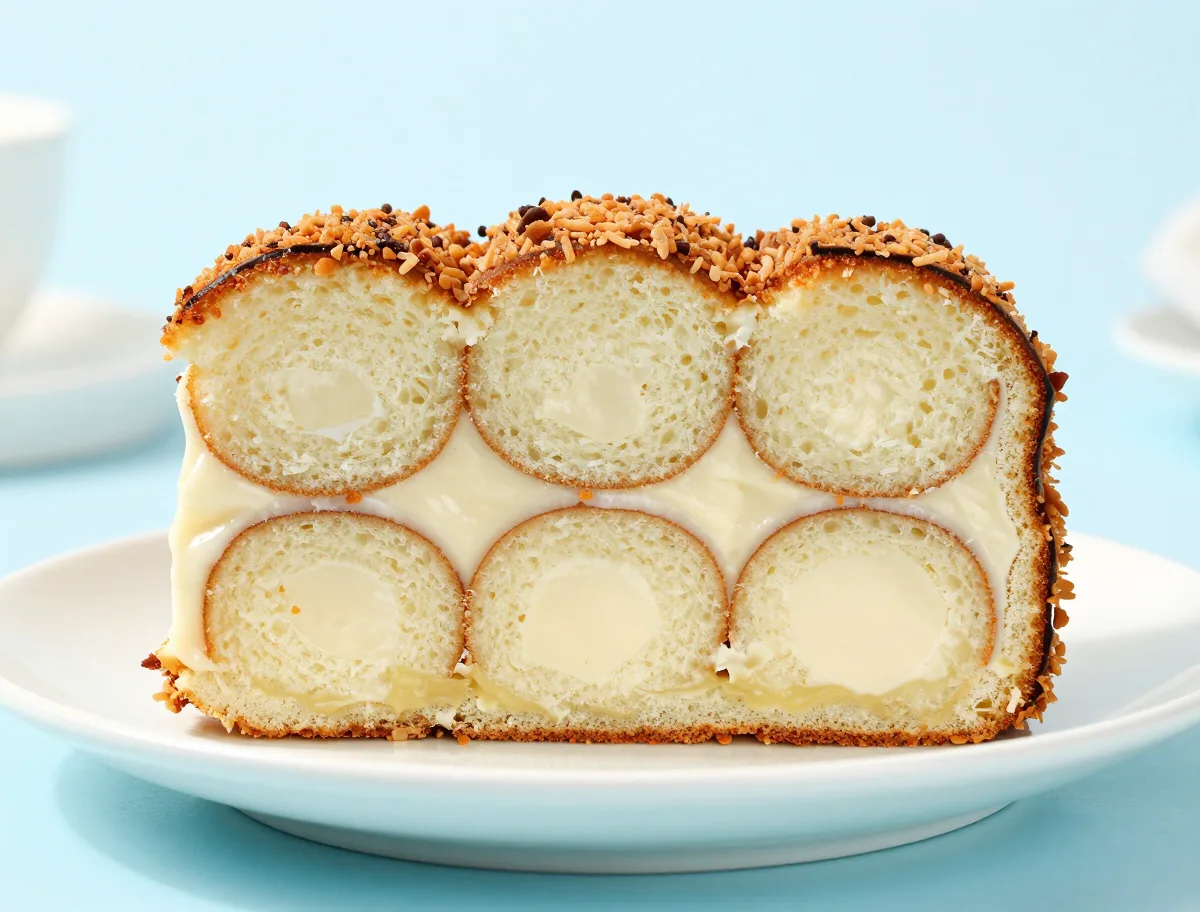
- The finished chilled slice holds six cake rounds and five visible filling layers.
The Critical Variables Behind a Stable Coconut Layer Cake
The main technical challenge is balancing moisture with support. Creaming the butter thoroughly aerates the batter, while gradual egg addition helps preserve its emulsion. In the filling, cornstarch must be fully heated to develop its thickening power.
- Add eggs one at a time so the batter stays smooth rather than greasy or curdled.
- Stop mixing once the flour disappears; excessive mixing can make the crumb tough.
- Bring the cornstarch mixture to a true boil, then cook briefly so it remains thick after chilling.
- Cold butter-based components are firmer and safer for stacking, but they need tempering before service.
- The thinner the cake rounds, the more sparingly syrup and filling must be applied.
Common Charleston Coconut Cake Mistakes and Fixes
Most problems arise when the cake is assembled as if it were a short two- or three-layer dessert. Temperature, filling quantity, and cutting accuracy matter more here because small errors compound across six rounds.
- Leaning layers: Chill the cakes, trim the domes, and rotate the cake while cutting instead of cutting freehand from one side.
- Runny filling: Wait until it is fully chilled before judging it. If still loose, chill again; a filling that was never properly boiled may not firm adequately.
- Sliding layers: Use less syrup, keep the filling inside the edge, and refrigerate the stack before continuing.
- Broken rounds: Chill them longer and handle them on a flat support. Save severely broken pieces for crumbs rather than forcing them into the tower.
- Soggy cake: Excess syrup is the usual cause; brush lightly and stop when the surface absorbs it immediately.
- Frosting that will not hold: Chill it briefly. If the surface has crusted before coconut is applied, lightly smooth it with fresh frosting before pressing on the coconut.
Practical Ingredient Substitutions
The defining character comes from concentrated dairy, sweetened coconut, and a firm cooked filling, so substitutions should be made with realistic expectations. A smaller pan format is usually a better adaptation than replacing several structural ingredients.
- Unsweetened coconut works if you prefer a less sweet cake, but it produces a drier, less candy-like result.
- Coconut extract may be added for a stronger aroma, but it is not required for the cake’s identity.
- Do not replace heavy cream with low-fat milk without reformulating the recipe; the batter and filling will be thinner and less rich.
- Reduced-fat cream cheese or whipped topping will make the frosting softer and less reliable on a tall cake.
- A direct gluten-free flour swap is not guaranteed to produce rounds sturdy enough to split; use a tested cake formula instead.
A Smaller Coconut Cake for Home Kitchens
The full-size version is intended for a gathering and requires deep pans, a long knife, and substantial refrigerator space. For fewer guests, retain the same flavor architecture while reducing the height and diameter rather than making the layers dangerously thin.
- For a shorter version, bake the batter in three 9-inch pans and assemble three cake layers with two filling layers.
- Scale the filling, syrup, frosting, and coating along with the cake so the proportions remain balanced.
- Keep the cooked coconut filling, cream cheese frosting, and toasted coconut exterior to preserve the recognizable style.
- A sheet cake, chiffon cake, or whipped-cream coconut cake may be delicious, but it is a different dessert rather than a reduced Peninsula Grill-style cake.
How to Serve Charleston Coconut Cake
Refrigeration gives the tall cake a clean slice, but eating it directly from the refrigerator can make the crumb and frosting seem overly firm. Let slices temper briefly, then serve modest portions because the cake is rich and tall.
- Cut with a long sharp knife and wipe the blade between slices.
- Optional restaurant-style plating includes coconut crème anglaise and a few sliced strawberries.
- The anglaise and berries are accompaniments, not structural parts of the cake.
- Keep the cake cold until close to serving and avoid leaving the perishable filling and frosting at room temperature for an extended period.
How to Store, Freeze, and Thaw Coconut Layer Cake
This is an excellent make-ahead dessert: the filling improves after an overnight chill, and the assembled cake benefits from several hours of refrigeration. Because it contains cooked cream filling and cream cheese frosting, it must be refrigerated whenever it is not being actively served.
- Store the covered cake in the refrigerator at 40°F or below and use it within about 4 to 5 days for best homemade quality.
- Freeze the fully chilled cake airtight, preferably inside a rigid container, for up to 1 month for best texture.
- Thaw in the refrigerator, never on the counter, and do not microwave the finished cake.
- Let thawed slices soften gradually at room temperature for about 30 to 60 minutes.
- Peninsula Grill provides longer commercial storage guidance for its packaged cake, but that claim depends on its controlled packaging and handling.
Peninsula Grill Coconut Cake FAQ
The name refers to a signature Charleston restaurant dessert with a documented history, while publicly available home recipes are adaptations. These answers clarify the construction, schedule, equipment, and serving expectations.
Is this the official Peninsula Grill recipe?
No. The restaurant’s exact proprietary formula is not publicly confirmed. This is an independently formulated, restaurant-style adaptation based on the documented construction and characteristics of the cake.
Why is it called a 12-layer cake if the recipe uses six cake rounds?
The practical build uses six cake rounds and five filling layers. The restaurant and many descriptions call it a 12-layer cake as a presentation name associated with its exceptionally tall construction.
How long does the full recipe take?
Plan on two days, or roughly 28 hours including overnight chilling. The filling should chill overnight, and the assembled cake needs at least several hours to firm before serving.
Can I make it without a stand mixer?
Yes, although a stand mixer is more comfortable for the large cake batter. A powerful hand mixer can make the filling and frosting; a turntable or lazy Susan is helpful but not mandatory.
Can I buy the original cake?
Peninsula Grill sells its Ultimate Coconut Cake through its official product and shipping page, with availability, delivery areas, and pricing subject to change.
Should the cake be served cold or at room temperature?
Chill it for clean slicing, then let individual slices temper for about 30 to 60 minutes. The restaurant gives a longer warming recommendation for its commercial whole cake, but home cooks should use a shorter, room-appropriate window for food safety.
Can I make coconut crème anglaise with the cake?
Yes. It is an optional plated accompaniment rather than a required cake component. Keep any egg-based anglaise refrigerated and cook it to 160°F before rapid cooling.
The Charleston Story Behind Peninsula Grill’s Coconut Cake
Peninsula Grill’s official history places the cake’s debut on February 14, 1997, the restaurant’s second night of service in Charleston. It became a signature menu item and later a mail-order product, distinguishing it from the broader category of Southern coconut layer cakes. For current purchase and shipping details, consult the restaurant’s official Ultimate Coconut Cake information.
- The cake’s documented identity is tied to Peninsula Grill in Charleston, South Carolina.
- Regional reporting connects the restaurant version with a chef’s adaptation of a grandmother’s recipe, though the full culinary history is not publicly documented.
- Its defining features are the unusual height, coconut filling, cream cheese frosting, and toasted coconut finish.
- Online versions should be described as adaptations or copycats unless directly published and verified by the restaurant.
Food-Safety Guidance for Coconut Cream Cake
The dairy-based filling and cream cheese frosting make this a perishable dessert. Keep the cake cold during storage, cool cooked components promptly, and limit the time it spends at room temperature during service. For additional handling information, review the FDA food-safety guidance for creamy desserts and egg-based foods.
- Refrigerate the filling, frosting, and finished cake at 40°F or below whenever possible.
- Cool the cooked filling promptly in a shallow container before covering and refrigerating.
- If preparing an egg-based crème anglaise, cook it to 160°F and chill it quickly.
- Use a conservative two-hour maximum at room temperature, or one hour in very hot conditions, rather than following a long warming schedule.
- For a shipped commercial cake, verify that it arrives cold. If it arrives warm, do not taste it; contact the seller or carrier.
- Do not taste raw batter or uncooked egg mixtures.