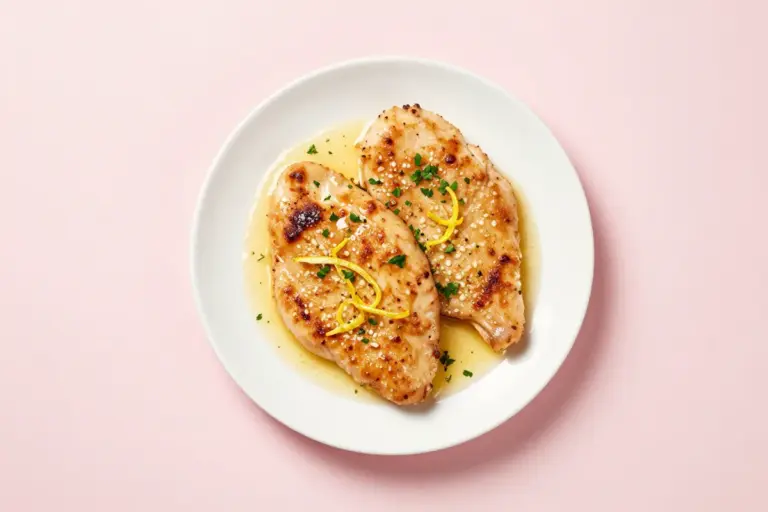
Crispy Baked Panko Chicken Recipe
Make this baked panko chicken recipe for juicy, evenly cooked chicken cutlets with a golden, crispy coating and no deep-frying.
What Makes Great Baked Panko Chicken
This oven-fried chicken is built around a contrast: a rugged, airy panko crust outside and tender chicken inside. Thin, evenly shaped cutlets are the best choice because they cook through before the crumbs become overly dark.
- Panko gives the coating larger, lighter flakes and a more pronounced crunch than fine breadcrumbs.
- A small amount of oil helps the crumbs brown in the oven instead of staying pale and dusty.
- The crust is at its best shortly after baking, before moisture from the chicken softens it.
Why the Flour, Egg and Panko Layers Matter
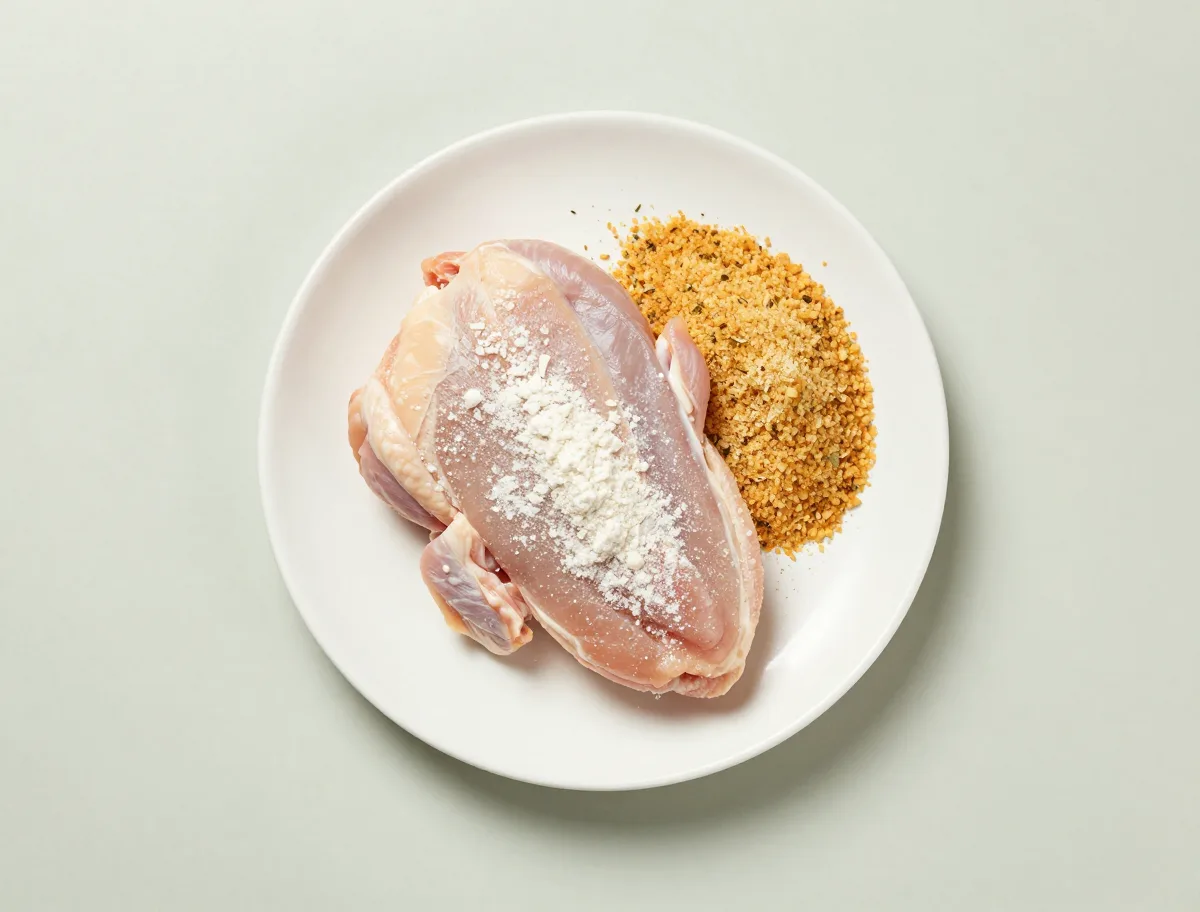
The three-part coating is deliberate. Flour gives the egg a dry surface to grip, beaten egg creates the adhesive layer, and panko supplies the crisp structure. Parmesan contributes savory depth and color without displacing the crumbs that make the crust crunchy.
- Plain panko allows the salt, spices, herbs, and cheese to be balanced precisely.
- Garlic powder and paprika season the coating evenly without adding moisture.
- Oil mixed into the panko improves heat transfer and browning; it should moisten the crumbs lightly, not saturate them.
- 1 1/2 pounds boneless, skinless chicken breasts, cut horizontally into 4 even cutlets, about 1/2 inch thick
- 3/4 teaspoon kosher salt, divided
- 1/2 teaspoon black pepper, divided
- 1/2 cup all-purpose flour
- 1 teaspoon garlic powder
- 1/2 teaspoon sweet paprika
- 2 large eggs, beaten
- 1 1/2 cups plain panko breadcrumbs
- 2 tablespoons finely grated Parmesan cheese
- 1 teaspoon dried Italian seasoning
- 3 tablespoons olive oil, divided
How to Coat Chicken So the Panko Sticks
Dry chicken and controlled handling are the keys to an intact crust. Pat the cutlets thoroughly dry, keep the coating dishes shallow, and remove excess flour and egg at each stage. When the chicken reaches the crumbs, press rather than simply roll it through them.
- Even thickness matters more than whether the chicken is called a breast, cutlet, or tender.
- Use one hand for the dry flour and crumbs and the other for the egg if you want less buildup on your fingers.
- Leave open space between pieces so steam can escape instead of softening the breading.
- A wire rack exposes the underside to hot air and reduces the chance of a soggy bottom.
- Prepare the pan and chicken: Heat the oven to 425°F (220°C). Set a wire rack inside a rimmed baking sheet and lightly brush the rack with 1 tablespoon of the olive oil. Pat the chicken dry; do not rinse it. If any cutlet is thicker than 1/2 inch, gently pound it between sheets of parchment until evenly thick. Season both sides with 1/2 teaspoon of the salt and 1/4 teaspoon of the pepper.
- Set up the coating stations: Place the flour in one shallow bowl. In a second bowl, combine the remaining 1/4 teaspoon salt, remaining 1/4 teaspoon pepper, garlic powder, and paprika with the beaten eggs. In a third bowl, stir together the panko, Parmesan, Italian seasoning, and the remaining 2 tablespoons olive oil until the crumbs are lightly and evenly coated.
- Bread the cutlets: Coat each cutlet in flour, shaking off the excess. Dip it into the egg mixture and let the excess drip away. Press the cutlet firmly into the panko mixture, turning to cover both sides and the edges. Arrange the breaded chicken on the prepared rack with space between the pieces.
- Bake until crisp and cooked through: Bake for 14 to 18 minutes, without covering, until the coating is golden and crisp. Begin checking the thickest cutlet at 14 minutes. The chicken is ready when an instant-read thermometer inserted into the thickest part reads at least 165°F (74°C). If the crumbs need more color after the chicken is cooked, broil briefly while watching closely.
- Rest briefly: Leave the chicken uncovered on the rack for 5 minutes before serving. Do not stack or cover the cutlets, since trapped steam will soften the crust.
How to Tell When the Chicken Is Done
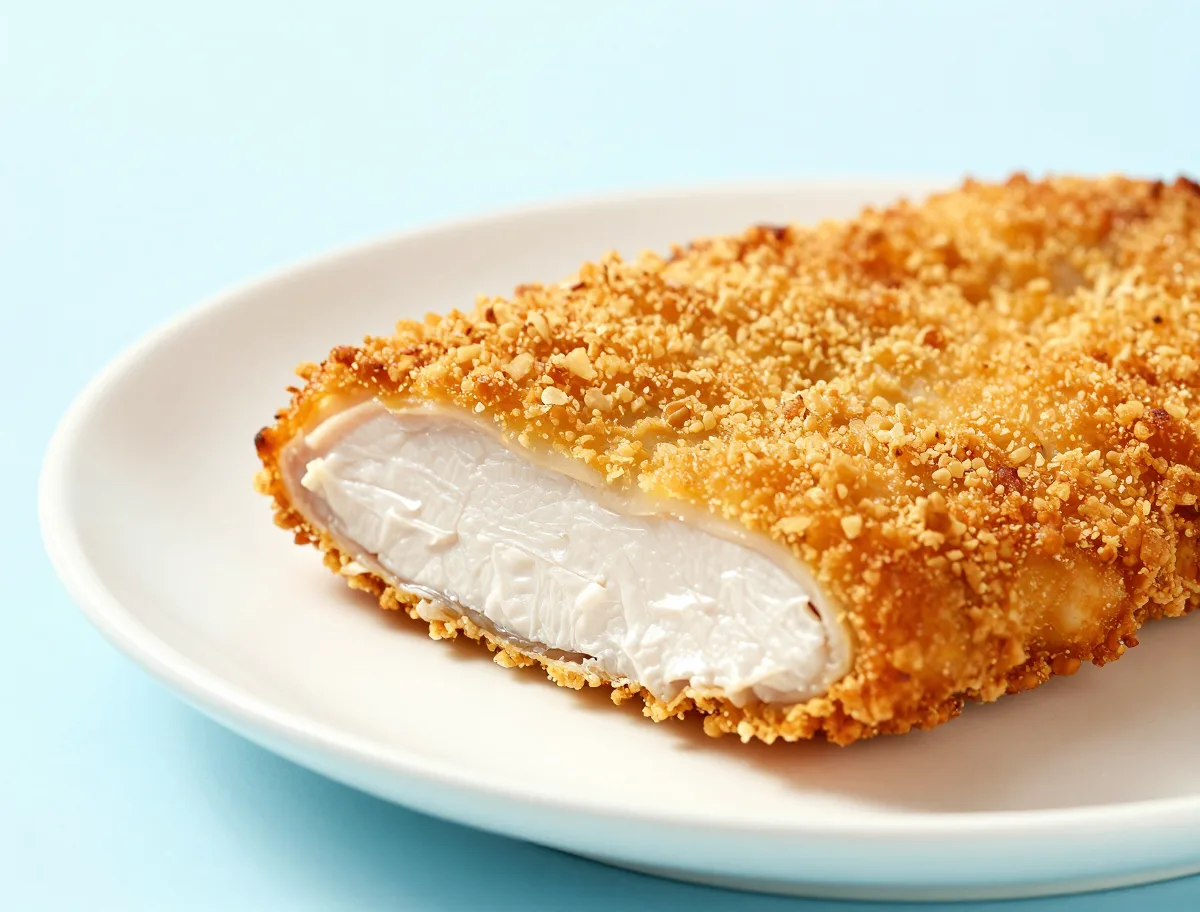
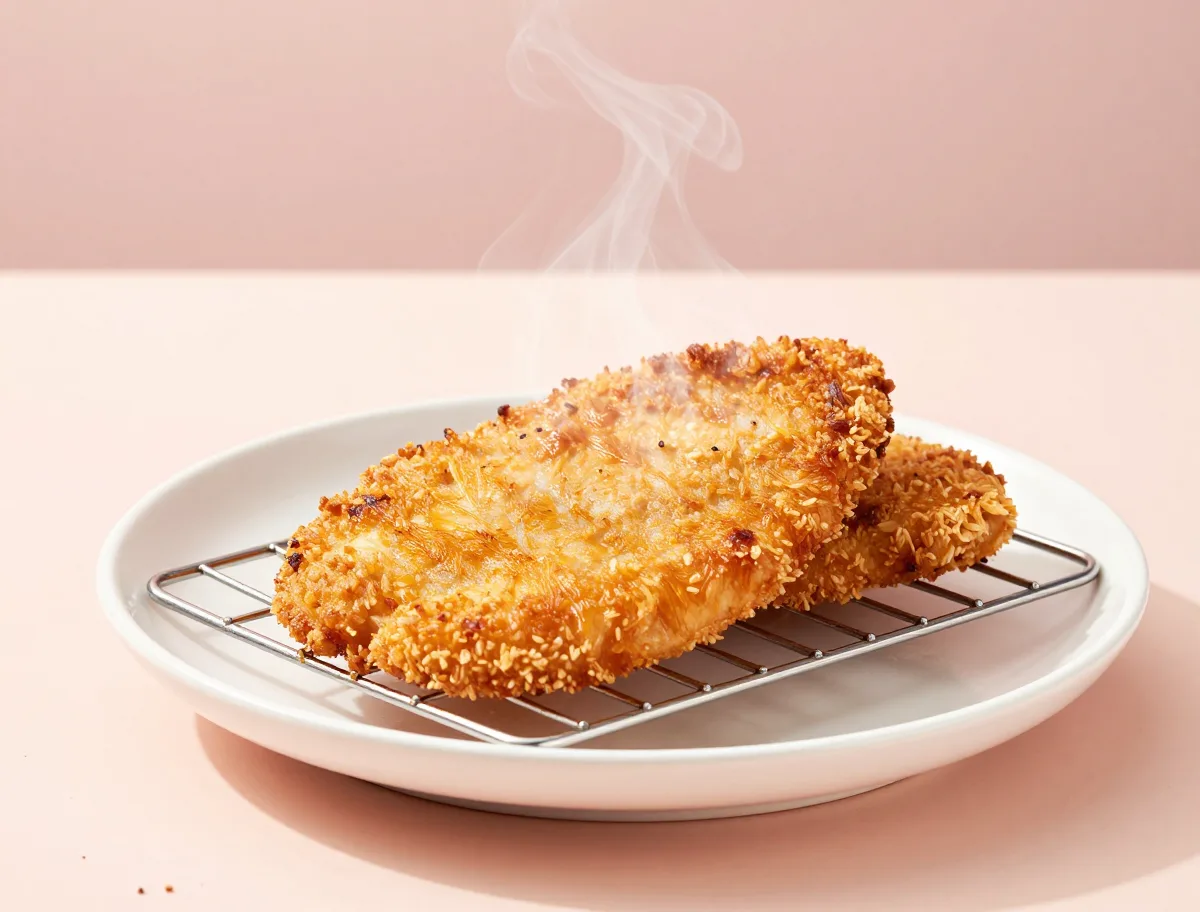
Color is a useful crust cue, but it is not a safety test. Look for golden, dry-looking crumbs with crisp edges, then check the thickest section of the largest piece with an instant-read thermometer.
- Thin cutlets generally take about 14 to 18 minutes at 425°F.
- The chicken should be opaque and firm but not hard, with a coating that remains attached as it is cut.
- Every piece must register at least 165°F (74°C), regardless of how quickly the crumbs brown.
- A short uncovered rest lets the juices settle while preserving more crunch than a covered rest.
- The panko should look golden, dry, and craggy rather than pale or floury.
- The coating should cling when a cutlet is lifted and sliced.
- The thickest part of every piece must reach at least 165°F (74°C).
- Rest the chicken briefly, but serve it uncovered for the crispest crust.
The Variables That Create a Crisp Oven-Baked Crust
Breading cannot brown properly until excess moisture has evaporated. That is why dry chicken, a hot oven, lightly oiled crumbs, and generous spacing all matter. Crowding traps humidity, while unevenly thick chicken forces the coating to wait for a center that may take too long to cook.
- A rack improves airflow underneath; a preheated, lightly oiled sheet pan is a useful alternative when no rack is available.
- Higher heat helps thin cutlets brown, but thick pieces may overbrown before reaching a safe internal temperature.
- Too little oil leaves panko pale; too much can make the crust heavy or greasy.
- Do not cover the chicken during baking or while it rests, since steam softens the crumbs.
Common Baked Panko Chicken Problems and Fixes
Most coating failures happen before the pan enters the oven or because the chicken is handled too much afterward. The practical corrections are straightforward: control surface moisture, drain excess binder, press on the crumbs, and use temperature rather than the clock to judge the meat.
- Loose coating: the chicken may have been wet, heavily coated with egg, or insufficiently pressed into the panko. Pat dry and let excess egg drip off.
- Pale crumbs: add a light, even coating of oil, confirm that the oven is fully hot, or briefly broil at the end while watching closely.
- Soggy underside: use a rack, provide more space, and transfer leftovers to a rack rather than stacking them.
- Dry chicken: cut or pound the pieces evenly and begin checking their temperature early.
- Burned crumbs with a raw center: use thinner pieces or a slightly lower oven temperature; Parmesan and thin crumbs brown quickly.
Chicken, Crumb and Binder Substitutions
The coating works with several chicken portions, but timing must follow thickness. Tenders cook quickly, while boneless thighs are more forgiving but usually need longer in the oven. Ingredient substitutions are possible, although they can change the crust’s delicacy, flavor, or browning.
- Replace the cutlets with tenders and start checking for 165°F after 10 to 12 minutes.
- Use boneless, skinless thighs, flattening unusually thick areas; expect a longer bake and a slightly juicier, less uniform result.
- For gluten-free chicken, replace both the panko and the flour with certified gluten-free versions.
- Rice flour or cornstarch can replace all-purpose flour for a thinner intermediate layer.
- Mayonnaise, plant-based mayonnaise, Greek yogurt, or buttermilk can replace the egg as a binder, but the finished crust will be less like a classic egg-bound breading.
Easy Variations That Keep the Chicken Crispy
The recipe is flexible as long as the chicken remains oven-baked and the panko remains the defining crust. Dry seasonings are the easiest way to change the flavor without adding surface moisture.
- For a stronger Parmesan profile, increase the finely grated cheese modestly rather than replacing the panko.
- Add cayenne or crushed red pepper to the dry seasoning for a spicy version.
- Use lemon zest or extra dried herbs in the crumb mixture, then serve lemon separately so the crust stays crisp.
- Dijon mustard can be blended into an egg-free binder for tangy chicken.
- Keep sauces on the side or add them after baking; wet toppings soften the breading.
How to Store, Freeze and Reheat Baked Panko Chicken
Cooked chicken is safe to keep, but the crust will gradually absorb moisture from the meat. Cool the pieces uncovered on a rack until the steam subsides, then refrigerate them in a shallow airtight container. For the best texture, use dry circulating heat when reheating.
- Refrigerate within 2 hours, or within 1 hour if the room temperature is above 90°F, and use within 3 to 4 days.
- Freeze pieces in a single layer until firm, then wrap or seal them well. Frozen chicken remains safe longer, but crust quality declines over time.
- Reheat on a rack in a 400°F oven, toaster oven, or air fryer until the center reaches 165°F.
- Avoid covering the chicken with foil during reheating if crispness is the priority.
- Microwaving is convenient but commonly produces a soft coating.
For official guidance, see the USDA safe cooking temperature chart.
Safe Handling and Cooking Temperature
Raw poultry and egg-based breading require careful separation from ready-to-eat foods. Wash hands and clean tools and surfaces after handling the chicken, and never rinse raw poultry because splashing can spread contamination.
- Thaw chicken in the refrigerator, in cold water, or in the microwave; cook it immediately if it was thawed in cold water or the microwave.
- Use an instant-read thermometer in the thickest part, avoiding the pan or any bone.
- Cook every piece to a minimum internal temperature of 165°F (74°C).
- Refrigerate cooked chicken promptly and reheat leftovers to 165°F before eating.
For storage timing and handling guidance, consult the USDA guidance on safely handling take-out foods and leftovers.