Danish Coffee Cake Recipe: Traditional Brunsviger
This Danish coffee cake recipe makes brunsviger, a soft yeast-raised cake baked in a shallow pan and filled with dimples of glossy brown sugar butter topping.
What Is Danish Coffee Cake? Meet Brunsviger
In Denmark, the clearest answer to “Danish coffee cake” is often brunsviger: a shallow yeast-raised cake associated especially with Funen. It is not a laminated Danish pastry and it is not an American-style cake covered with streusel.
- The crumb is soft, airy, lightly sweet, and slightly chewy from yeast fermentation.
- Finger-pressed wells hold a buttery brown sugar topping throughout the cake.
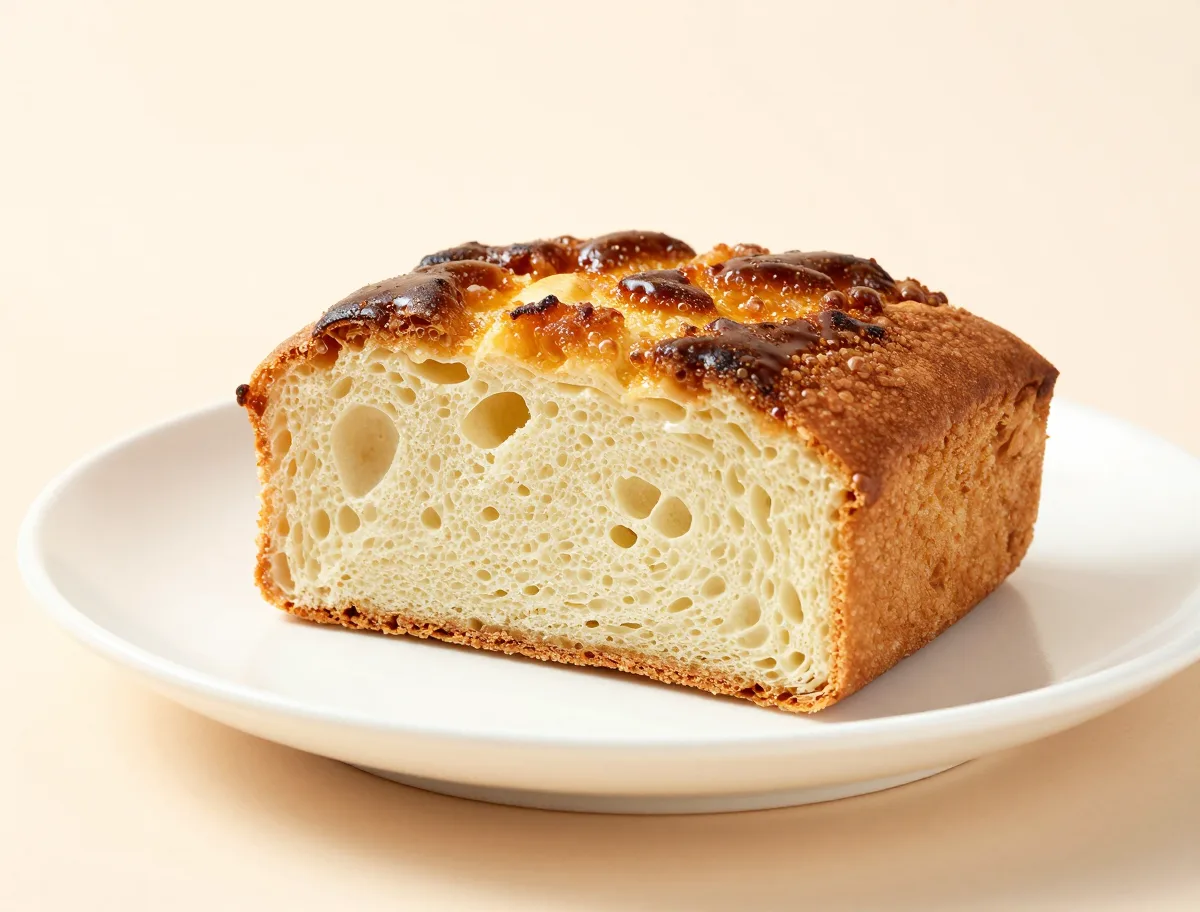
- The finished surface should be glossy and sticky, with bubbling caramelized edges and moist pockets rather than a dry crust.
Why the Ingredients Matter in This Danish Yeast Coffee Cake
This formulation balances enough gluten strength to support a light rise with enough butter, milk, sugar, and egg to keep the crumb tender. The topping uses dark brown sugar for both moisture and molasses depth, while butter supplies the characteristic richness.
- All-purpose flour keeps the cake tender and spreadable; adding excess flour is the quickest route to a heavy crumb.
- Whole milk contributes richness, browning, and softness. Water can work, but the result will be leaner.
- Butter is used in both the dough and topping, so its flavor remains central rather than being hidden by spices.
- Dark brown sugar, muscovado, or Danish brun farin gives the topping more depth than light brown sugar.
- The egg adds color, richness, and structure without turning the cake into a conventional batter cake.
Ingredients
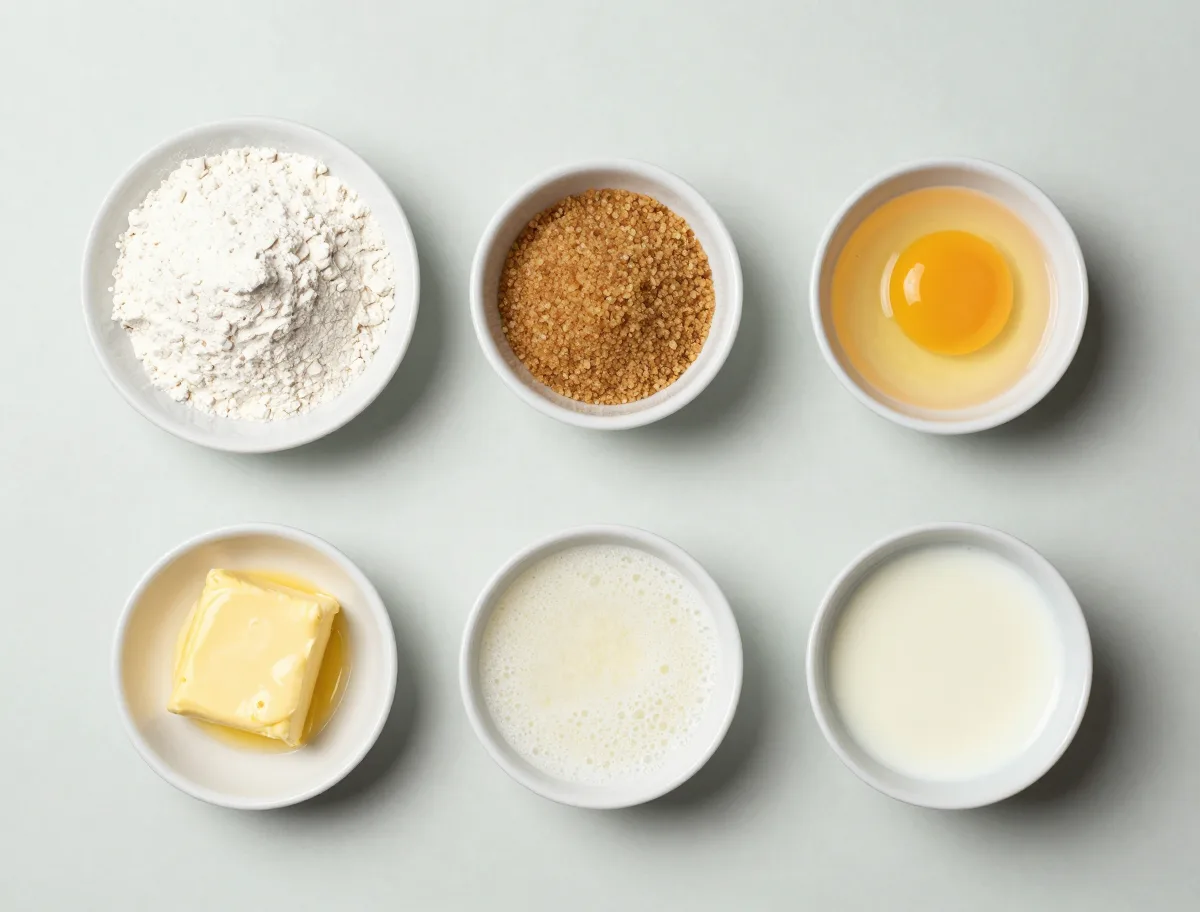
- 1 cup whole milk, lukewarm, about 38–43°C (100–110°F)
- 2 1/4 teaspoons active dry yeast
- 3 1/3 cups all-purpose flour, plus more only for lightly dusting hands if needed
- 1/4 cup granulated sugar
- 1 teaspoon fine sea salt
- 1 teaspoon ground cardamom, optional
- 1 large egg, beaten
- 5 tablespoons unsalted butter, melted and cooled slightly
- 8 tablespoons unsalted butter, for the topping
- scant 1 cup dark brown sugar, firmly packed
- 1 tablespoon light corn syrup or golden syrup, optional
- 1 teaspoon vanilla extract, optional
How to Shape and Dimple Brunsviger Successfully
The important handling decision is to respect the dough’s softness. Once kneaded, it should feel supple and tacky. Damp fingers make it possible to spread the dough across the pan without packing in extra flour or flattening the fermentation bubbles.
- Let the first rise continue until the dough is visibly expanded, not merely until the timer rings.
- Spread from the center toward the corners with wet or lightly buttered fingers.
- Wait for the pan dough to become puffy and relaxed before dimpling.
- Press nearly to the pan, but do not pierce through; deep wells give the topping somewhere to settle.
- Apply the topping soon after dimpling so the dough does not lose its lift.
Instructions
- Activate the yeast: Pour the lukewarm milk into a large bowl and stir in the yeast. Leave for 5–10 minutes, until a thin layer of foam appears. If the milk is hot enough to feel uncomfortable, let it cool before adding the yeast.
- Mix the dough: Add the flour, granulated sugar, salt, and cardamom to the milk mixture. Stir in the beaten egg and melted butter until no dry flour remains. The dough should be soft, tacky, and cohesive rather than firm.
- Knead and let rise: Knead by hand for 8–10 minutes, or with a dough hook on low-medium speed for 6–7 minutes, until smoother and elastic. It may still cling slightly to the bowl. Cover and leave in a warm, draft-free place until visibly puffy and nearly doubled, about 60–75 minutes.
- Spread the dough in the pan: Grease and line a 20 x 30 cm (8 x 12 inch) shallow rectangular pan. Transfer the dough to the pan. With damp or lightly buttered fingers, ease it evenly to the corners without pressing out all the air. Cover and let rise again for 30–40 minutes, until relaxed and puffy.
- Prepare the brown sugar topping: While the dough has its second rise, gently melt the topping butter in a small saucepan. Stir in the brown sugar, syrup, and vanilla until smooth and glossy; do not bring it to a hard boil. Set aside until warm and pourable rather than hot.
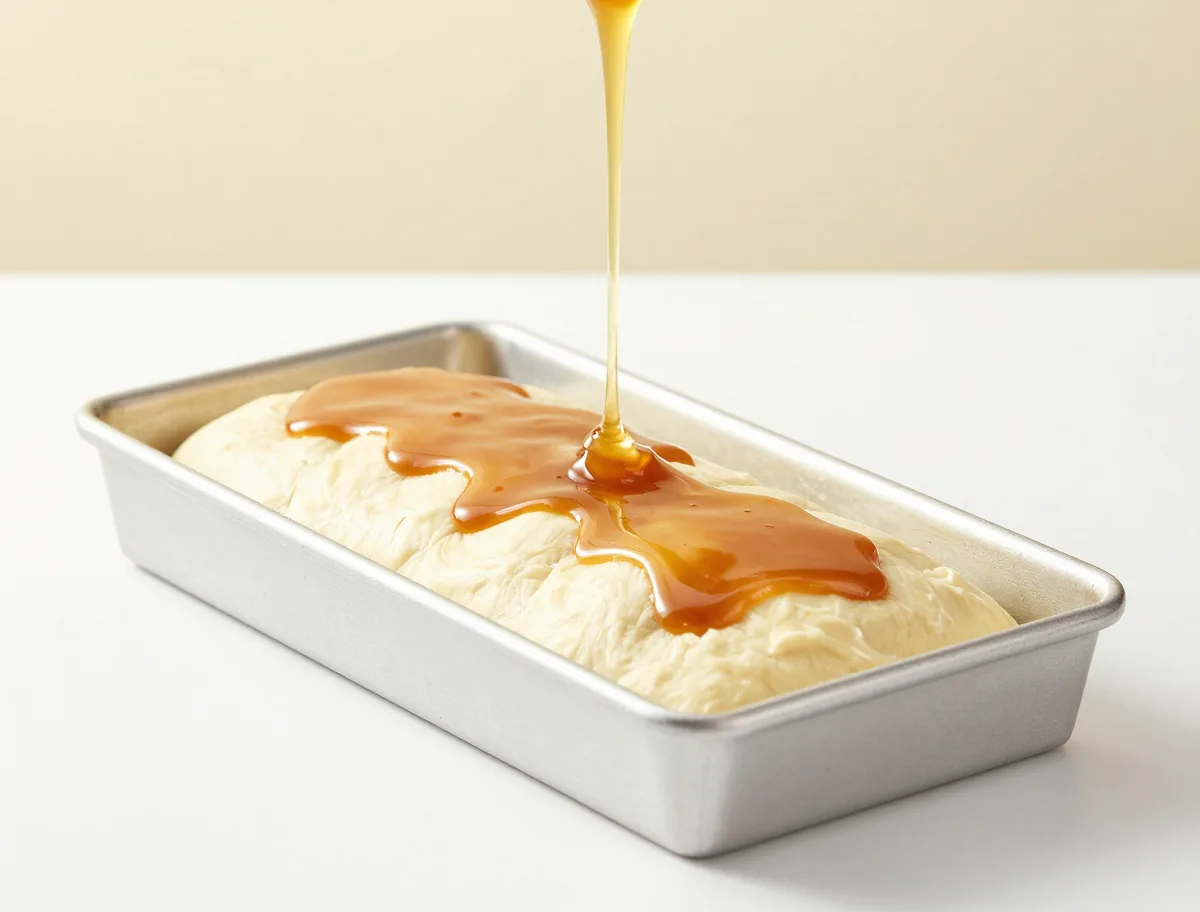
- Dimple and top the cake: Heat the oven to 200°C (390°F). Press your fingertips into the risen dough to make deep, closely spaced dimples, stopping just short of the bottom of the pan. Pour the warm topping over the surface, guiding it into the dimples with the back of a spoon.
- Bake: Bake on the middle rack for 18–22 minutes, rotating once if your oven browns unevenly. The topping should bubble, the edges should be golden brown, and the center should look set rather than wet. If the topping darkens too quickly, loosely tent the cake with foil for the final minutes.
- Cool briefly and serve: Let the cake cool in the pan for 15 minutes so the topping thickens slightly. Cut into rectangles and serve warm or just slightly cooled, preferably with coffee.
How to Tell When the Cake Is Properly Proofed and Baked
Time estimates are useful, but dough temperature, room temperature, and pan material can shift them considerably. Use the appearance of the dough and the behavior of the topping as your primary guides.
- Before baking, the dough should look aerated and puffy; a light press should recover slowly.
- Under-proofed dough springs back immediately and tends to bake up dense.
- The topping should actively bubble near the end of baking, while the edges turn golden.
- A glossy surface alone does not mean the center is raw; check that the center is set and lightly springy.
- Resting for 15 minutes lets the topping thicken enough for cleaner slices while keeping the cake warm.
Doneness cues
- The dough rises visibly during both proofs; a gentle fingertip press springs back slowly and leaves a slight impression.
- The topping is glossy and bubbling, with golden-brown edges.
- The center feels set and springs back lightly rather than wobbling or feeling liquid.
- For an additional check, the crumb near the center should be approximately 88–93°C (190–199°F), though visual cues are more reliable around the topping.
The Variables That Control a Soft, Gooey Coffee Cake
Brunsviger succeeds when fermentation, dough hydration, pan depth, and topping temperature are kept in balance. A shallow pan is essential because it allows the crumb to set before the sugar topping becomes too dark.
- Milk hotter than roughly 46°C (115°F) can weaken or kill commercial yeast; lukewarm milk is safer.
- Sugar and butter make fermentation slower and the dough more tender, so a rich dough may need more time than a lean bread dough.
- A smaller or deeper pan creates a thicker center that may remain raw while the topping burns.
- The topping should be fluid enough to flow into the dimples but only warm, not scalding hot.
- Gentle melting keeps the butter and sugar more cohesive and reduces the chance of a greasy separation.
Common Brunsviger Problems and How to Fix Them
Most failures come from changing the dough consistency, proofing state, or pan dimensions. The topping is forgiving when melted gently, but a raw center or over-proofed dough is much harder to correct after baking.
- Dense cake: Check that the yeast was fresh, the milk was lukewarm, and the dough had time to become puffy. Too much flour and insufficient kneading are also common causes.
- Dough will not spread: Let it rest for 10 minutes, then use damp fingers. Do not keep dusting with flour.
- Raw center with dark edges: The pan may be too small or deep, the dough may be unevenly spread, or the oven may run cool. Use the specified shallow pan and bake longer at a slightly lower heat if the top is already dark.
- Topping looks greasy: Melt it gently and stir until homogeneous before using. A small amount of separation can recombine during baking.
- Dry cake: Measure flour by weight and remove the cake once the center is set; waiting for a very dark top will overbake the crumb.
- Sunken cake: The dough may have over-proofed, or the topping may have been poured on while too hot. Bake when the dough is puffy but resilient.
Useful Substitutions for a Danish Coffee Cake Recipe
Several practical substitutions preserve the identity of the cake, although they will change flavor or texture. The two least negotiable features are a yeast-raised dough and a butter-brown sugar topping.
- Instant yeast can replace active dry yeast by weight and can be mixed directly into the flour. Fresh yeast can be used at roughly three times the weight of the dry yeast.
- Two-percent milk will work with little adjustment; water makes a less rich cake. Buttermilk adds tang and may require a small hydration adjustment.
- Light brown sugar is acceptable in the topping, but dark brown sugar, muscovado, or brun farin creates a deeper, softer caramel flavor.
- Golden syrup or light corn syrup helps the topping flow. Maple syrup is possible but gives a noticeable maple flavor.
- Cardamom and vanilla are optional flavorings. Cinnamon can be added to the topping for a warmer variation.
- Whole-wheat or gluten-free flour is not a straightforward one-to-one substitution because it changes hydration, gluten development, and spreadability.
Traditional-Style Brunsviger Variations
A recognizable brunsviger keeps its shallow yeast cake, deep dimples, and butter-brown sugar topping. Small flavor changes are welcome, but heavily loaded toppings or laminated dough move the result into another category.
- For a more Scandinavian aroma, keep the cardamom in the dough.
- Add 1/2 teaspoon cinnamon to the topping for a cinnamon brunsviger variation.
- Replace the syrup with an equal amount of cream for a richer, smoother topping, understanding that the mixture will be more perishable.
- Vanilla can be omitted for a plainer traditional-style profile.
- Nuts, fruit, chocolate, heavy streusel, or puff pastry are adaptations rather than features of the plain cake.
How to Serve Brunsviger
Brunsviger is at its most appealing when served warm or just slightly cooled. The topping remains soft and glossy, while the short rest keeps the crumb from tearing as you cut it.
- Cut the shallow cake into modest rectangles; the topping is rich and sticky.
- Serve with unsweetened coffee, black tea, or another lightly bitter drink to balance the sweetness.
- Plain yogurt or lightly whipped cream can accompany a slice, but additional icing is unnecessary.
- For a brunch buffet, cut smaller pieces and serve the cake on the day it is baked.
How to Store, Freeze, and Reheat Danish Coffee Cake
The cake has its best crumb and topping on the day it is baked. A plain, fully cooled cake can be covered and kept at room temperature for about two days for quality; refrigeration firms the crumb, so rewarming is helpful.
- For an overnight dough, reduce the yeast as noted in the recipe and refrigerate the dough immediately after mixing.
- Freeze cooled slices or the whole cake tightly wrapped in plastic and then foil or a freezer bag for up to 2–3 months.
- Thaw overnight in the refrigerator, or warm a slice gently from frozen in a low oven.
- Reheat at about 150°C (300°F) for 8–12 minutes, or microwave individual slices briefly at reduced power.
- If the cake contains cream, custard, fresh fruit, or another perishable addition, refrigerate it promptly rather than following the room-temperature quality window. For additional food-storage guidance, consult the FDA’s food-storage guidance.
Danish Coffee Cake and Brunsviger FAQ
These answers address the terminology and technique questions that most often arise when making this soft Danish yeast cake.
Is brunsviger the same as Danish pastry?
No. Brunsviger is a yeast-raised sheet cake with a brown sugar butter topping. It is not made from laminated pastry layers.
How sticky should the dough be?
It should be soft and tacky, with enough structure to hold together but not enough firmness to feel like standard bread dough. Wet or buttered hands are preferable to adding extra flour.
How deep should the dimples be?
Press almost to the bottom of the dough without breaking through. Shallow marks leave the topping on the surface, while holes can let it leak underneath and scorch.
Can I leave out the cardamom?
Yes. Cardamom is a compatible Scandinavian flavor, not a structural requirement. The plain butter and brown sugar version remains recognizably brunsviger.
Can I use light brown sugar?
Yes, although dark brown sugar, muscovado, or Danish brun farin gives the topping a deeper molasses flavor and softer caramel character.
Why did my cake bake up dense?
Likely causes include inactive yeast, milk that was too hot, insufficient proofing, inadequate kneading, or too much flour. Judge the dough by its visible rise and use a soft consistency.
Why is the center raw while the topping is dark?
The cake may be too thick for the pan, unevenly spread, under-proofed, or baked in an oven that runs cool. Use a shallow pan, spread the dough evenly, and tent the top while extending the bake if necessary.
When should I cut the cake?
Wait about 15 minutes. The cake will still be warm, but the topping will have thickened enough to produce cleaner pieces.
Can brunsviger be made without an egg?
Egg is not essential to the category, but removing it changes this particular formula. The dough will be slightly less rich and may need a small hydration adjustment; it is better treated as a separately adjusted version.
The Danish Tradition Behind Brunsviger
Brunsviger is strongly associated with Funen, the Danish island that includes Odense, although it is now enjoyed throughout Denmark. Its most reliable traditional markers are the soft yeast dough, shallow rectangular form, butter-and-brown-sugar topping, deep dimples, and warm serving style. For cultural context on Danish pastries and cakes, see VisitDenmark’s guide to Danish pastries, cakes, and biscuits.
- There is no single universally fixed ingredient list; regional and household versions differ in richness, spices, eggs, syrup, and topping proportions.
- The Funen connection is well established, while stories linking the name to Braunschweig or German influence are best treated as theories rather than settled history.
- Calling the cake a Danish yeast coffee cake helps distinguish it from laminated Danish pastry.
- This recipe is traditional-style: its authenticity rests on the structure and topping rather than one exclusive formula.