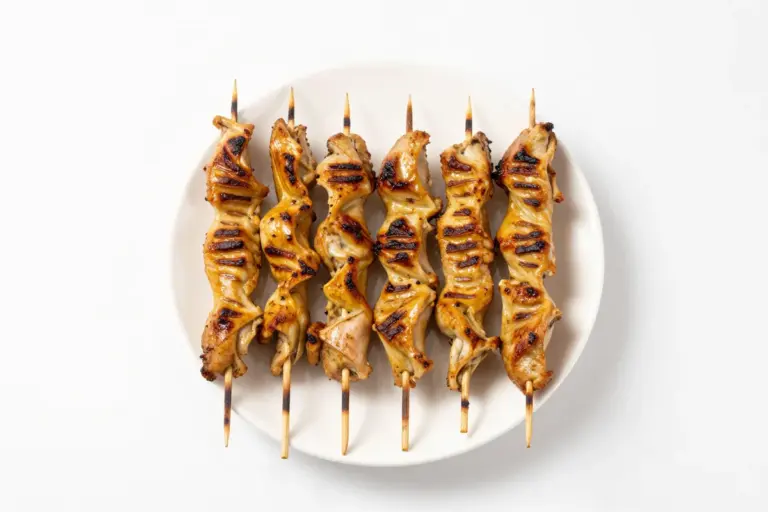
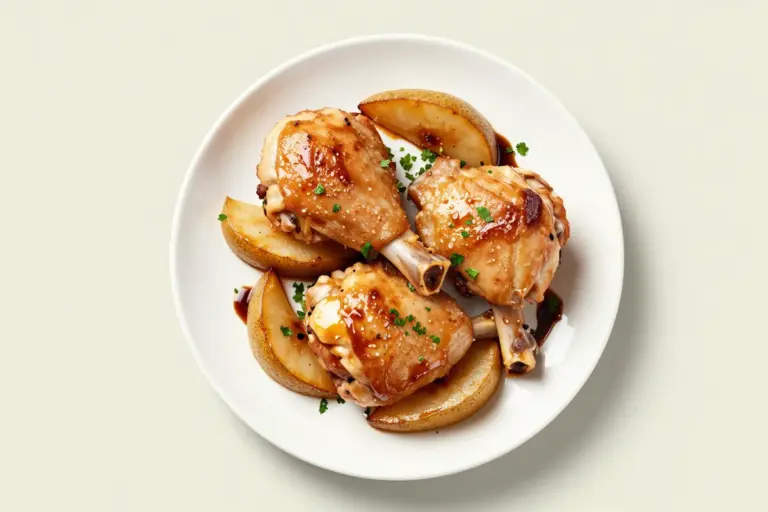
Buttermilk Chicken Tenders Recipe: Crispy and Juicy
This buttermilk chicken tenders recipe makes juicy, well-seasoned chicken strips with a craggy golden crust. A short buttermilk marinade seasons and tenderizes the meat, while seasoned flour and controlled frying deliver a crisp, crunchy finish.
What Makes These Buttermilk Chicken Tenders Successful
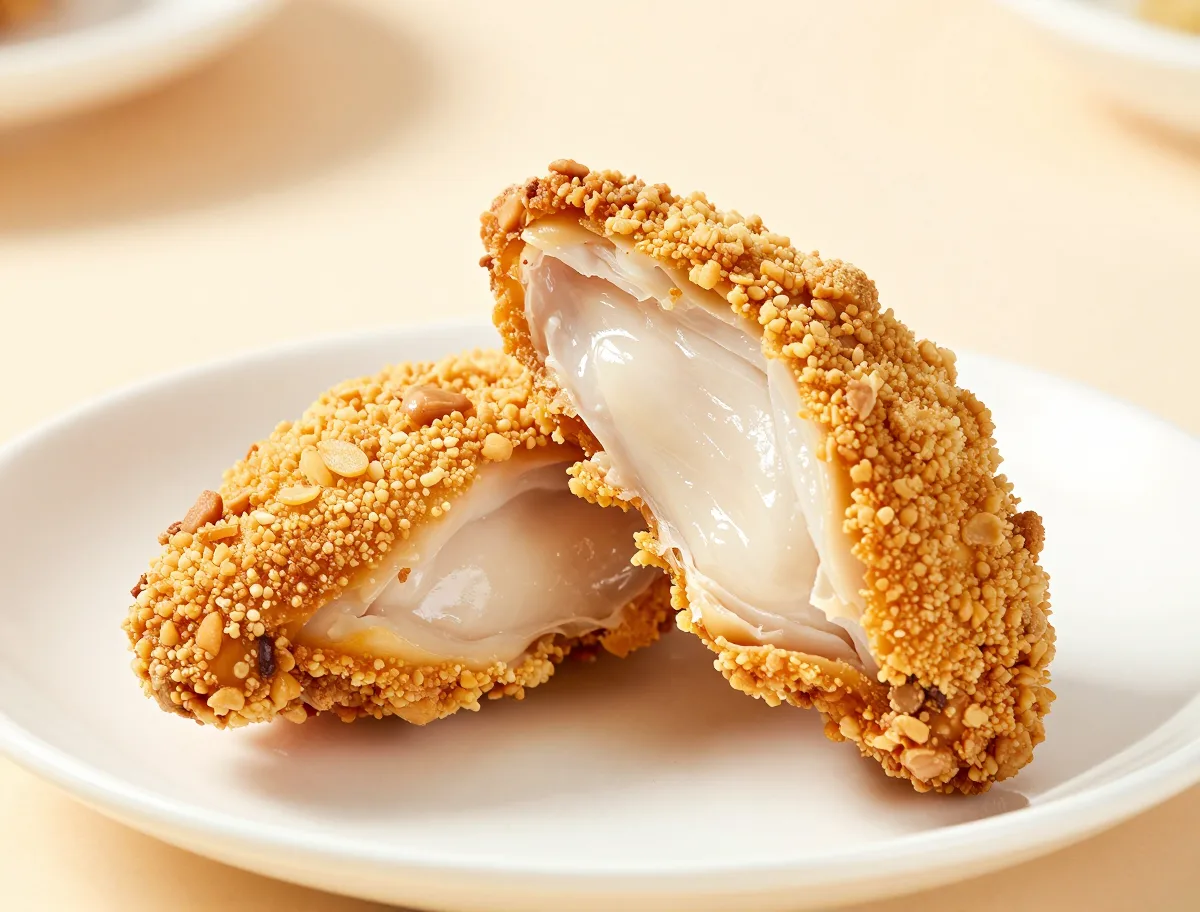
The ideal tender has a juicy, savory center and a firmly attached crust that is golden, irregular, and audibly crisp. The flour coating should have small ridges and clumps rather than forming a smooth shell, while the chicken should remain moist and easy to bite through.
- Use strips of similar thickness so the crust and meat finish together.
- Season both the buttermilk and the flour; either stage alone is not enough for full flavor.
- Serve soon after frying, when the crust has its best texture.
Why the Ingredients Matter
Buttermilk provides moisture, tang, and seasoning contact while its mild acidity helps soften the surface of the chicken during a moderate marinade. The flour supplies structure, cornstarch makes the crust lighter and more brittle, and baking powder encourages a less compact surface. Paprika, garlic, onion, pepper, and cayenne distribute savory flavor through the coating rather than leaving the crust bland.
- Cultured buttermilk clings well enough to support a flour crust without requiring an egg wash.
- Cornstarch is kept to a portion of the dry mixture so the coating stays crisp without becoming fragile.
- A neutral oil lets the chicken and spices remain the dominant flavors.
Ingredients
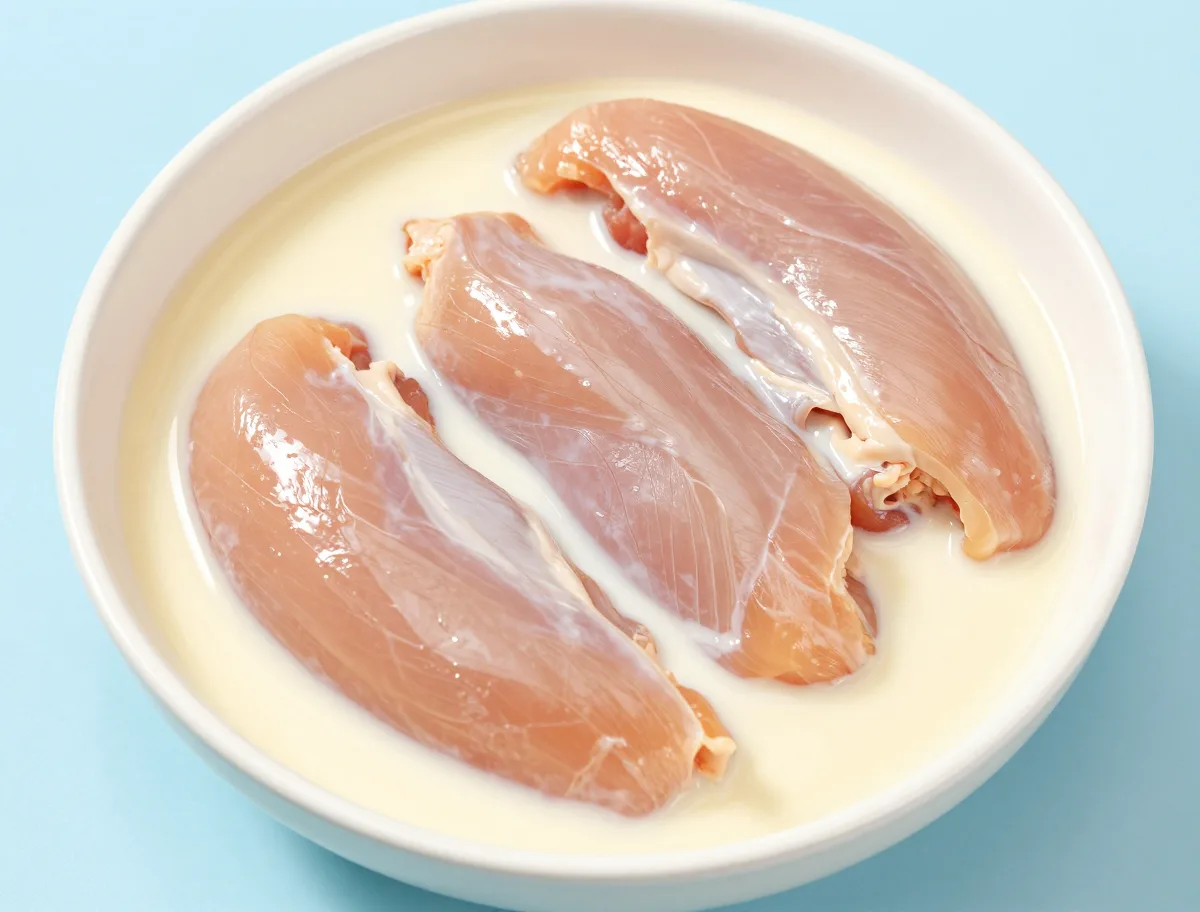
- 2 pounds chicken tenderloins, trimmed; or boneless, skinless chicken breasts cut lengthwise into 1-inch strips
- 2 cups cultured buttermilk
- 1 1/2 teaspoons fine sea salt, divided
- 1 teaspoon hot sauce
- 2 cups all-purpose flour
- 1/2 cup cornstarch
- 1 teaspoon baking powder
- 2 teaspoons paprika
- 1 1/2 teaspoons garlic powder
- 1 teaspoon onion powder
- 1 teaspoon freshly ground black pepper
- 1/4 teaspoon cayenne pepper, or more to taste
- 2 quarts canola, peanut, or vegetable oil, for frying; use enough to fill the pan 1 1/2 to 2 inches deep
How to Prepare and Fry the Chicken Tenders
The important technique is controlling moisture at the breading stage. Let excess marinade drip away, then press the seasoned flour onto the chicken instead of merely rolling it through. Mixing a little marinade into the flour creates damp nuggets that adhere to the surface and produce a rougher crust.
- A 2- to 4-hour refrigerated marinade is a practical balance of flavor and tenderness; 30 minutes is still useful for thin strips.
- Rest the coated chicken for 10 minutes before frying so the surface coating can set.
- Fry only a few pieces at a time and wait for the oil to recover before starting another batch.
- Drain on a rack over a sheet pan rather than in a deep bowl or covered container.
Instructions
- Marinate the chicken: Whisk the buttermilk, 1 teaspoon of the salt, and the hot sauce in a large bowl. Add the chicken and turn to coat. Cover and refrigerate for 2 to 4 hours. Thirty minutes will work in a pinch; overnight is acceptable, but keep the chicken refrigerated and do not exceed 2 days.
- Prepare the coating: In a wide, shallow bowl, whisk together the flour, cornstarch, baking powder, remaining 1/2 teaspoon salt, paprika, garlic powder, onion powder, black pepper, and cayenne. Drizzle 3 tablespoons of the buttermilk marinade into the flour mixture and rub it through with your fingers to create small, irregular damp clumps; these fry into the craggy bits that make the crust especially crunchy.
- Dredge and rest: Lift each tender from the marinade, letting excess drip off, and place it in the seasoned flour. Turn and press firmly so the coating covers every surface, including the sides. Set the coated chicken on a wire rack and let it stand for 10 minutes while the oil heats. Discard the used marinade and wash any surfaces or utensils that touched the raw chicken.
- Heat the oil: Pour the oil into a heavy 6-quart Dutch oven or deep, straight-sided skillet, leaving several inches of clearance above the oil. Heat over medium-high to 350°F. Set a wire rack over a rimmed baking sheet for draining. Keep a lid nearby for emergencies, but never use water on an oil fire.
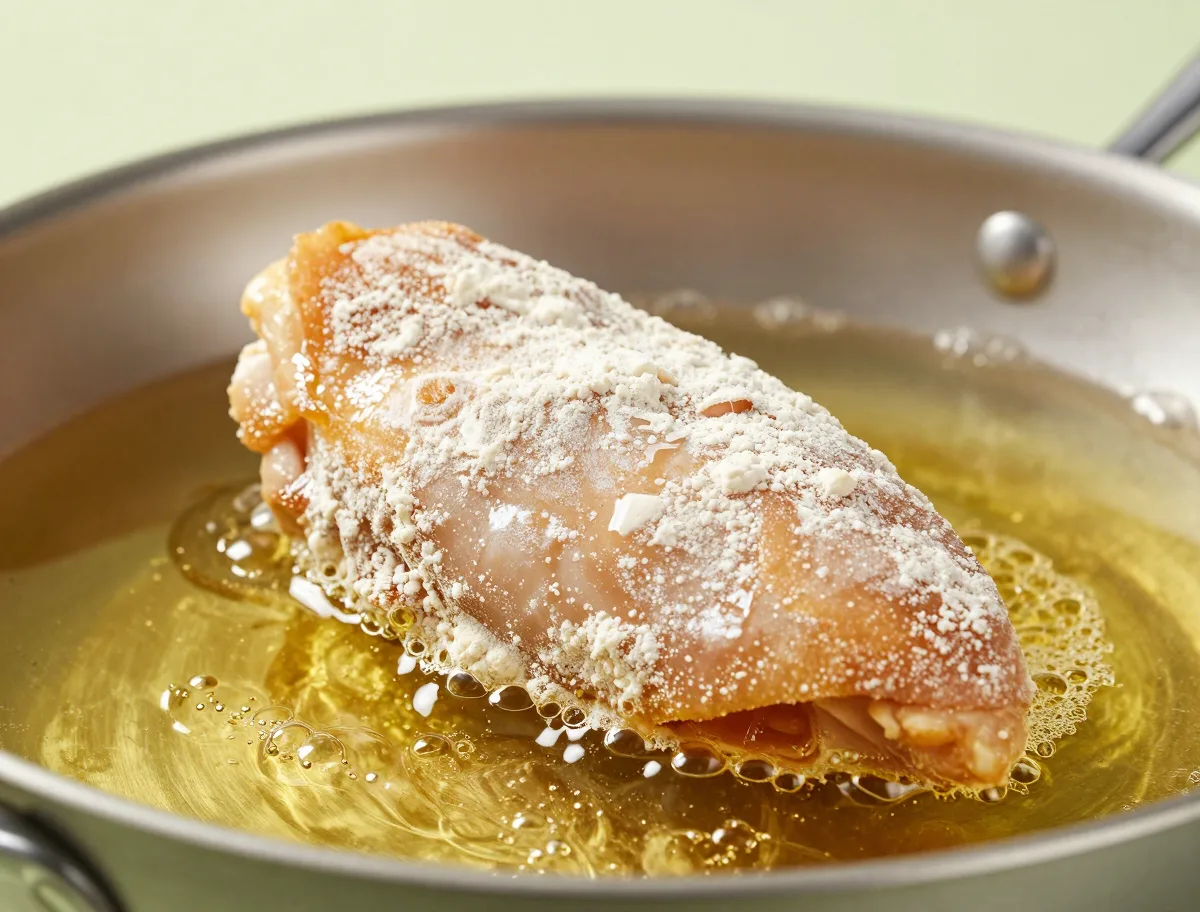
- Fry in batches: Carefully lower 4 or 5 tenders into the oil, leaving space between them. Fry for 3 to 5 minutes per side, turning once with tongs, until the coating is deeply golden and set. Adjust the burner as needed to keep the oil close to 340 to 350°F; let it return to temperature before adding the next batch.
- Check and drain: Transfer the tenders to the rack. Check the thickest part of the largest piece with an instant-read thermometer; it must reach 165°F. If the crust is browning too quickly, lower the heat and continue cooking more gently. Repeat with the remaining chicken, keeping the finished tenders uncovered so trapped steam does not soften the crust.
- Serve: Serve the tenders hot or warm, arranged in a single layer or loosely on a platter, with honey mustard, ranch, barbecue sauce, or a spicy dipping sauce on the side.
How to Tell When Chicken Tenders Are Done
Timing is only a guide because strip thickness and coating vary. Look for a set, dry-looking golden crust, then verify the chicken itself with an instant-read thermometer. Insert the probe into the center of the thickest part of the largest tender, avoiding a shallow reading in the crust.
- Most evenly cut strips take about 3 to 5 minutes per side in oil near 350°F.
- The safe endpoint is 165°F (74°C) in the thickest portion.
- A dark crust can still conceal undercooked chicken, and a pale crust is not a reliable safety test.
- A properly fried tender feels firm at the crust but yields slightly when pressed.
Doneness Cues
- The coating is dry-looking, rigid, and deeply golden rather than pale or wet.
- The crust remains attached when the tender is lifted and tapped.
- The thickest part of the largest tender reaches 165°F (74°C); check the first batch and any visibly thick pieces.
- The center is opaque and moist, with no translucent raw-looking meat.
The Variables That Control Crispness and Juiciness
Crisp breading depends on surface water escaping quickly while the exterior browns. If the oil is too cool, moisture lingers and the crust absorbs more fat; if it is too hot, the coating darkens before the center cooks. The same balance is affected by the size of each strip, how wet it is when dredged, and how much chicken enters the pan at once.
- Keep the oil around 340 to 350°F during cooking, adjusting the heat after each batch.
- Moderate buttermilk marination is preferable to adding strong acids or leaving the chicken indefinitely.
- Small flour clumps increase surface area and crunch, but a wet, paste-like coating will remain heavy.
- Uniform thickness matters more than identical strip length.
Common Chicken Tender Mistakes and How to Fix Them
Most disappointing batches can be traced to moisture, temperature, or handling. Correct the problem during the next batch rather than changing several variables at once.
- Soggy or greasy crust: The pan was crowded or the oil cooled too far. Fry fewer pieces, wait for the oil to recover, and drain on an uncovered rack.
- Breading falls off: Too much marinade remained on the chicken, the flour was not pressed on, or the pieces were turned too soon. Let the chicken drip well, press firmly, rest briefly, and turn only once the crust is set.
- Dark crust with raw chicken: The oil is too hot or the strips are too thick. Lower the heat, cut thick pieces thinner, and check the center temperature.
- Uneven browning: Pieces are touching or differ substantially in thickness. Fry in a single spaced layer and standardize the cuts.
- Soft underside: Steam is trapped beneath the chicken. Use a rack instead of leaving hot tenders on a flat plate or tightly covered platter.
Useful Substitutions for Buttermilk Chicken Tenders
Substitutions can preserve the recipe’s basic structure, though they may change flavor or texture. The closest dairy alternatives are pourable plain yogurt thinned with milk or kefir. Milk soured with a small amount of lemon juice or vinegar works when necessary but is thinner, so let more liquid drain before dredging.
- Replace up to one-third of the flour with rice flour or additional cornstarch for a more brittle crust; using only starch makes the coating less cohesive.
- Panko, fine breadcrumbs, or crushed cornflakes can replace part of the flour coating, but they create a distinct crumb texture and may brown at a different rate.
- A gluten-free all-purpose flour blend can replace the wheat flour; choose one intended for general baking and expect a slightly different adhesion.
- Reduce the added salt if using a salty seasoning blend or a particularly salty hot sauce.
- Omit cayenne for family-friendly tenders, or increase it gradually for more heat.
Baked and Air-Fryer Buttermilk Chicken Tenders
The fried method gives the most robust, blistered crust, but the same marinated and coated chicken can be cooked with dry heat. Oil the coating lightly before baking or air frying; otherwise the flour will brown slowly and may remain powdery.
- Air fryer: Preheat to 390°F. Arrange the tenders in one uncrowded layer, lightly spray or brush the coating with oil, and cook for 8 to 12 minutes, turning halfway, until the thickest piece reaches 165°F.
- Oven: Heat to 425°F and place the tenders on a well-oiled rack over a sheet pan or on a preheated metal sheet. Bake for about 15 to 25 minutes, turning once if needed, until 165°F internally.
- Neither dry-heat method will exactly duplicate the deep-fried crust. Avoid overlapping pieces, since trapped steam softens the coating.
What to Serve with Crispy Chicken Tenders
Serve the tenders hot or warm with sauces on the side so the crust stays crisp. Honey mustard and ranch provide creamy contrast, barbecue sauce adds smoke and sweetness, and buffalo-style sauce or hot honey brings heat. Pickles, vinegar-bright slaw, lemon wedges, or a simple green salad balance the fried richness.
- For a casual meal, pair with potato wedges, fries, biscuits, or cornbread.
- Arrange tenders loosely on a platter rather than piling them into a bowl.
- If tossing with sauce, do so immediately before eating; saucing in advance quickly softens the crust.
How to Store, Freeze and Reheat Chicken Tenders
Freshly fried tenders have the best crust, but leftovers can be stored safely and reheated with reasonable crispness. Cool cooked chicken promptly in a shallow container and refrigerate it within 2 hours; use refrigerated leftovers within 3 to 4 days.
- For make-ahead cooking, bread the chicken shortly before frying and keep it refrigerated rather than at room temperature. The coating may soften if held for an extended period.
- To freeze, arrange cooked tenders in a single layer until firm, then transfer them to an airtight freezer container or bag. They are best used within about 3 months for quality.
- Reheat refrigerated or frozen tenders in a single layer on a rack in a 375°F oven or air fryer until hot throughout and 165°F internally. Frozen pieces may need extra time.
- Microwaving is safe when the chicken reaches 165°F, but it will leave the coating softer.
For official guidance on poultry marination and safe handling, consult the USDA guidance on poultry basting, brining, and marinating.
Buttermilk Chicken Tenders FAQ
These answers address the most common planning, breading, and cooking questions without changing the main recipe.
Can the chicken marinate overnight?
Yes. Keep it covered and refrigerated overnight, but do not leave raw chicken in the marinade for more than 2 days. For the best balance of seasoning and texture, 2 to 4 hours is usually sufficient for thin strips.
Can chicken breasts be used instead of tenderloins?
Yes. Trim the breasts and slice them lengthwise into strips about 1 inch thick. Split or gently flatten unusually thick pieces so all the chicken cooks at a similar rate.
Do these tenders need eggs or breadcrumbs?
No. This version uses buttermilk as the wet binder and a seasoned flour coating. Eggs and breadcrumbs can be used for a different, more crumb-like crust, but they require a separate flour-egg-crumb breading sequence.
Why is the coating falling off?
The chicken may be carrying too much liquid, the flour may not have been pressed on firmly, or the pieces may have been moved before the crust set. Let the chicken drip, press on the coating, rest it briefly, and turn gently only once.
Can the tenders be baked or air fried?
Yes. Lightly oil the coating, preheat the oven or air fryer, cook in a single layer, and verify 165°F in the thickest piece. The crust will be lighter and less blistered than the fried version.
How do I keep the pan from becoming greasy?
Maintain the oil near 340 to 350°F, avoid overcrowding, and allow the temperature to recover between batches. Drain the finished chicken on a wire rack instead of leaving it on paper towels for a long time.
Food Safety for Fried Chicken Tenders
Treat the chicken, marinade, and breading as raw poultry until cooking is complete. Keep the chicken refrigerated during marination, use separate clean utensils and plates for cooked food, and wash hands and work surfaces after handling raw chicken.
- The thickest portion of the largest tender must reach 165°F (74°C), measured in the meat rather than the crust.
- Discard marinade that has touched raw chicken unless it is brought to a full boil before any reuse; do not use it as an uncooked dipping sauce.
- Handle hot oil carefully and keep water away from the pan. If oil catches fire, turn off the heat if safe and cover the vessel with its lid; never pour water on it.
- Refrigerate leftovers in shallow containers within 2 hours and use them within 3 to 4 days. Reheat leftovers to 165°F.
See the USDA safe cooking temperature guidance for the official 165°F poultry and leftover reheating target.