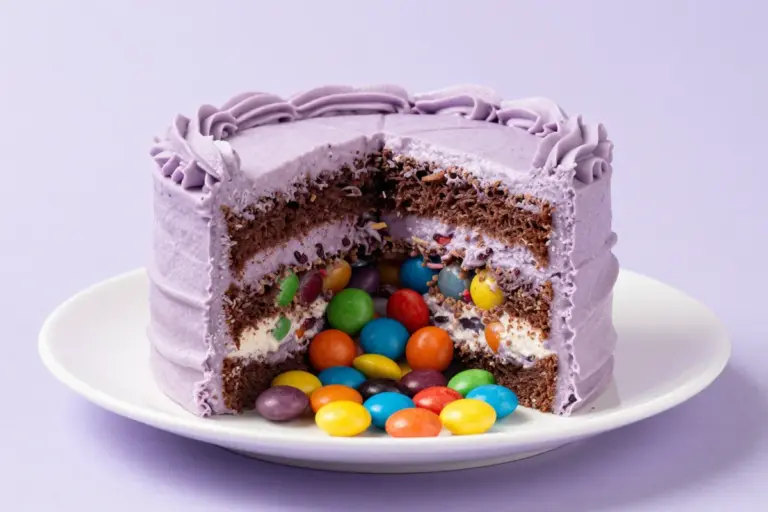
Black and White Cake Recipe With Vanilla Buttercream
This black and white cake recipe pairs tender vanilla and moist chocolate cake layers with smooth vanilla and chocolate buttercream for a bakery-style celebration cake with striking contrast.
What Makes This a Black and White Cake?
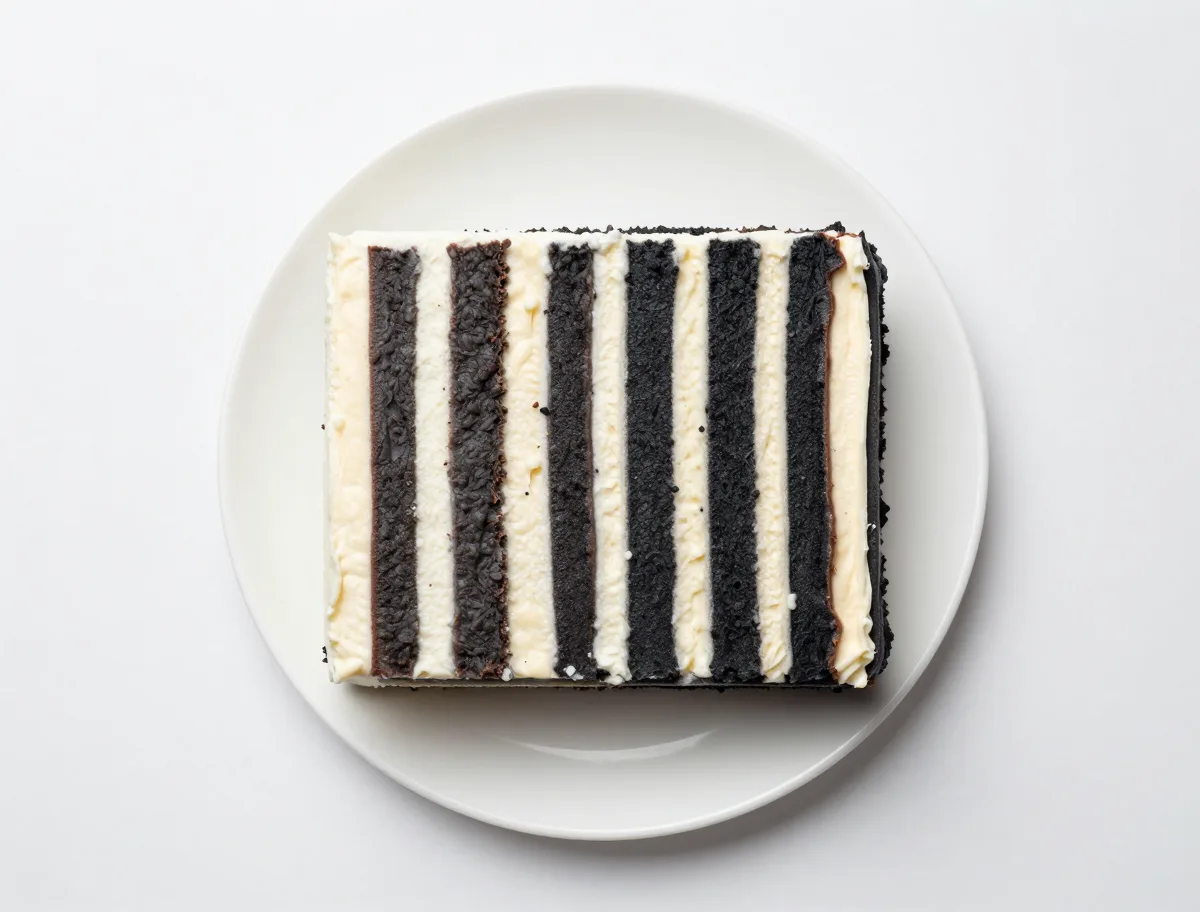
Here, black and white means a classic chocolate-and-vanilla celebration cake rather than a cookie dessert. The cake has two tender vanilla layers and one deeply chocolate-colored layer, with vanilla and chocolate buttercream arranged in contrasting bands on the outside.
- Separate layers give a sharper cross-section than a marble cake.
- The chocolate layer is naturally deep brown, not artificially black; dark cocoa or food coloring is unnecessary.
- The finished crumb should be moist and fine enough to stack, but firm enough to cut into clean wedges.
Why the Key Ingredients Work
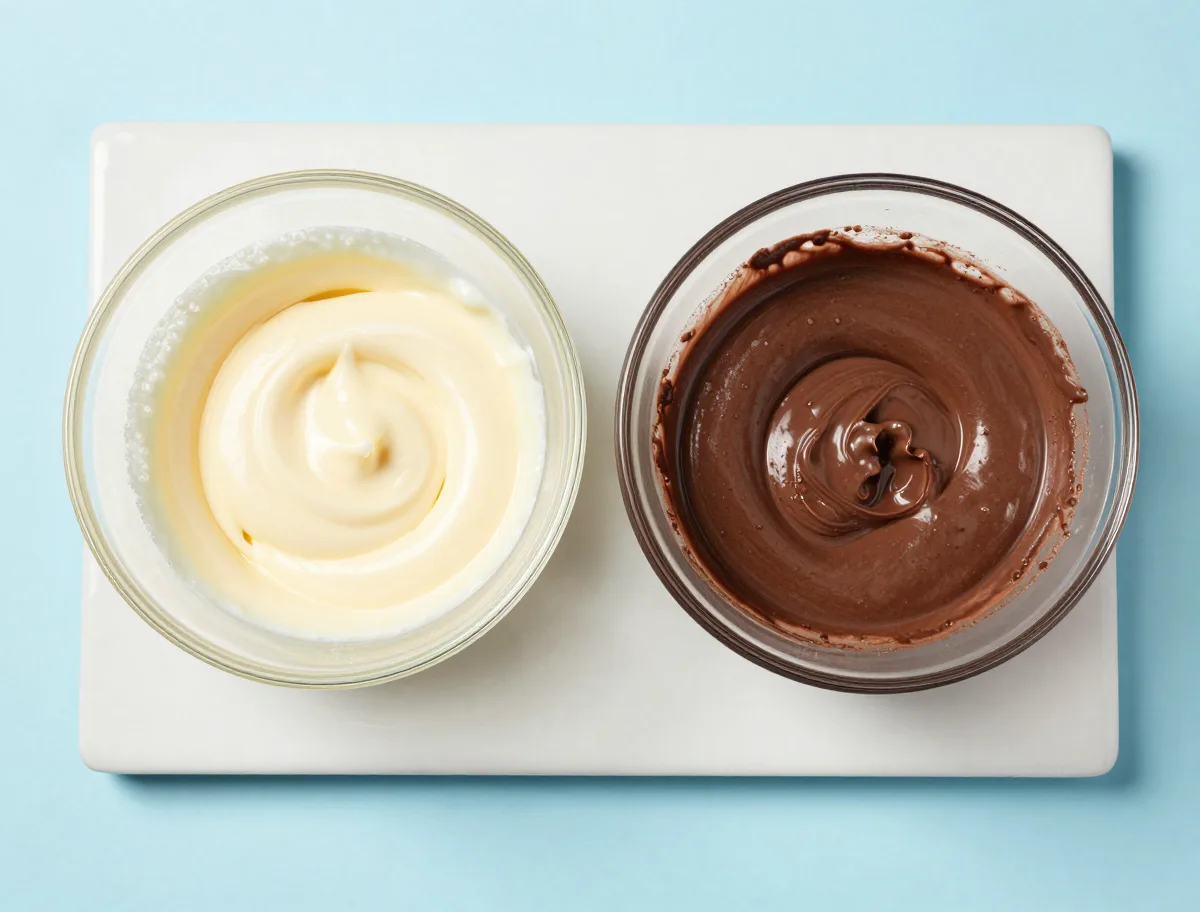
The vanilla batter relies on butter for flavor and a small amount of oil for lasting softness. The chocolate batter uses cocoa for color and flavor, while hot coffee or water disperses the cocoa so the layer does not bake up dusty or streaky.
- Buttermilk contributes moisture and mild acidity, helping tenderize the crumb and support the baking soda in the chocolate batter.
- Eggs give both batters structure and help the fat and liquid form a cohesive emulsion.
- Baking powder provides dependable lift in the vanilla layer; the chocolate layer uses both baking powder and a small amount of baking soda.
- Confectioners’ sugar dissolves readily into butter, producing a smooth American-style buttercream that can be divided into white and chocolate portions.
- Salt keeps the vanilla frosting from tasting flat and prevents the chocolate from becoming one-dimensionally sweet.
Ingredients
- 1 1/2 cups all-purpose flour, spooned and leveled
- 3/4 cup granulated sugar
- 1 1/2 teaspoons baking powder, divided
- 1/2 teaspoon fine salt, divided
- 6 tablespoons unsalted butter, softened and divided between the cake and frosting
- 3 tablespoons neutral-flavored oil
- 2 large eggs, at room temperature
- 1/2 cup buttermilk, at room temperature
- 2 teaspoons pure vanilla extract, divided between the cake and frosting
- 1 1/4 cups all-purpose flour, spooned and leveled
- 1/2 cup unsweetened cocoa powder, natural or Dutch-process
- 3/4 cup granulated sugar
- 1 1/2 teaspoons baking powder
- 1/2 teaspoon baking soda
- 1/4 teaspoon fine salt
- 1/4 cup neutral-flavored oil
- 2 large eggs, at room temperature
- 3/4 cup buttermilk, at room temperature
- 6 tablespoons hot brewed coffee or hot water
- 1 1/2 cups unsalted butter, softened
- 5 cups confectioners’ sugar, sifted
- 1/2 cup unsweetened cocoa powder, sifted
- 1/4 cup heavy cream or whole milk, plus more if needed
- 1 teaspoon pure vanilla extract
- 1/4 teaspoon fine salt
The Best Technique for Even Chocolate and Vanilla Layers
Accuracy matters more than speed in a layer cake. Prepare identical pans, distribute the batters by weight when possible, and stop mixing as soon as the flour is incorporated. Once the layers are cold, level them before stacking so the frosting does not have to compensate for a tilted cake.
- Parchment on the pan bottoms protects the delicate, moist layers during release.
- Keep filling layers modest; too much buttercream can push the cake outward and cause sliding.
- A thin crumb coat is especially useful here because dark crumbs are conspicuous against white frosting.
- For a crisp vertical color split, chill the crumb-coated cake before applying the final two-tone decoration.
For additional guidance on leveling, filling, chilling, crumb-coating, and finishing a layer cake, see King Arthur Baking’s guide to assembling and frosting a layer cake.
Instructions
- Prepare the pans. Heat the oven to 350°F (175°C). Grease three 8-inch round cake pans, line the bottoms with parchment rounds, and lightly grease the parchment. If you have only two pans, bake the layers in batches rather than filling the pans more deeply.
- Mix the vanilla batter. In a medium bowl, whisk together 180 g flour, 180 g sugar, 1 1/2 teaspoons baking powder, and 1/4 teaspoon salt. In a separate bowl, whisk the softened butter, 3 tablespoons oil, eggs, 1/2 cup buttermilk, and 1 teaspoon vanilla until smooth. Add the wet mixture to the dry ingredients and stir just until no dry flour remains. Do not beat the batter after it becomes smooth.
- Mix the chocolate batter. Whisk together 150 g flour, cocoa powder, sugar, baking powder, baking soda, and 1/4 teaspoon salt. Whisk in 1/4 cup oil, the eggs, 3/4 cup buttermilk, and 1 teaspoon vanilla. Slowly whisk in the hot coffee or water until the batter is evenly colored and fluid but still slightly thick. Scrape the bowl well so no cocoa pockets remain.
- Fill and bake the layers. Pour the vanilla batter into one prepared pan and the chocolate batter into a second. Divide the remaining batter between the two pans, adding equal portions so you have two vanilla layers and one chocolate layer; use a scale for the most even results. If using two pans, reserve the remaining batter while the first batch bakes. Bake until the tops are matte, the centers spring back lightly, and a tester comes out without wet batter, about 24 to 30 minutes. Rotate pans once if your oven bakes unevenly.
- Cool and chill the cakes. Let the cakes cool in their pans for 10 minutes. Run a thin knife around the edges, turn the layers onto a rack, remove the parchment, and cool completely. Wrap or cover the layers and chill them for at least 45 minutes before trimming and frosting; cold cake sheds fewer crumbs.
- Make the buttercream. Beat the softened butter in a stand mixer or with a hand mixer on medium speed until pale and creamy, 2 to 3 minutes. Add the sifted confectioners’ sugar in three additions, mixing on low after each addition. Add the cream or milk, 1 teaspoon vanilla, and 1/4 teaspoon salt, then beat on medium-high until fluffy and smooth, 3 to 4 minutes. Set aside about two-thirds of the frosting as the vanilla buttercream. Beat the cocoa powder into the remaining one-third until evenly dark and smooth. Add a teaspoon or two more cream only if the chocolate frosting is too stiff to spread.
- Level and fill the cake. Trim any domed tops with a serrated knife so the layers are level. Place one vanilla layer on a cake board or serving plate. Spread a thin, even layer of chocolate buttercream over it, keeping the filling no thicker than about 1/3 inch. Add the chocolate layer, spread with vanilla buttercream, and finish with the second vanilla layer. Press gently to level the stack.
- Crumb-coat the cake. Spread a thin coat of vanilla buttercream over the top and sides, using just enough to trap loose crumbs. It is fine if the cake shows through. Chill the cake for 20 to 30 minutes, until the frosting feels firm.
- Create the black-and-white finish. Cover the cake with a final coat of vanilla buttercream, smoothing the top and sides with an offset spatula. For a clean two-tone design, hold a straight edge vertically against one side of the cake and spread chocolate buttercream on that half, then smooth the boundary with a clean scraper. Alternatively, pipe alternating vertical stripes of vanilla and chocolate buttercream around the sides. Keep the top white, or add a narrow chocolate crescent for contrast.
- Chill and serve. Refrigerate the finished cake for at least 30 minutes to firm the layers and frosting. Let it stand at room temperature for 45 to 60 minutes before slicing. Use a sharp knife warmed under hot water and wiped dry between cuts.
How to Tell When the Cake Is Done
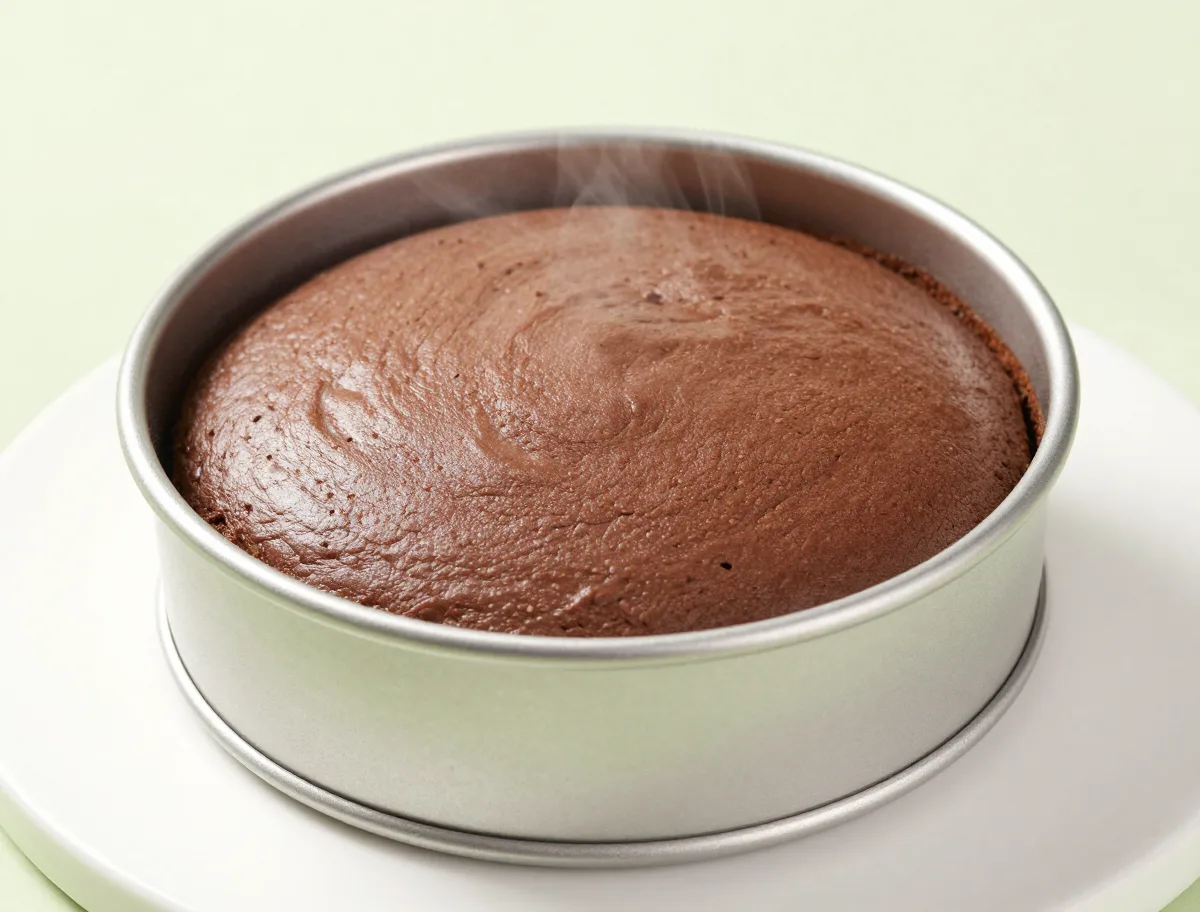
Chocolate cake can look underbaked even when its surface is set, so use several cues together. The tops should be matte, the edges should just begin to pull from the pan, and the centers should spring back lightly rather than leave a lasting indentation.
- A tester should show no streak of raw batter; a few moist crumbs indicate a tender crumb.
- If the center jiggles or the tester is wet, bake for another 2 to 3 minutes and check again.
- Cool the layers in the pan briefly, then move them to a rack. Frosting a warm layer will soften the buttercream and encourage sliding.
- Cold layers are easier to trim, fill, and coat without tearing.
- The cake tops look set and matte rather than shiny.
- The edges pull away from the pans slightly.
- The centers spring back gently when pressed.
- A cake tester emerges free of wet batter, although a few moist crumbs are acceptable.
- The layers are completely cool before frosting and firm after chilling.
The Baking Variables That Matter Most
Cocoa absorbs liquid, which is why the chocolate batter receives hot liquid and should be mixed until completely uniform. The specified pan size also matters: changing the depth changes how quickly the center sets and can leave the edges dry before the middle is baked.
- Natural cocoa is more acidic, while Dutch-process cocoa is darker and less acidic. This formula includes baking powder and buttermilk, so either can work, though the color and flavor may vary.
- Overmixing after flour is added develops gluten and can make the layers tough or gummy.
- Underbaking leaves the center without enough structure to support stacking and may cause a sunken top.
- An oven thermometer is useful if cakes routinely dome sharply, bake slowly, or dry out before the center is done.
Common Black and White Cake Problems
Most problems with this cake come from uneven measuring, insufficient cooling, or frosting that is too soft. The remedies below address what can realistically be corrected without compromising the finished texture.
- Dry layers: The likely causes are excess flour, a hot oven, or overbaking. Brush the cooled layers with a very light soak of simple syrup if they are only slightly dry; a gummy or badly overbaked crumb cannot be repaired.
- A sunken center: This usually points to underbaking, too much leavener, or excessive mixing. Bake until the center springs back and measure leaveners carefully next time.
- Sliding layers: Chill the cake, trim the layers level, and use less filling. A soft kitchen or warm buttercream may require an additional chilling interval.
- Muddy marble effect: Do not swirl the two batters repeatedly. For the sharpest contrast, use the distinct-layer method in this recipe.
- Runny frosting: Refrigerate it for 15 minutes, then beat again. If it remains loose, add confectioners’ sugar by the tablespoon rather than adding a large amount at once.
- Cracked tops: The oven may be too hot or the pans may be overfilled. Level minor cracks before assembly; a deeply cracked or underbaked layer is better used as a trifle component.
Useful Substitutions
Several substitutions work, but they are not entirely neutral. The closest replacement for buttermilk is plain yogurt or kefir thinned with a little milk; milk mixed with lemon juice or vinegar also supplies acidity, though with a slightly lighter texture.
- For each cup of buttermilk, use 1 cup milk mixed with 1 tablespoon lemon juice or vinegar; rest for 5 minutes before using.
- Unsweetened soy or almond milk can replace the buttermilk and cream in the cake and frosting, but the cake may be a little less rich.
- A measure-for-measure gluten-free flour blend can replace the all-purpose flour by weight. Chill the layers thoroughly because the crumb may be more fragile.
- Do not swap natural and Dutch-process cocoa casually in formulas that depend heavily on baking soda. This recipe is relatively forgiving, but the rise, color, and flavor can still change.
- For dairy-free frosting, use plant-based butter and unsweetened plant milk. The frosting may soften more quickly and taste less buttery.
Black and White Cake Variations
The recipe’s central identity is the pairing of vanilla and chocolate in an oven-baked layer cake. You can change the decoration or internal pattern while keeping that flavor contrast intact.
- Marble version: Put alternating spoonfuls of both batters into two pans and swirl each pan only four or five times with a skewer. The boundaries will be softer and more casual.
- Cookie-inspired finish: Frost the top half white and half dark, echoing a black-and-white cookie without turning the cake into a cookie recipe.
- Ganache finish: Replace the chocolate buttercream exterior accent with a cooled dark chocolate ganache drip over the vanilla frosting.
- For a more dramatic dark finish, use Dutch-process cocoa or a little black cocoa in the chocolate frosting, understanding that black cocoa has a more assertive, Oreo-like flavor.
How to Serve Chocolate Vanilla Layer Cake
Serve the cake cool but not refrigerator-cold. Allowing the buttercream and crumb to soften brings out the vanilla aroma and makes the chocolate layer taste rounder and less firm.
- For sharp slices, chill the cake briefly, then cut with a warm, dry knife and wipe the blade between cuts.
- Pair slices with coffee, black tea, cold milk, or unsweetened berries.
- Keep garnishes restrained: a few chocolate curls, white chocolate shavings, or a light cocoa dusting reinforce the two-tone design without hiding it.
How to Store, Freeze and Bring the Cake Back to Serving Temperature
The unfrosted layers and the finished buttercream cake can both be prepared ahead. Storage protects quality, while refrigeration is required whenever you add a perishable filling such as whipped cream, custard, cream cheese, or a cream-heavy ganache.
- Store cooled, tightly wrapped layers at room temperature for up to 1 day or freeze them for up to 1 month for best quality. Thaw while still wrapped.
- Refrigerate buttercream in an airtight container for up to 5 days. Let it soften slightly and rewhip before using.
- A fully frosted cake may be refrigerated, covered, for up to 3 days. Let it stand at room temperature for 45 to 60 minutes before serving.
- To freeze the assembled cake, chill it until firm, wrap it well, and freeze for up to 1 month. Thaw overnight in the refrigerator while covered, then temper at room temperature.
- Do not reheat the cake in an oven or microwave; direct heat can melt the frosting and dry the crumb. Perishable fillings should be refrigerated within 2 hours, or within 1 hour in temperatures above 90°F (32°C).
For additional official guidance on refrigeration and freezing limits, consult the FoodSafety.gov Cold Food Storage Chart.
Recipe Notes
- The recipe uses separate vanilla and chocolate layers for the clearest contrast; it is not a black-and-white cookie replica.
- If the batter seems unusually thick, check that the flour was measured accurately and that the buttermilk was not replaced with a thicker ingredient without thinning it.
- For the neatest sides, chill the assembled cake whenever the kitchen is warm or the frosting begins to soften.
- A completely cooled cake may be assembled one day ahead and refrigerated in a covered cake container.
Black and White Cake FAQs
These answers clarify the format, decorating choices, and practical decisions that most affect the finished cake.
Does black and white cake mean marble cake?
It can, but not always. In this recipe, black and white means distinct vanilla and chocolate layers with contrasting buttercream. A marble version is included as an optional variation and has less defined color boundaries.
Can I bake the cake in different-sized pans?
Yes, but batter depth changes baking time. Wider pans produce thinner layers and may bake sooner; smaller or deeper pans need longer baking and may leave the center underdone. Do not fill pans more than about two-thirds full.
Why must the layers be chilled before frosting?
Cold layers are firmer, shed fewer crumbs, and are less likely to slide when filled. Chilling also gives the crumb coat time to set so dark crumbs do not streak the white exterior.
Can I make the cake with only vanilla or only chocolate frosting?
Yes. The interior will still provide the chocolate-and-vanilla contrast, although a divided frosting finish makes the black-and-white appearance more obvious from the outside.
Why did my layers sink?
The most common causes are underbaking, too much leavener, overmixing, or opening the oven too early. A sunken layer can sometimes be leveled and filled, but a wet or gummy center will not support a stable stack.
How do I keep the white frosting clean?
Chill the layers, brush away loose crumbs, apply a thin crumb coat, and refrigerate until firm before adding the final white frosting. Use a clean spatula for the final coat.