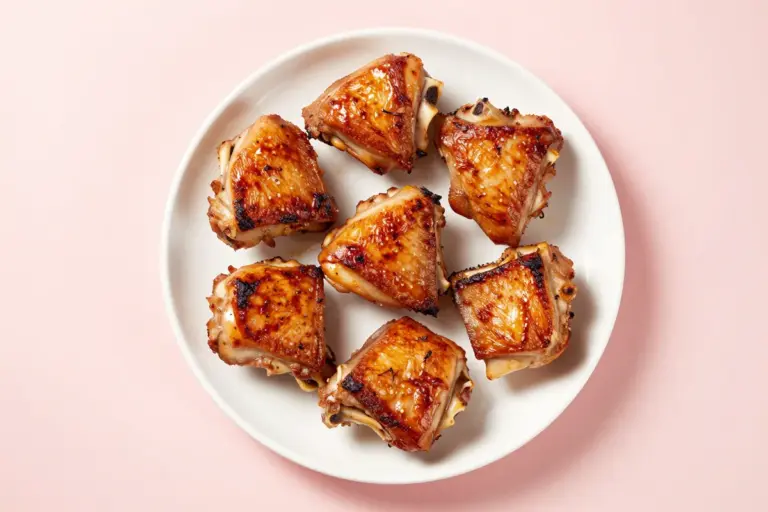
Chicken and Pear Recipe: Easy Balsamic Skillet Dinner
This chicken and pear recipe pairs golden boneless thighs with firm caramelized pears, shallots, herbs, and a glossy sweet-tangy balsamic pan sauce.
What Makes This Chicken and Pear Skillet Work
This is a savory fall-style skillet dinner, not a sweet fruit dish. The goal is contrast: browned, juicy chicken; pear wedges that are tender but recognizable; and a pan sauce that is fruity, tangy, herbal, and only gently sweet.
- Use thick wedges of firm-ripe pear so the fruit holds its shape.
- Reduce the sauce until it lightly clings to the chicken and pears.
- Serve promptly after finishing so the pears do not continue softening in the hot sauce.
Key Ingredients for Balsamic Chicken with Pears
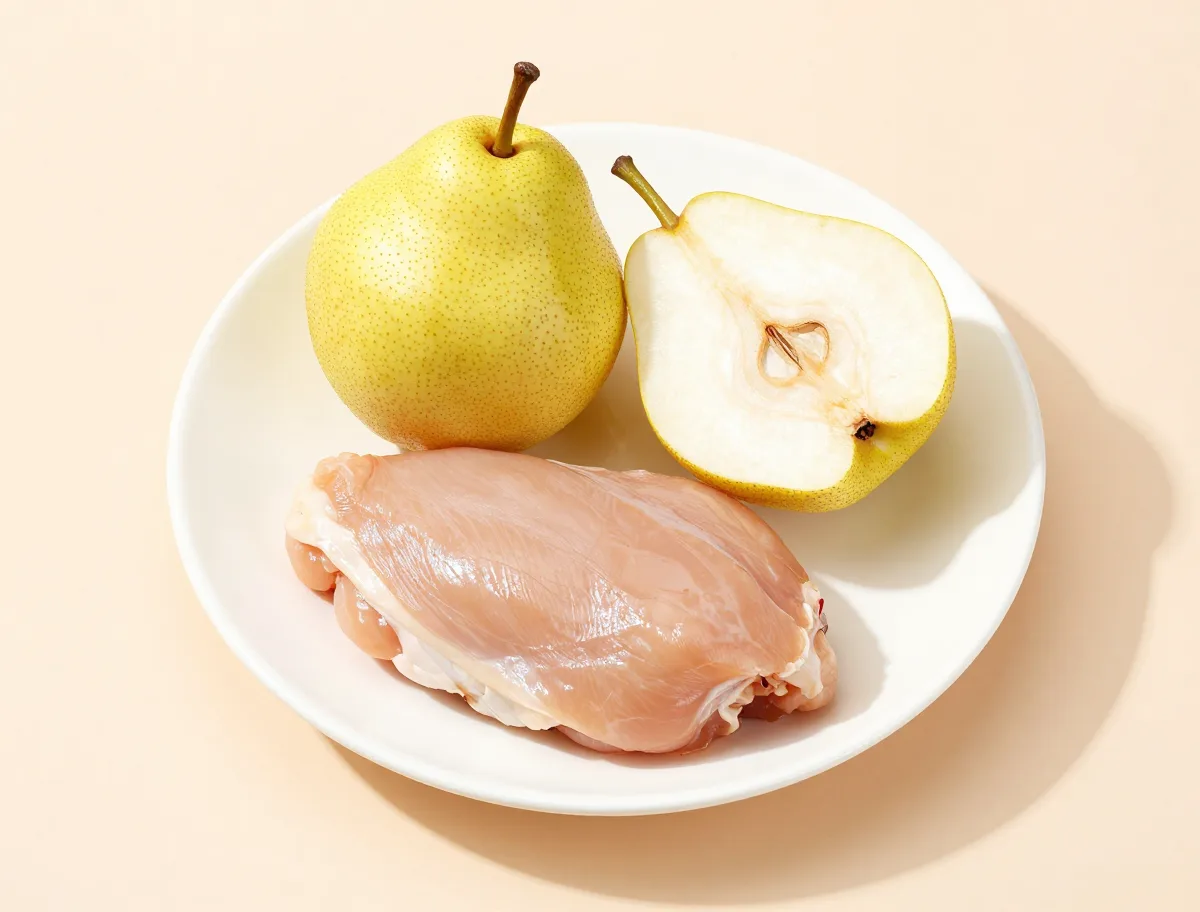
Boneless thighs provide enough fat and connective tissue to remain moist through searing and a short braise. Shallot and garlic create a savory foundation, while balsamic vinegar supplies acidity and depth. Dijon sharpens the sauce and helps it feel cohesive; honey rounds the vinegar rather than turning the dish sugary. Rosemary and thyme bridge the savory chicken and floral pear flavors.
- Bosc and Anjou pears are dependable because their flesh stays relatively firm when heated.
- Unsalted stock gives better control over seasoning as the sauce reduces.
- The optional butter adds richness and shine; omitting it keeps the dish dairy-free.
- 2 pounds boneless, skinless chicken thighs, trimmed and patted dry
- 1 1/4 teaspoons kosher salt, divided
- 1/2 teaspoon freshly ground black pepper, divided
- 2 tablespoons olive oil
- 1 large shallot, thinly sliced
- 3 cloves garlic, finely chopped
- 2 firm-ripe Bosc or Anjou pears, quartered, cored, and cut into thick wedges; peeled if desired
- 3/4 cup unsalted chicken stock
- 1/2 cup dry hard cider
- 2 tablespoons balsamic vinegar
- 1 tablespoon Dijon mustard
- 2 teaspoons honey
- 1 teaspoon fresh rosemary leaves, chopped
- 1 teaspoon fresh thyme leaves
- 1 tablespoon unsalted butter, optional, for finishing
- 2 tablespoons flat-leaf parsley, chopped, for serving
For more ideas on pairing firm pears with balsamic, Dijon, herbs, and poultry, see USA Pears’ savory roasted pears guidance.
The Best Way to Cook Chicken and Pears in One Skillet
The cooking order protects both major textures. Brown the chicken before adding liquid, then remove it so the crust does not steam. Briefly brown the pears separately, deglaze the skillet, and return both only after the sauce has begun to concentrate.
- Pat the chicken dry and leave space between pieces; crowded or damp chicken will steam.
- Turn the pear wedges minimally and keep them out of prolonged boiling.
- Add sweet ingredients to a diluted sauce rather than reducing honey or balsamic in an empty, very hot pan.
- If the skillet is not large enough for one layer, brown the chicken in batches.
- Season the chicken: Season the chicken thighs on all sides with 1 teaspoon of the salt and 1/4 teaspoon of the pepper. Let them stand while the skillet heats; do not rinse the chicken.
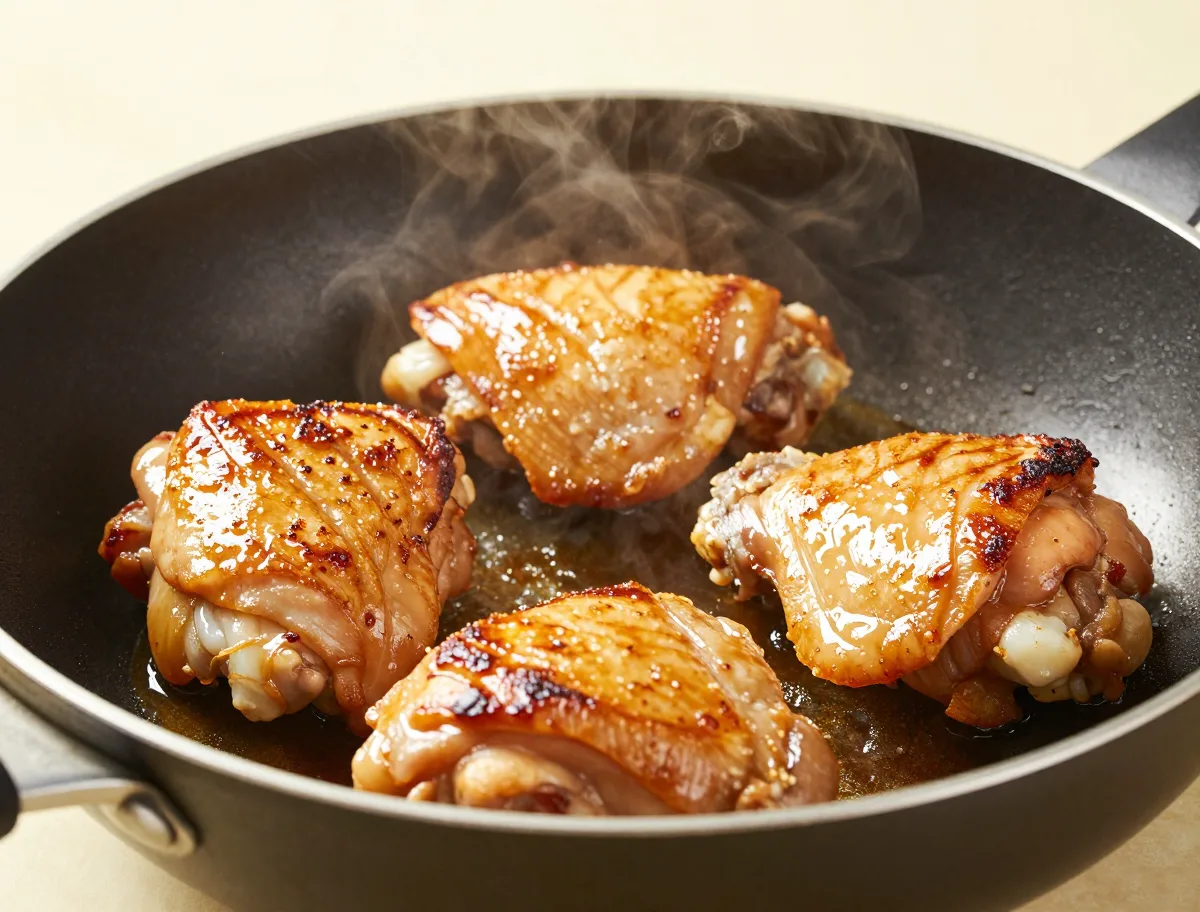
- Brown the thighs: Heat a wide 12-inch skillet over medium-high heat. Add the olive oil. When it shimmers, arrange the chicken in a single layer. Cook until deeply golden on the underside, 5 to 6 minutes, then turn and cook 2 minutes more. Transfer the chicken to a plate; it will finish later.
- Cook the aromatics and pears: Reduce the heat to medium. Add the shallot and cook until softened, about 2 minutes. Add the garlic and cook for 30 seconds. Arrange the pear wedges cut-side down in the skillet and cook, turning once, until lightly browned but still firm, 3 to 4 minutes. Transfer the pears to the plate with the chicken.
- Build the pan sauce: Whisk the chicken stock, hard cider, balsamic vinegar, Dijon, and honey in a small bowl. Pour the mixture into the skillet and scrape up the browned bits. Stir in the rosemary and thyme, then simmer uncovered until the liquid is reduced by about one-third and looks slightly glossy, 4 to 5 minutes.
- Finish the chicken: Return the chicken and any accumulated juices to the skillet. Nestle the pears around the chicken. Cover and simmer gently until the thickest part of each thigh reaches at least 165°F (74°C), 6 to 9 minutes, turning the chicken once. If the sauce is thin, transfer the chicken and pears to a platter and simmer the sauce uncovered for 1 to 2 minutes.
- Balance and serve: Taste the sauce and stir in the remaining 1/4 teaspoon salt and pepper as needed. Remove the skillet from the heat and swirl in the butter, if using. Return the pears to the sauce if they were removed, scatter with parsley, and let the chicken rest for 5 minutes before serving.
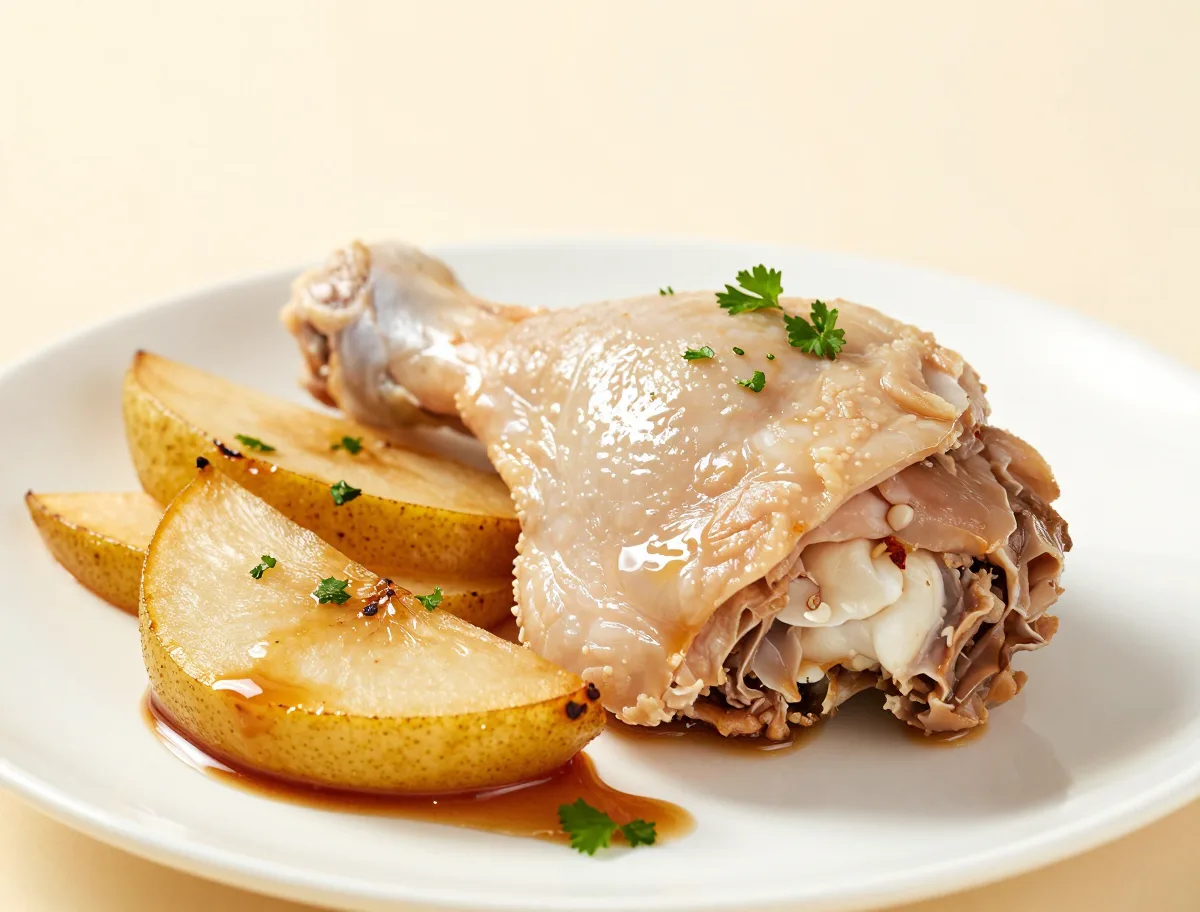
How to Tell When the Chicken and Pears Are Done
Timing is a guide because chicken thickness, pear ripeness, and pan heat vary. Use the thermometer for the chicken and tactile cues for the fruit and sauce.
- Chicken is safely cooked at 165°F (74°C), measured in the thickest portion away from bone.
- A finished pear yields to a fork or thin knife with slight resistance and has clean, intact edges.
- The sauce should look shiny and flow slowly from a spoon; it should not be watery or sticky like a glaze.
- Rest the chicken briefly off the heat, but serve the pears while hot.
- The chicken should have a well-browned surface and reach 165°F (74°C) in the thickest part.
- The pears should be easy to pierce but firm enough to lift without collapsing.
- The reduced sauce should be glossy and lightly coat a spoon rather than pooling like stock.
The Cooking Variables That Matter Most
Surface moisture, thickness, and ripeness determine more than the clock does. Dry chicken browns because the skillet can reach the temperature needed for savory crust formation. Firm pears withstand the heat long enough to color before they soften.
- Evenly thick chicken cooks more predictably than irregular pieces; this matters especially with breasts.
- Liquid suppresses browning, so add stock and cider only after the chicken and pears have colored.
- Reduction concentrates salt, sweetness, and acidity. Season lightly at first and make the final adjustment after reducing.
- Very soft pears need shorter cooking and may be better added near the end.
Common Chicken and Pear Skillet Problems
Most problems come from excess moisture, excessive heat, or leaving one ingredient in the skillet too long. The safest correction is often to remove the chicken or pears while the sauce is adjusted separately.
- Pale chicken: Dry the surface, preheat the skillet properly, and cook in batches if needed.
- Mushy pears: Use thicker wedges, stir less, and remove them before a longer chicken finish.
- Bitter sauce: If the fond is black or the garlic has burned, do not scrape it into the sauce; wipe out the skillet and rebuild with fresh liquid.
- Thin sauce: Remove the chicken and pears and simmer the liquid uncovered until it lightly coats a spoon.
- Sharp sauce: Add a small amount of honey or stock and taste again; further reduction will intensify the acidity.
- Dry chicken: Remove thinner pieces as soon as they reach 165°F and return them only briefly if the sauce still needs finishing.
Ingredient Substitutions for Chicken with Pears
The recipe is flexible, but substitutions change the sauce’s sweetness or acidity. Taste after the liquid has reduced rather than assuming the original balance will remain unchanged.
- Replace hard cider with unsalted chicken stock for an alcohol-free version, or use dry white wine for a less fruity sauce.
- Maple syrup can replace honey in equal quantity, though it gives the sauce a more pronounced woodsy flavor.
- Cider vinegar or red wine vinegar can replace balsamic, beginning with 1 tablespoon and adding more only if needed.
- Thyme can replace rosemary, or use a little sage or parsley for a different herbal finish.
- Bosc and Anjou are interchangeable. Bartlett pears work only if a softer, more sauce-like fruit texture is acceptable.
- Check packaged stock and mustard labels if gluten-free preparation is required.
Ways to Vary This Pear Chicken Dinner
Useful variations preserve the recipe’s central structure: browned chicken, fresh pears, aromatics, herbs, and a sweet-tart pan sauce. Changes that overwhelm the fruit or replace the clean pan jus belong to a different dish.
- Add a small handful of toasted walnuts or pecans at serving for contrast.
- Wilt a few handfuls of spinach into the finished sauce for a vegetable-forward variation.
- Use a honey-Dijon emphasis by reducing the balsamic slightly and adding a little extra Dijon after tasting.
- Finish bone-in thighs or thick pieces in the oven rather than extending the stovetop simmer.
- Keep fresh pears as the defining fruit; dried fruit or a cream-heavy sauce substantially changes the recipe.
What to Serve with Chicken and Pears
The sauce is meant to be eaten, not left in the skillet. Choose a mild starch that can catch the pan juices, then add something green or pleasantly bitter to balance the pears and rich chicken.
- Serve with mashed potatoes, polenta, rice, farro, couscous, or crusty bread.
- Pair with roasted Brussels sprouts, green beans, arugula, kale, or a lightly dressed spinach salad.
- Finish with the listed parsley and, if desired, a restrained sprinkle of toasted nuts.
- Spoon the sauce around the chicken just before serving to preserve the browned surface.
How to Store, Freeze and Reheat Chicken with Pears
This skillet is best immediately, when the chicken is juicy and the pears retain their shape. Leftovers remain useful, but the fruit will soften and the chicken’s browned exterior will lose some crispness.
- Refrigerate leftovers promptly in a covered, shallow container and use within 3 to 4 days at 40°F (4°C) or below.
- Reheat gently, covered, in a skillet with a splash of stock or water until the chicken reaches 165°F (74°C) throughout.
- Freezing the chicken and sauce is possible, but thawed pears are likely to be softer and somewhat watery.
- For make-ahead preparation, measure the sauce ingredients and slice the shallot ahead; cut the pears shortly before cooking.
Chicken and Pear Recipe FAQs
These practical answers cover the choices that most affect the finished skillet: pear texture, chicken cut, cooking method, and sauce balance.
Which pears are best for a savory chicken skillet?
Choose firm-ripe Bosc or Anjou pears. They should smell aromatic but yield only slightly when pressed. Very soft pears are more likely to collapse during cooking.
Do the pears need to be peeled?
No. Leave clean, thin skin on for color and extra structure, or peel them for a more uniform, tender bite. In either case, remove the core and use thick wedges rather than thin slices.
Can I use chicken breasts instead of thighs?
Yes. Pound boneless breasts to an even thickness of about 1 inch and begin checking them several minutes earlier. Remove them as soon as the thickest part reaches 165°F (74°C) so they do not dry out.
Should I use a skillet or an oven?
A wide skillet is quickest for boneless thighs and evenly thick breasts. Use an oven-safe skillet for bone-in thighs or unusually thick pieces, finishing them covered in a 375°F (190°C) oven.
How do I keep the pears from turning mushy?
Start with firm fruit, cut thick wedges, brown them briefly, handle them minimally, and remove them while the chicken or sauce needs additional cooking. Softer pears should be added later.
What can I do if the balsamic sauce tastes too sharp?
Stir in a small amount of honey or unsalted stock, then taste. Do not keep reducing an already sharp sauce, because evaporation will intensify the acidity.
Can this recipe be made dairy-free or gluten-free?
Yes. Omit the optional butter for a dairy-free dish. For gluten-free preparation, use stock and Dijon labeled gluten-free and serve with a naturally gluten-free starch.
Food Safety for This Chicken Pear Dinner
Handle the raw poultry separately from the pears and other ready-to-eat foods. Keep it refrigerated at 40°F (4°C) or below, and do not rinse it, since splashing can spread raw poultry juices.
- Thaw chicken in the refrigerator, in cold water, or in a microwave; cook immediately after cold-water or microwave thawing.
- Use a food thermometer in the thickest part of the chicken and cook all pieces to at least 165°F (74°C).
- Wash hands, utensils, and work surfaces after contact with raw chicken before handling cooked food.
- Refrigerate leftovers promptly and reheat them to 165°F (74°C) before serving.
For official poultry temperature and handling information, consult the USDA safe cooking temperature guidance.
Recipe Notes
- Boneless thighs are the most forgiving choice. For boneless breasts, pound them to an even 1-inch thickness and begin checking the temperature after the covered finish has cooked for 4 minutes.
- For bone-in thighs, brown them as directed, then cover the skillet and finish in a 375°F (190°C) oven until the chicken reaches 165°F (74°C), usually 18 to 25 minutes. Add the pears during the final 8 minutes.
- If using sweet cider or a particularly sweet balsamic, reduce or omit the honey and adjust after tasting.
- For an alcohol-free sauce, replace the cider with additional unsalted chicken stock. The recipe is dairy-free when the optional butter is omitted.